(EDIT Jan. 20, 2017: You can now download this as a PDF pattern from my Ravelry page.)
This post contains some affiliate links. The banners and links I include in my posts are all legit and vetted by me. You can use those links to visit sites and purchase materials which will give me some support – all at no extra cost to you. If you like this post and would like to support me, please use the links or banners provided to get your materials!
Hello everyone, and happy 2017!
Today I’m going to present you with an opportunity to create anything you want… Or at least any hat you want. This is a pattern for a basic knit pom-pom beanie, worked in the round. This pattern is more than just one end product – it’s a base pattern for a huge variety of hats that you can make quickly and easily.
Some things I’d like to say before we begin: this is worked on large needles with thick yarn, but it can easily be translated into smaller gauges and patterns. I created this tutorial as a way to teach people the basics of knitting in the round, and to teach a few other basic skills as well. I’m by no means an experienced knitter, and I understand that some of my techniques are not “legit”… However they seem to work for me pretty well so I think they are a great place to start if you’re just beginning your own knitting journey!
GATHER YOUR TOOLS
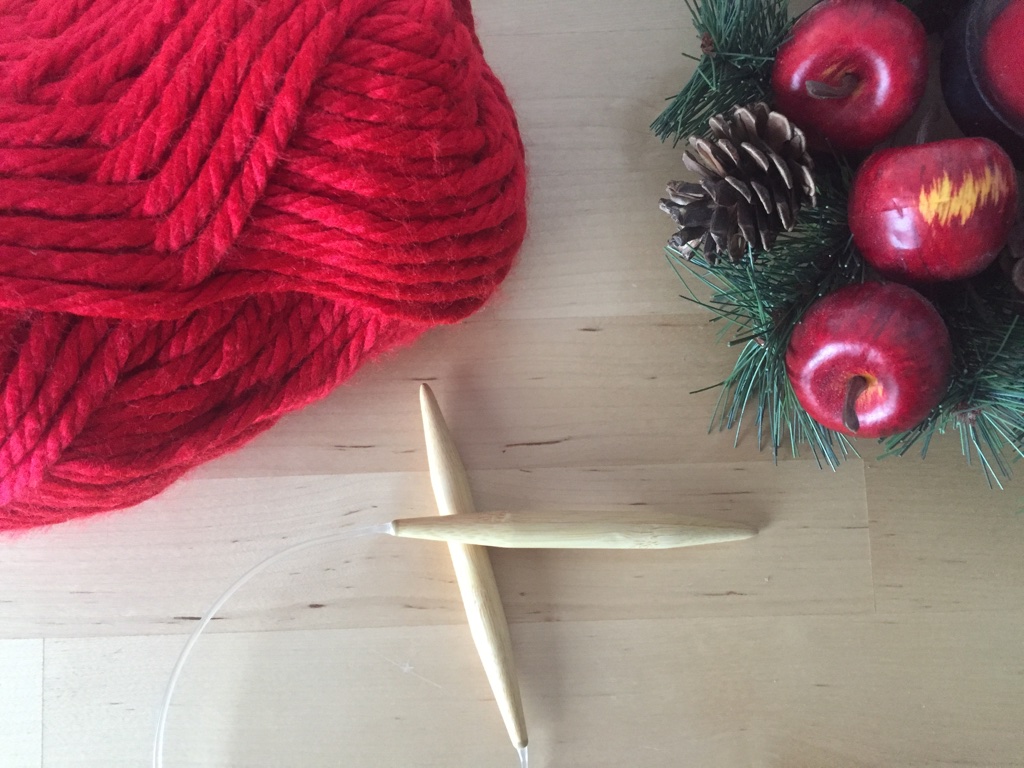
Needles: I’m using US size 15, 16 inch circular needles from Clover.
These are great for learning to knit in the round because they’re freaking HUGE. I tried to learn to knit on a pair of US 8 straight needles and it was a nightmare. I found that once I tried larger needles and super bulky yarn, I was able to figure out a wide variety of knitting techniques that were previously giving me trouble.
Yarn: In this tutorial I will be using a single skein of Lion Brand Hometown USA super bulky yarn in Cincinnati Red.
There’s 2 main reasons I suggest this yarn for learning to knit a hat. #1 is that it’s soft and very easy to work with. It’s acrylic, but it doesn’t have the wiry, scratchy feel of cheaper brands like Red Heart. #2 is that it comes in a huge variety of colors. No matter what your style or preference is, you should be able to find a Hometown USA color that’ll make you smile 🙂

Other Materials: Grab yourself a nice pair of scissors, as well as some stitch markers.
If you don’t have any stitch markers, large safety pins work well, as do bread bag tabs… We’re going for functionality over fashion here, ok? You may also benefit from getting a large tapestry needle, or a relatively small crochet hook (for weaving in ends).
LET’S TALK SIZING
Available Sizes: Adult S [L]
I’ve included two common sizes for this hat pattern, but the beauty of this pattern is that it can be adapted to pretty much any size you could ever want. The S and L sizes here are intended for adults, but you can experiment with casting on different numbers of stitches for smaller or larger hats.
Gauge: 5 sts/7 rows = 2 inches in stockinette
Every knitter’s gauge is unique. Feel free to use whatever yarn and needle combination works best for you and your knitting tension.
LET’S KNIT!
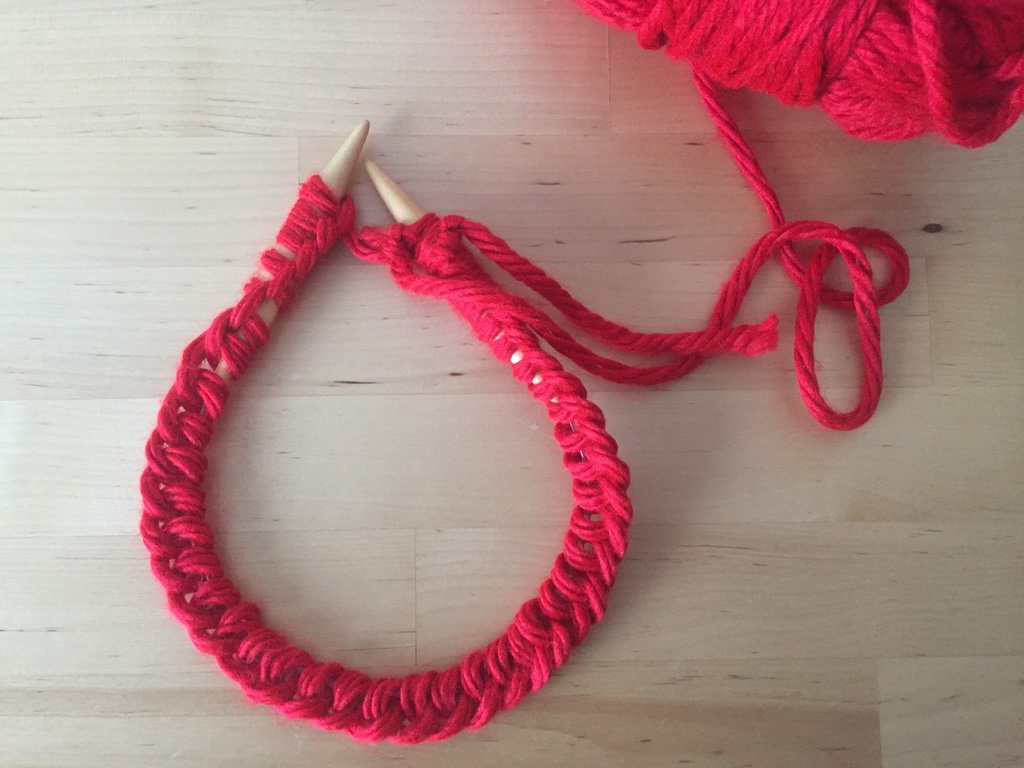
Make a slip knot, then cast on 38 [47] stitches. The slip knot counts as your first stitch.
I’m using a short tail cast-on in this tutorial because I believe it’s one of the simplest ways to learn to cast-on. This has a lot to do with the fact that I learned to crochet before knitting, so short tail cast-ons feel more natural to me.
Once all of your stitches are cast on, check to make sure they haven’t twisted up along the needle cable. Once they’re straight, join the last stitch to your first stitch so that you have a continuous circle of stitches. Here is a list of simple joining methods you can use. I personally chose the second method on that page, where you cast-on an extra stitch and decrease it. I like using this joining method because it feels very secure and it’s hard to spot in a finished piece.
CREATING THE BAND
We’re going to be creating a ribbed band for this hat, so we’re going to follow a simple 1×1 rib knit pattern of K1, P1. This pattern has to be repeated across an even number of stitches so that they all stack into the correct ribbing pattern.
Place your stitch marker to indicate the beginning of your row, then knit the first stitch. Purl the next stitch, and knit the one after that.
Repeat this K1, P1 pattern all the way around until you reach your marker.
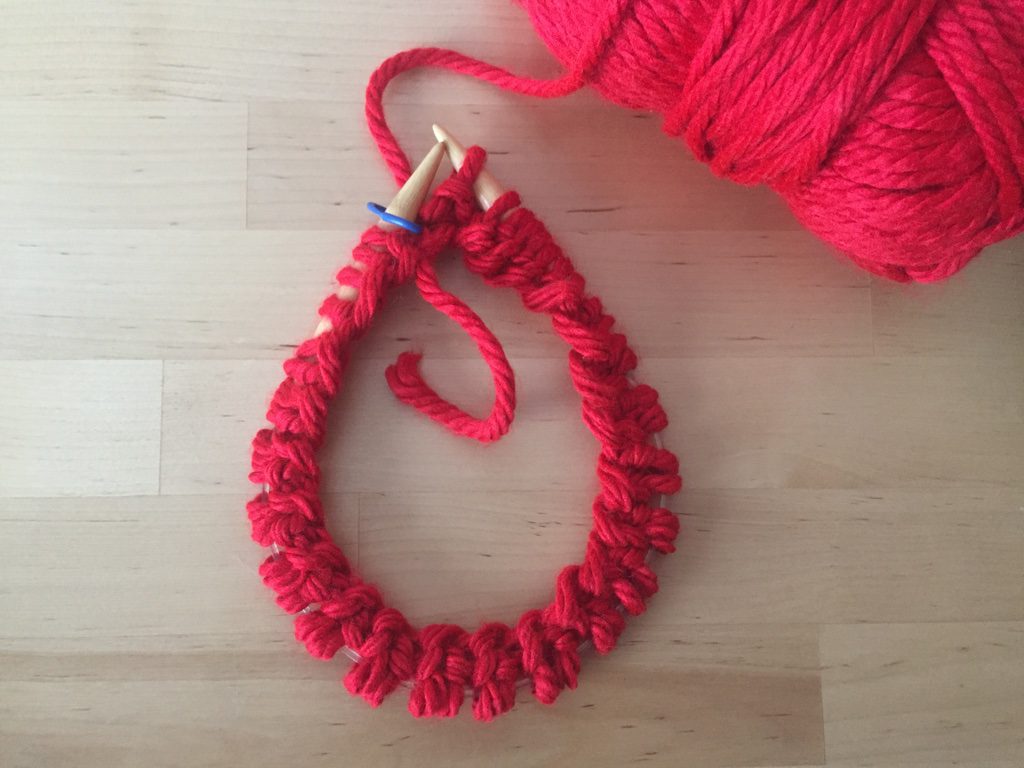
You should end on a purl stitch. Your marker is before a knit stitch, so you will be knitting that stitch again. Because we are working in the round, you do not need to turn your work. To start the next row, just start knitting on top of the row you just completed.
The key to ribbing is repeating the exact same pattern of stitches in each row so they all line up to form the ribs.
Repeat this K1, P1 pattern for 5 more rows, or until your band is about 2 inches tall.
Total of 7 rows of ribbing.
Once your band is complete, you can pull on it to see how it is ribbed. You’ll notice that the knit stitches are all fully visible, and when you stretch the band out the purl stitches become visible.

BUILDING THE HAT
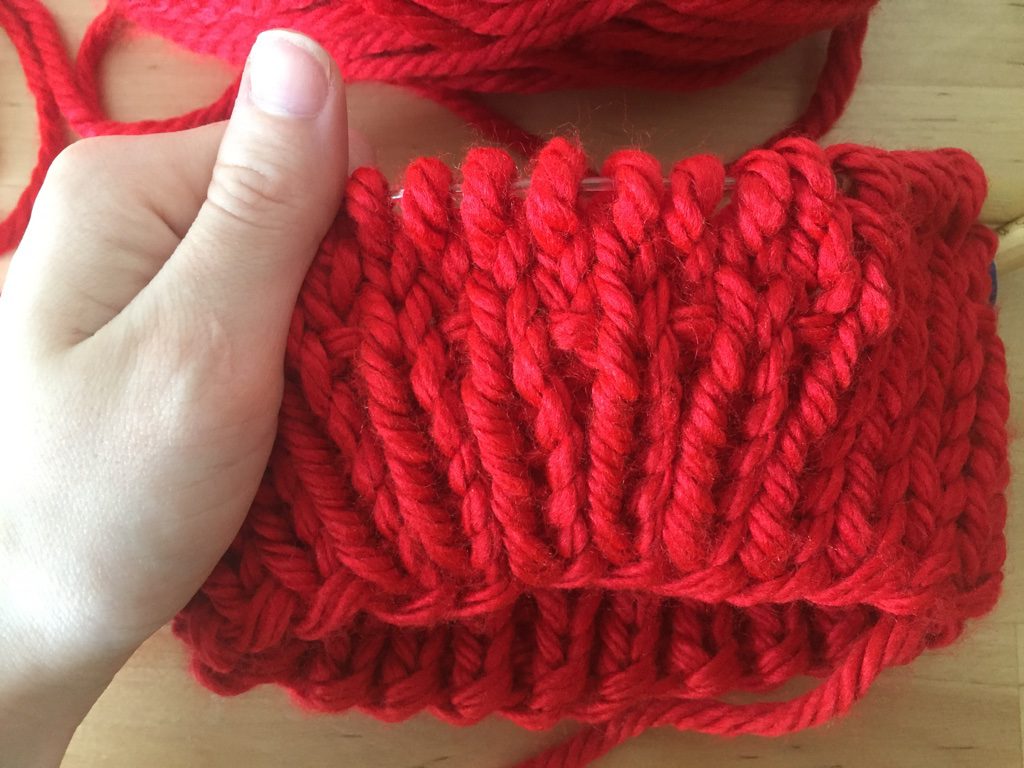
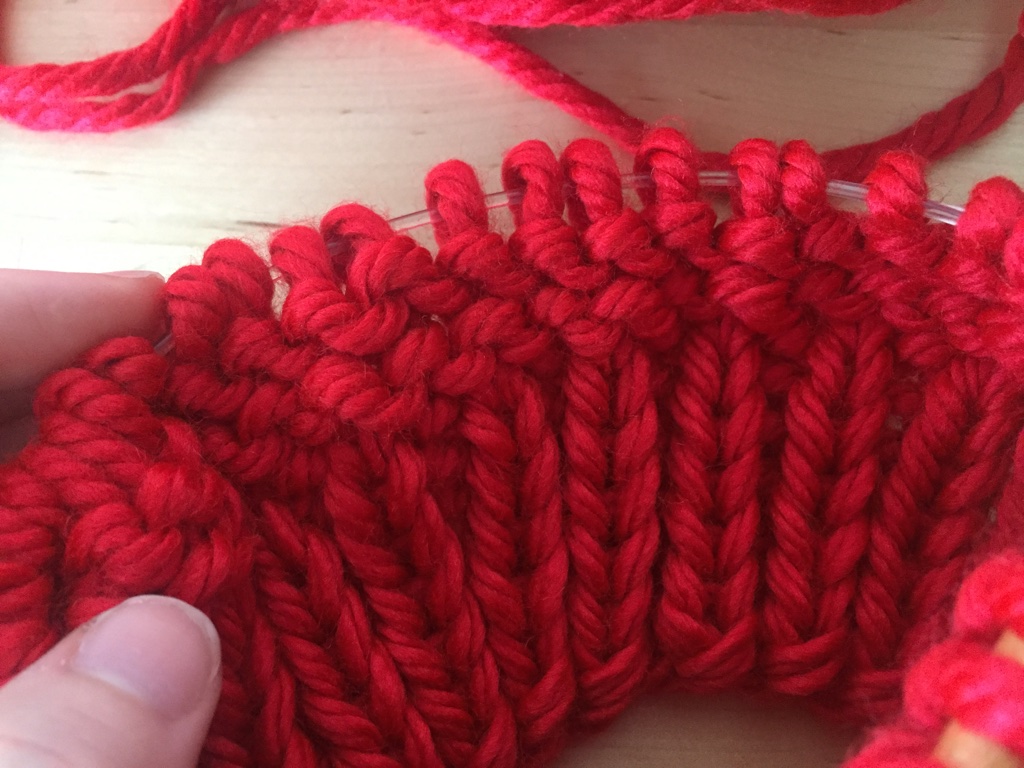
The main part of the hat is going to be made up of a simple stockinette stitch. When you knit stockinette on straight needles, you have to alternate between knitting one row and purling one row. When knitting stockinette on circular needles, you only have to knit! This is one of the reasons I actually do love circular needles. They create a situation where you’re repeating the same stitch in a consecutive pattern, which acts a a great drill for forming muscle memory.
Once you’re ribbing is complete, just start knitting each stitch. If you want to count rows, place a stitch marker before you start the row and move it up every time you start a new one. Personally, I like to do this part by length, so I just measure my hat every few rows to see where I am. I like a more slouchy hat, so I aim for my hat to be about 9-10 inches tall. Feel free to adjust this to your personal preference.
When you start the stockinette pattern, you’ll see the knit fabric begin to take form after 2 or 3 rows. Below I’ve shown what it should start to look like from the outside and the inside:
Aim for a total of about 21 rows of stockinette.
When your hat meets your desired height, it’s time to bind off (BO). I use a very simple bind off method here that isn’t very stretchy. This is a very simple way to bind-off, but feel free to use whatever method works best for you.
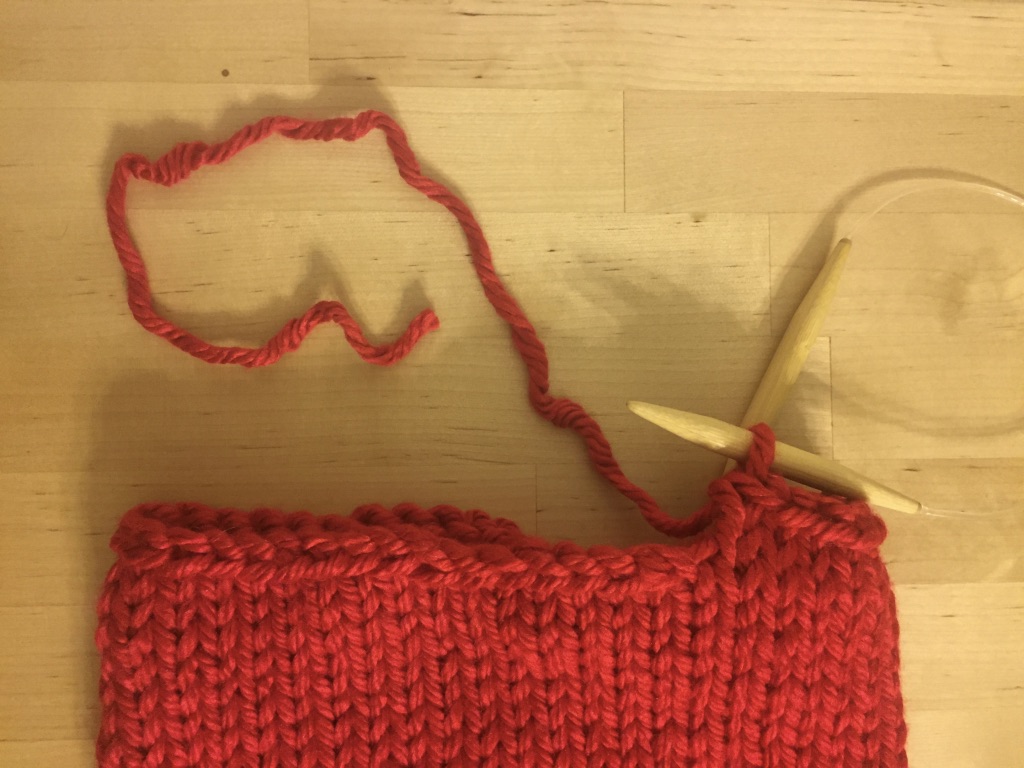
IMPORTANT: Leave a tail from your yarn about 10 inches long. We’re going to use this for finishing the hat.
FINISHING TOUCHES
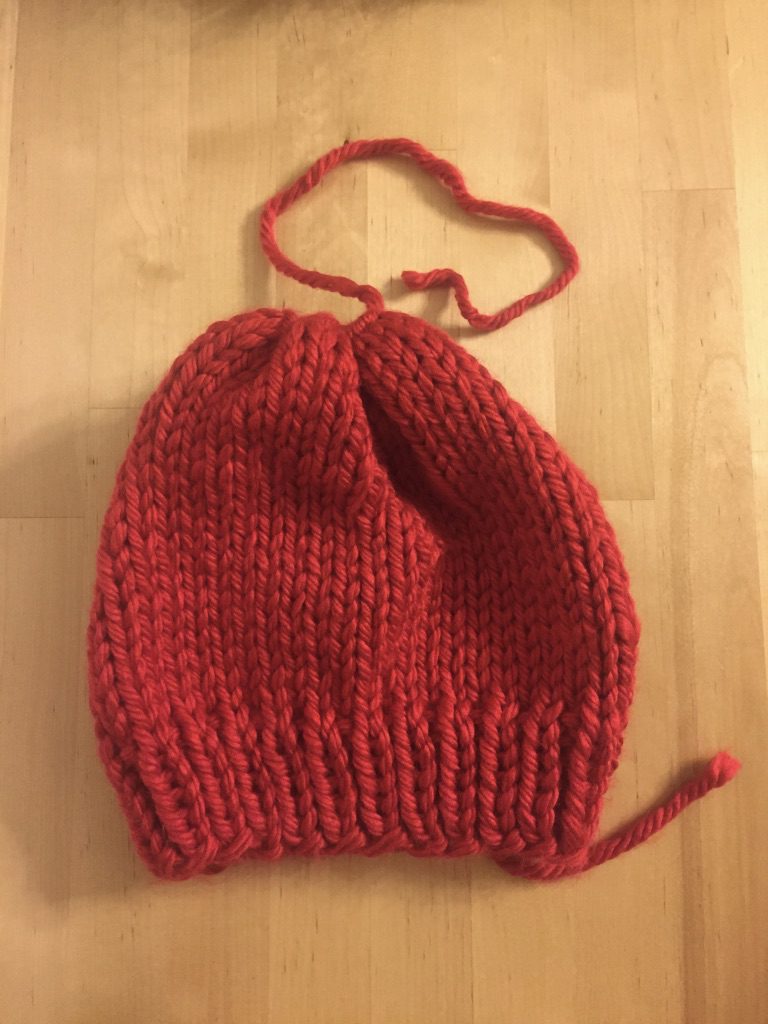
In the spirit of making this a very easy introductory knitting pattern, I didn’t use any decreases or tapering for the top of the hat. If you lay it out flat, you’ll notice that it’s just a tall tube that’s shaped a bit like a rectangle. To turn this rectangle into a hat, we’re going to cinch off the top using that extra length of yarn we left from the bind-off. I like cinched hats because they have a chunky, cozy look to them – but mostly because they’re super easy to do. 😉
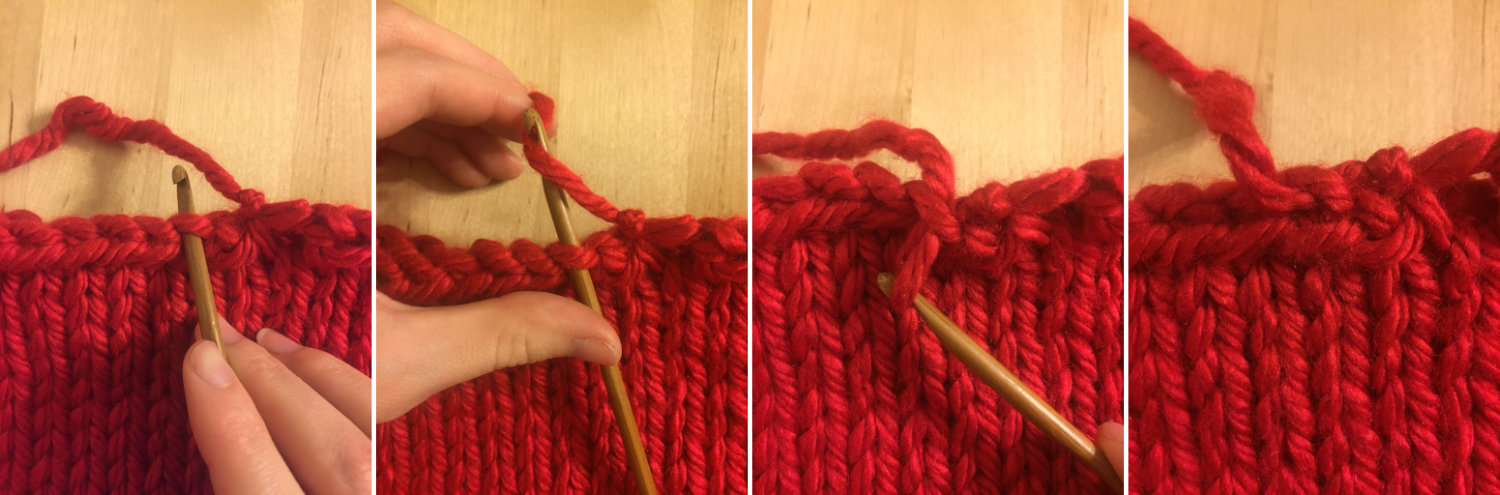
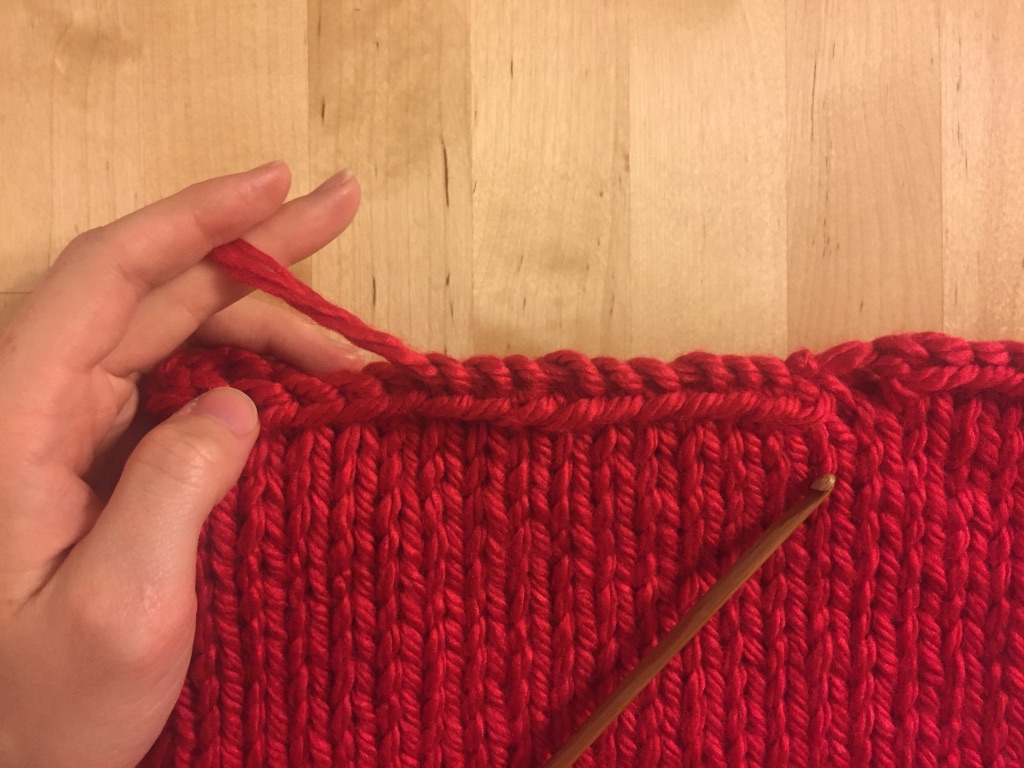
Using your tapestry needle or crochet hook, begin weaving the length of yarn back through the top edge of the hat. You’ll want to take it around the top in the same direction that you were knitting, so that it doesn’t pull backwards and create any weird bumps.
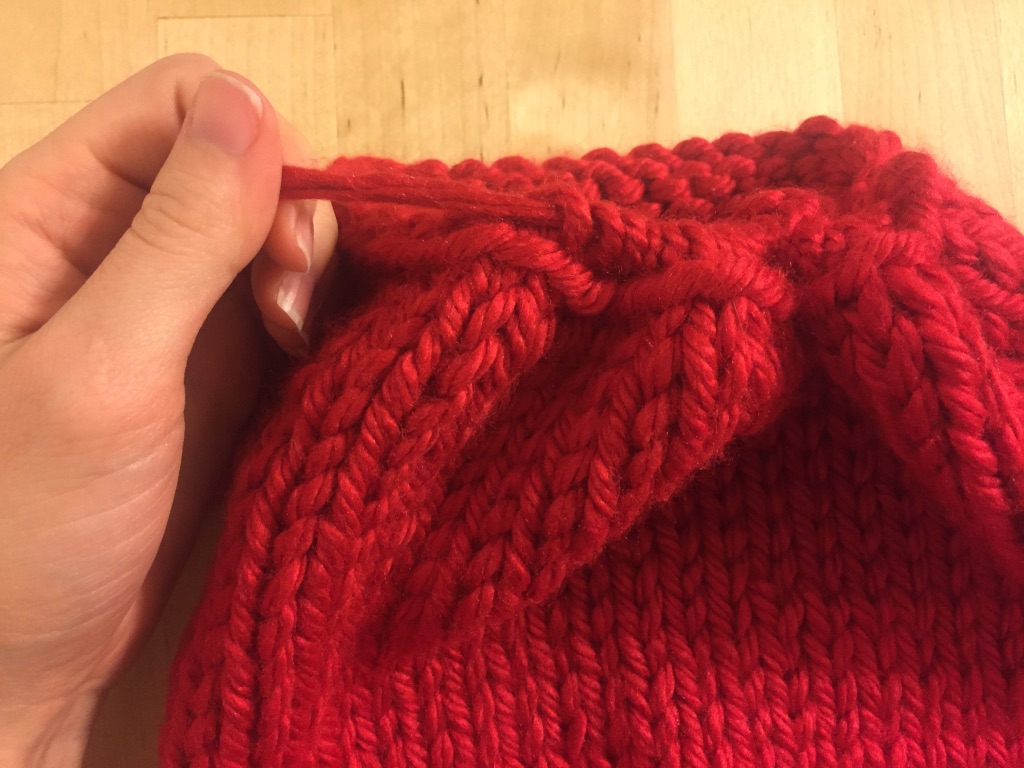
Once it’s woven the whole way around the edge, pull it tight! This pulling motion will cinch all of the edges as close as possible so that the hat has a “point”. I don’t know if this is a real technique, but it’s something I figured out to be easy and I think looks great!
ADDING THE POM-POM
Finally, we’re going to add a pom-pom! *loud cheering*
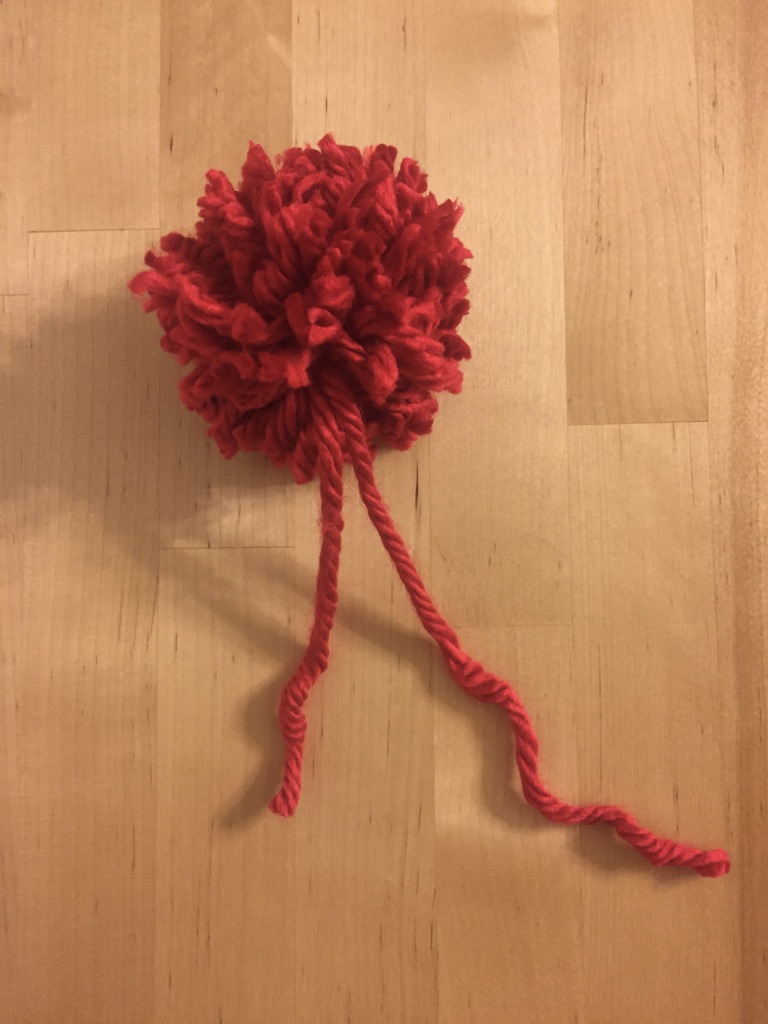
Make yourself a pom-pom in whatever color and size your little heart desires. I’m just using the same color as the rest of the hat for simplicity’s sake, but you can seriously do whatever. I actually used all of the left over yarn from the skein of yarn I used for the hat.
When you use the piece of yarn to tie the middle of the pom pom, leave the tails pretty long – about 5 inches each.
Use a tapestry needle or crochet hook to pull the ends through. Pull one of the strands through the cinched edge of the hat. Take the other strand, and pull it through the edge directly across from the other strand.
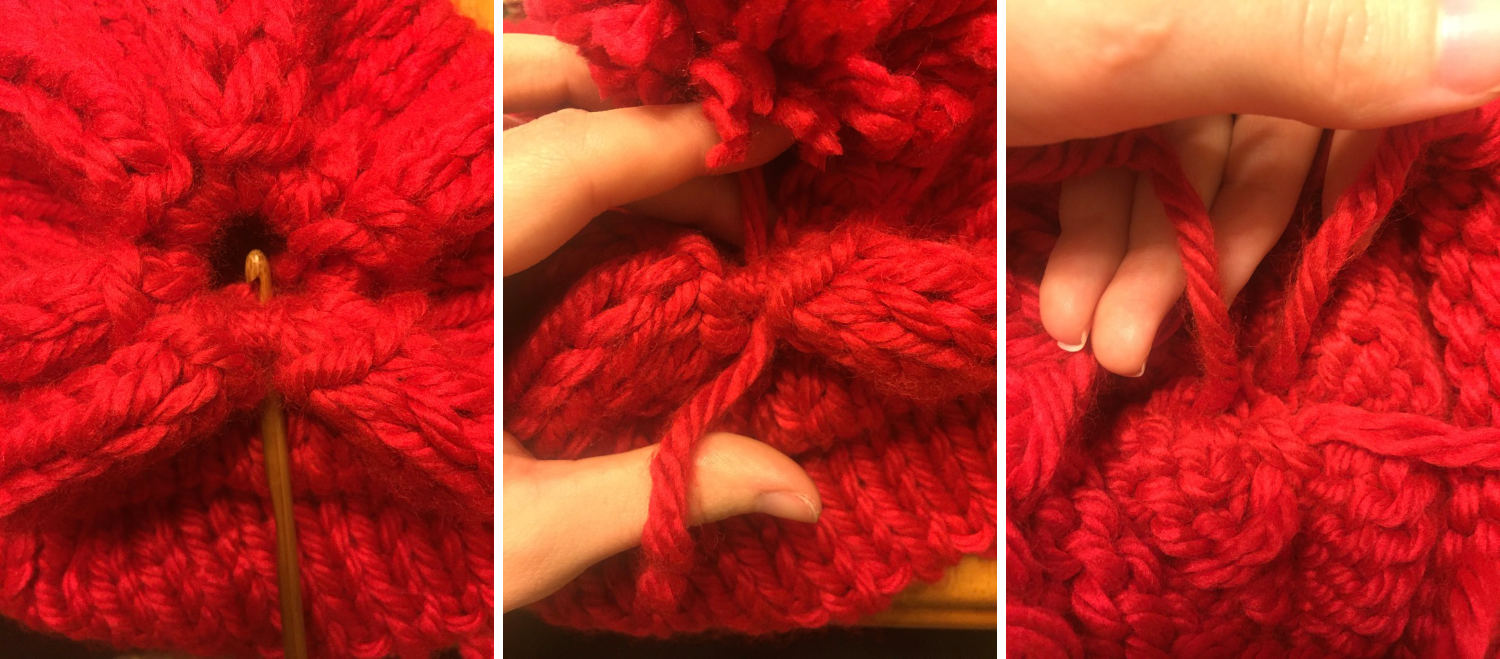
Look down into your hat where you should see the 2 strands hanging down in. Tie them together once, then pull the strands back through the cinched hole to the outside of the hat.
Repeat the step where you pulled the strands into the edge of the hat across from each other. You’ll repeat these steps at least 2 more times to secure the pom pom to the hat, as well as cinch the top of the hat closed even more.
Final Notes
Congratulations! You’ve just made yourself a super cozy, chunky pom-pom beanie! I made mine in size Large, so it’s extra slouchy.

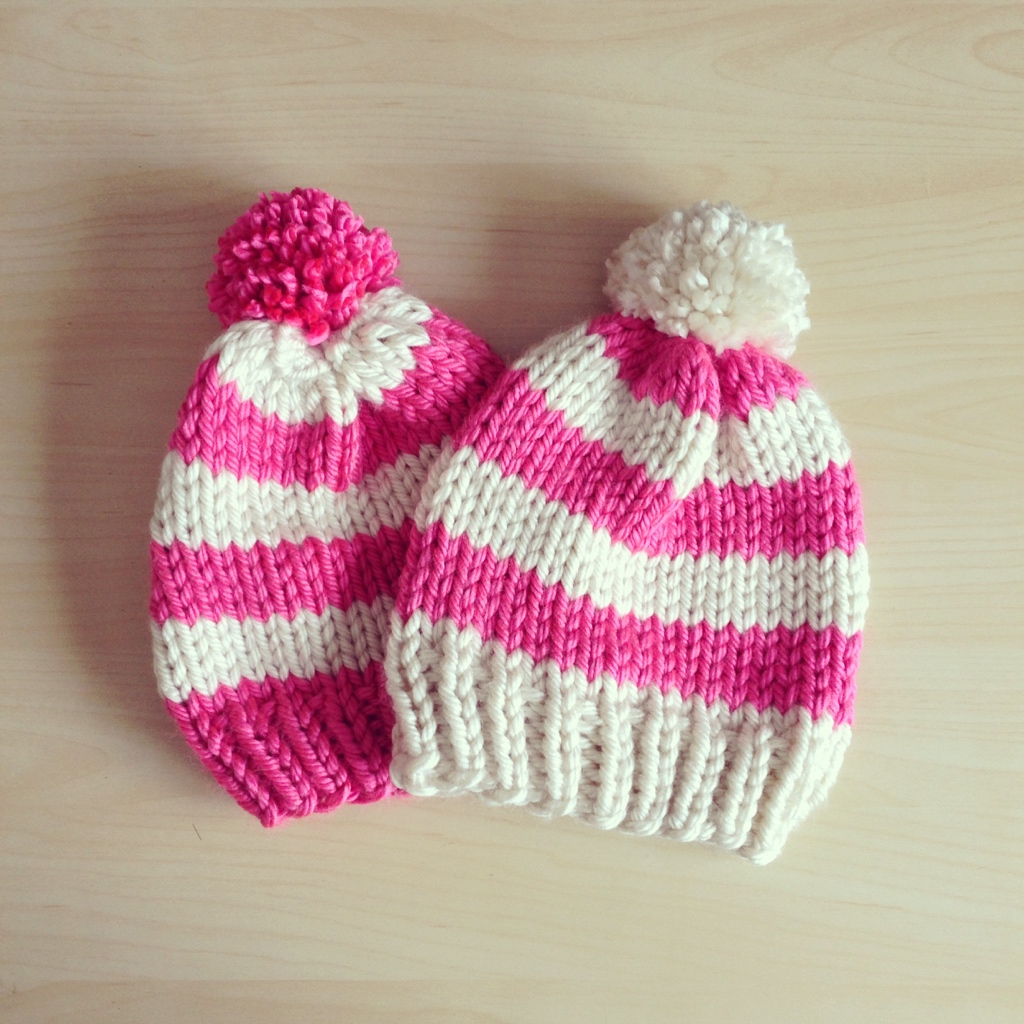
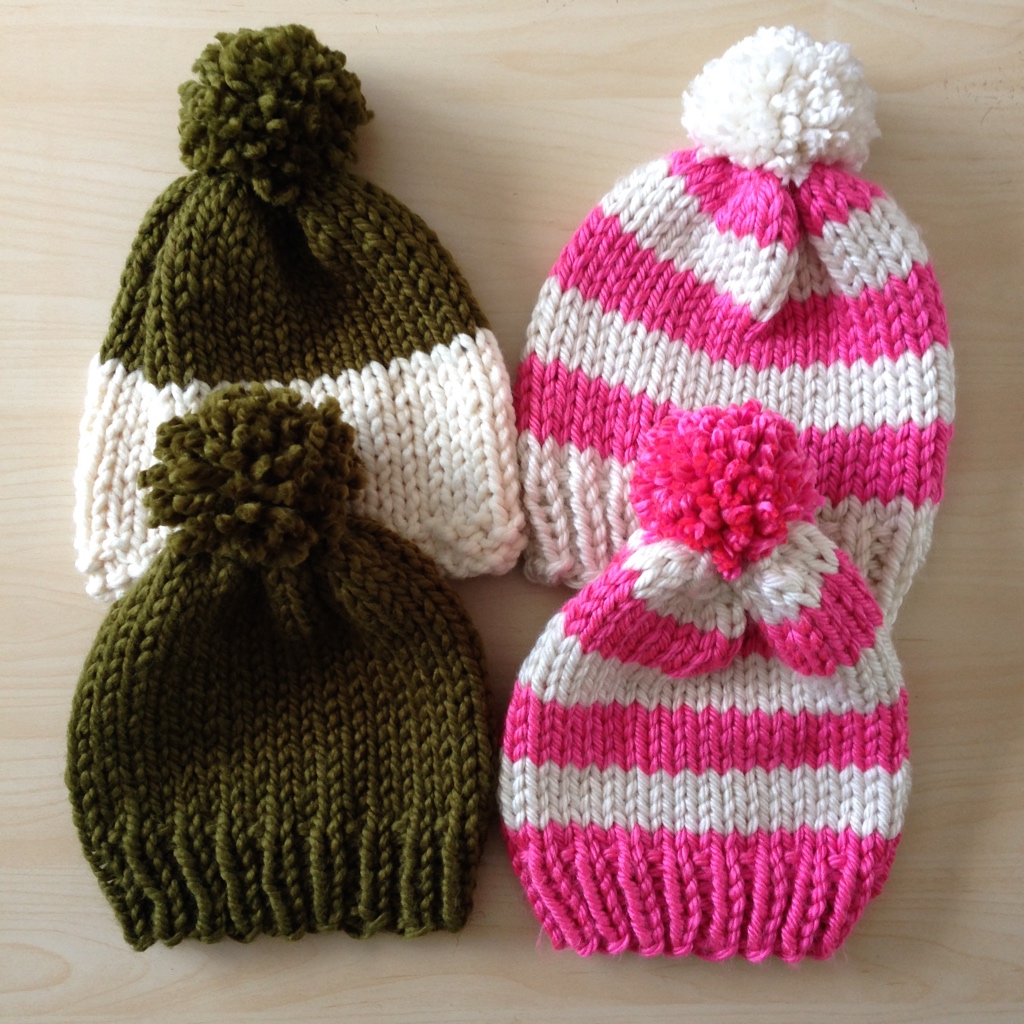
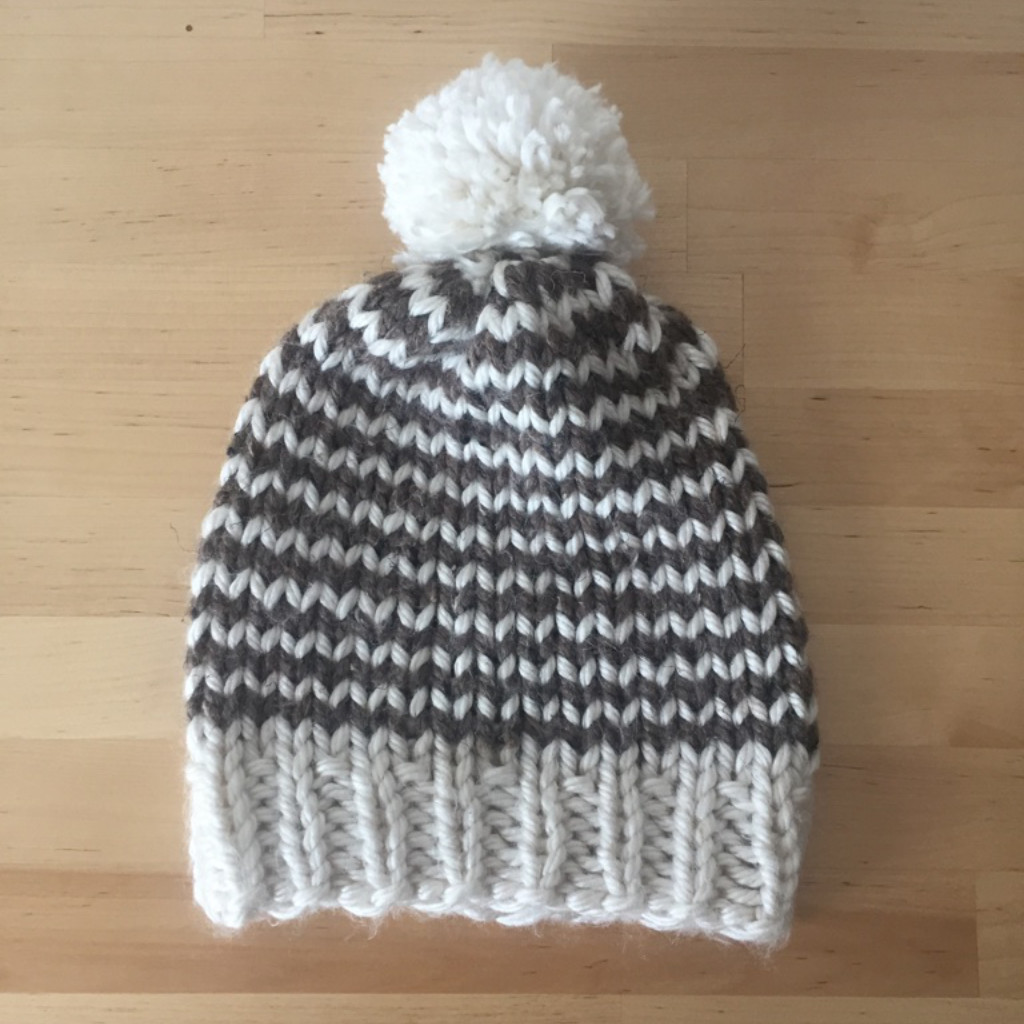
This pattern is meant to be extremely versatile, so feel free to play around with things like size, yarn, color, and even stitch pattern. I’ve made quite a few of these hats over the past few years, and I’ve had so much fun experimenting with color combos, stripes, and sizes. Check out some of my other Classic Pom-Pom Beanies below: