Hi everyone. Can you believe it’s February already? Yeah, me either…
I’ve been working on the second free pattern for my Back to Basics Collection, and it happens to include one of my favorite finishing accents ever – fringe! While I was very excited about adding fringe, I quickly ran into 2 major problems that I wanted to address for anyone who may end up attempting this pattern in the future.
Problem #1: Making a Bunch of Fringe, EFFICIENTLY
The pattern in question here happens to be an infinity scarf, and I wanted to add fringe to both edges of the scarf, the entire way around. I also wanted the fringe to be relatively thick, so I was going to be doubling up each “tassel”… Did that sink in about how much fringe that is? It’s a lot.
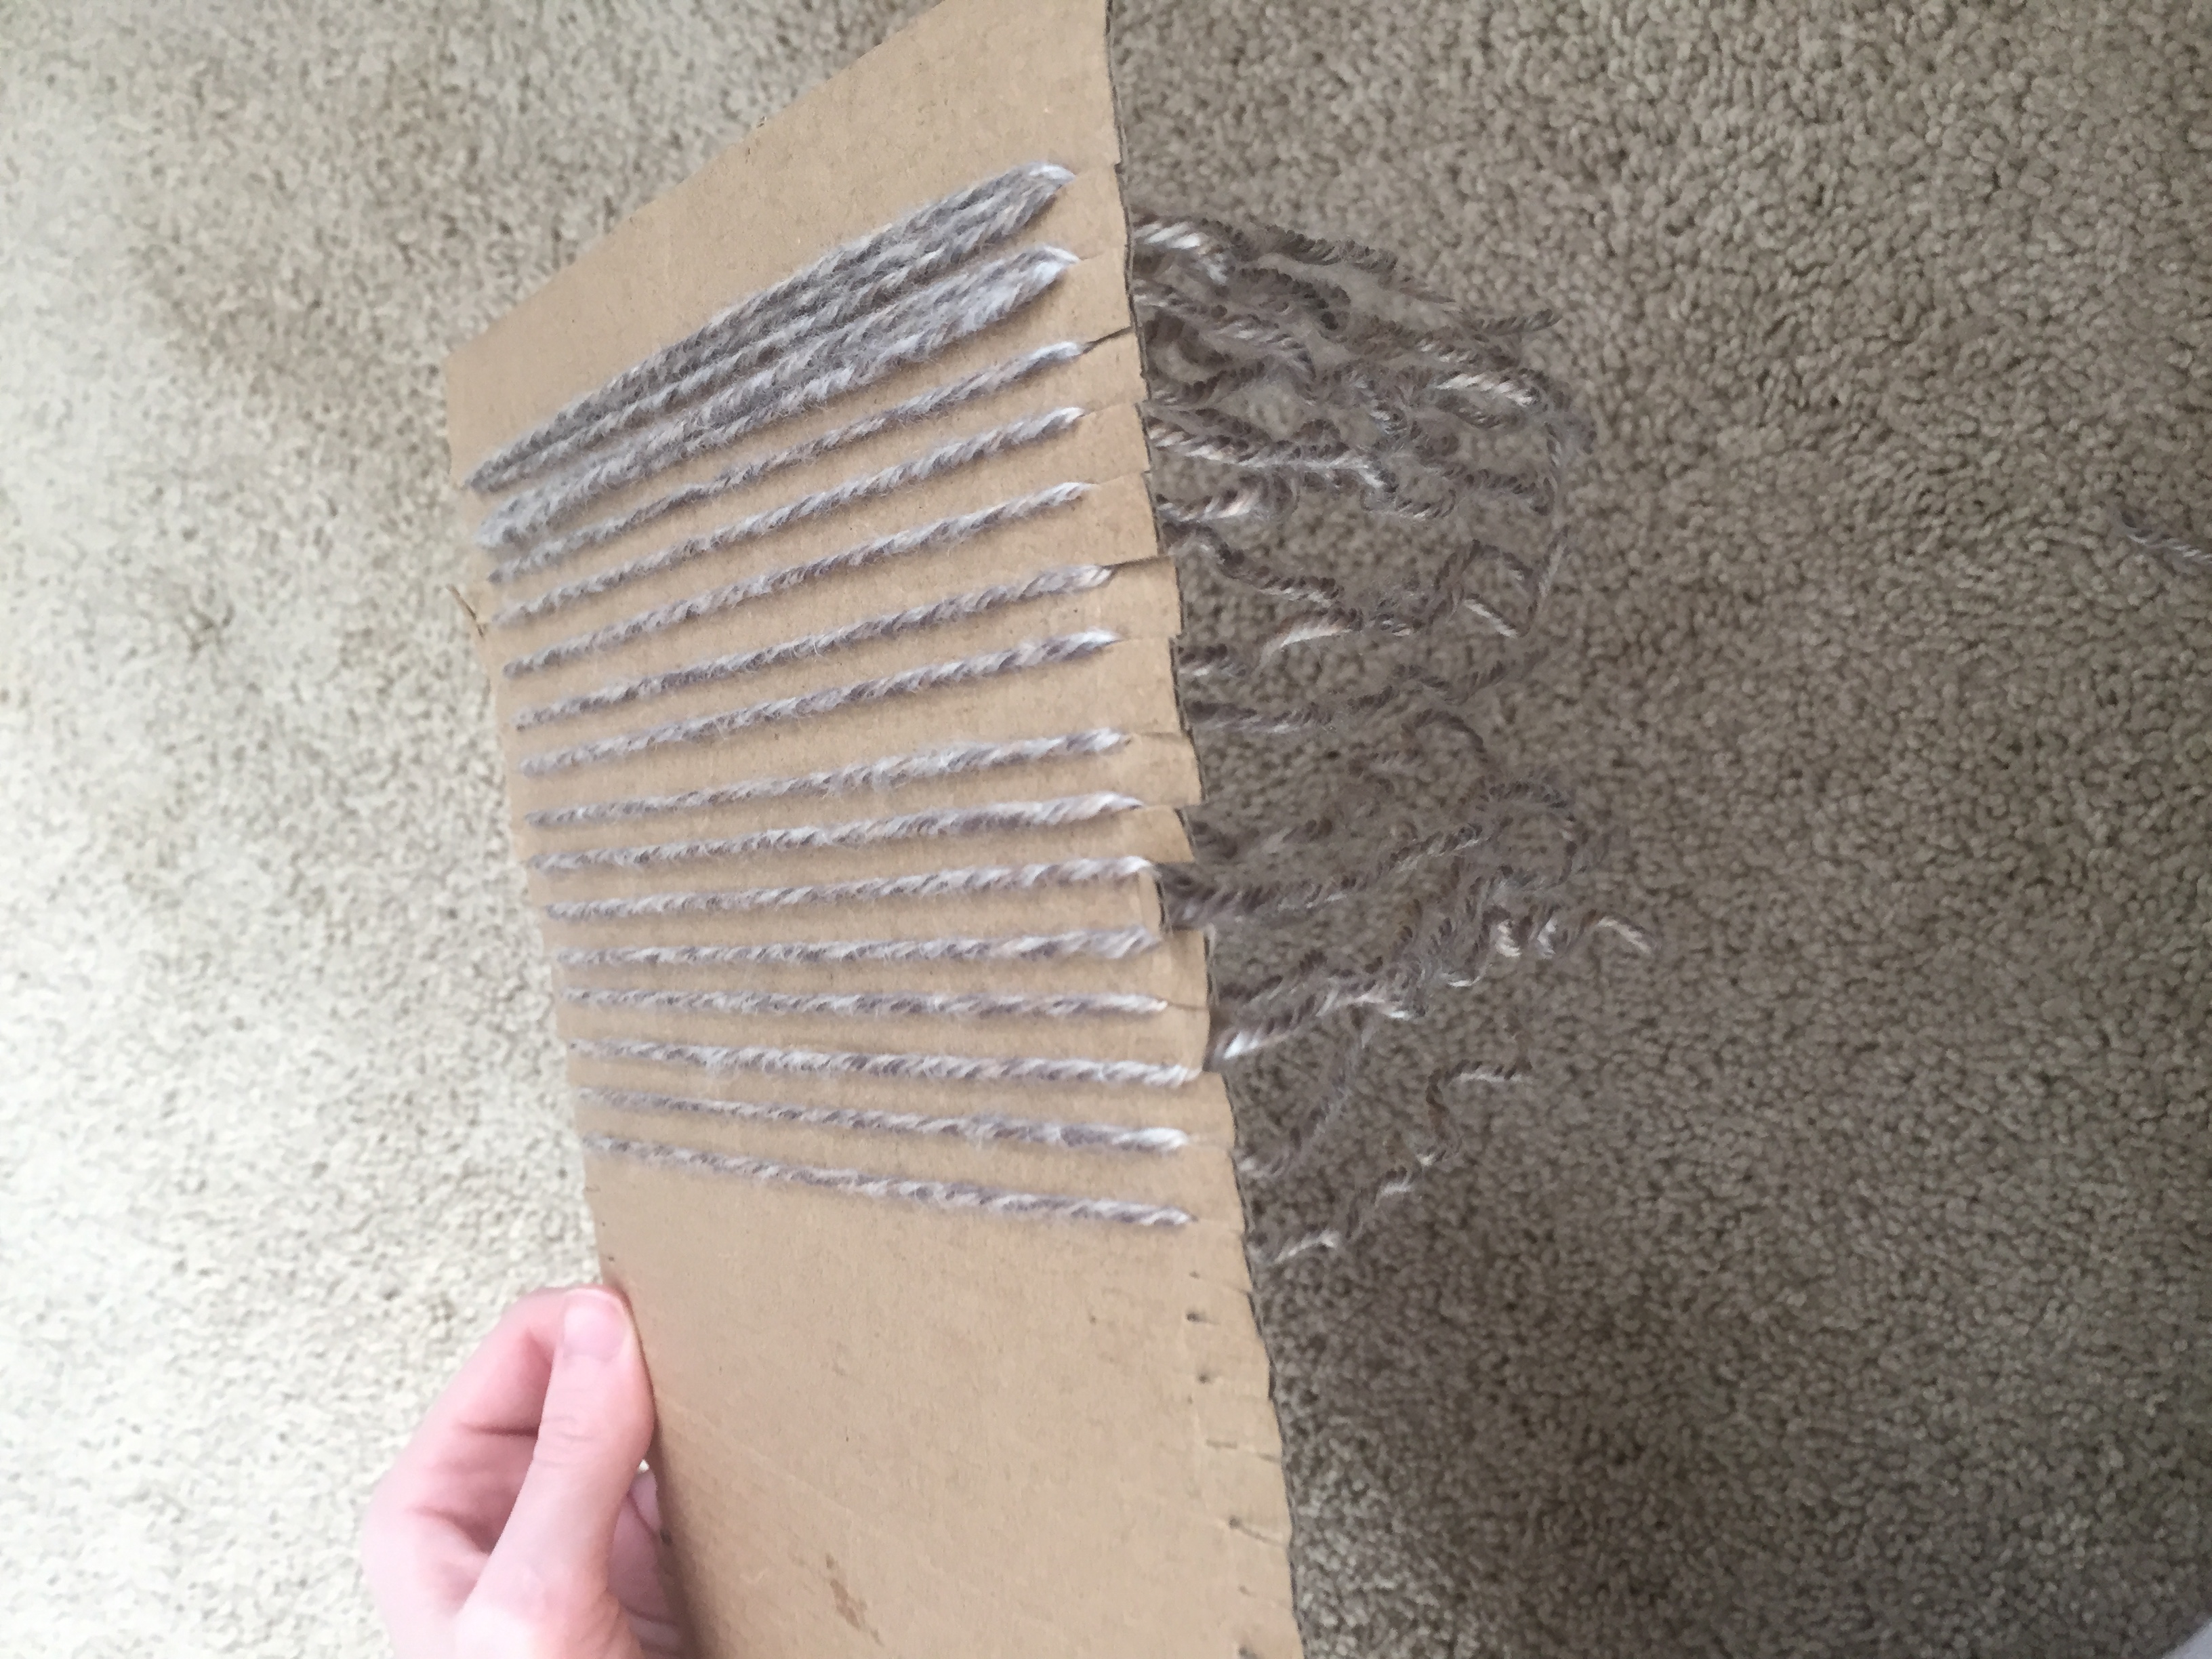
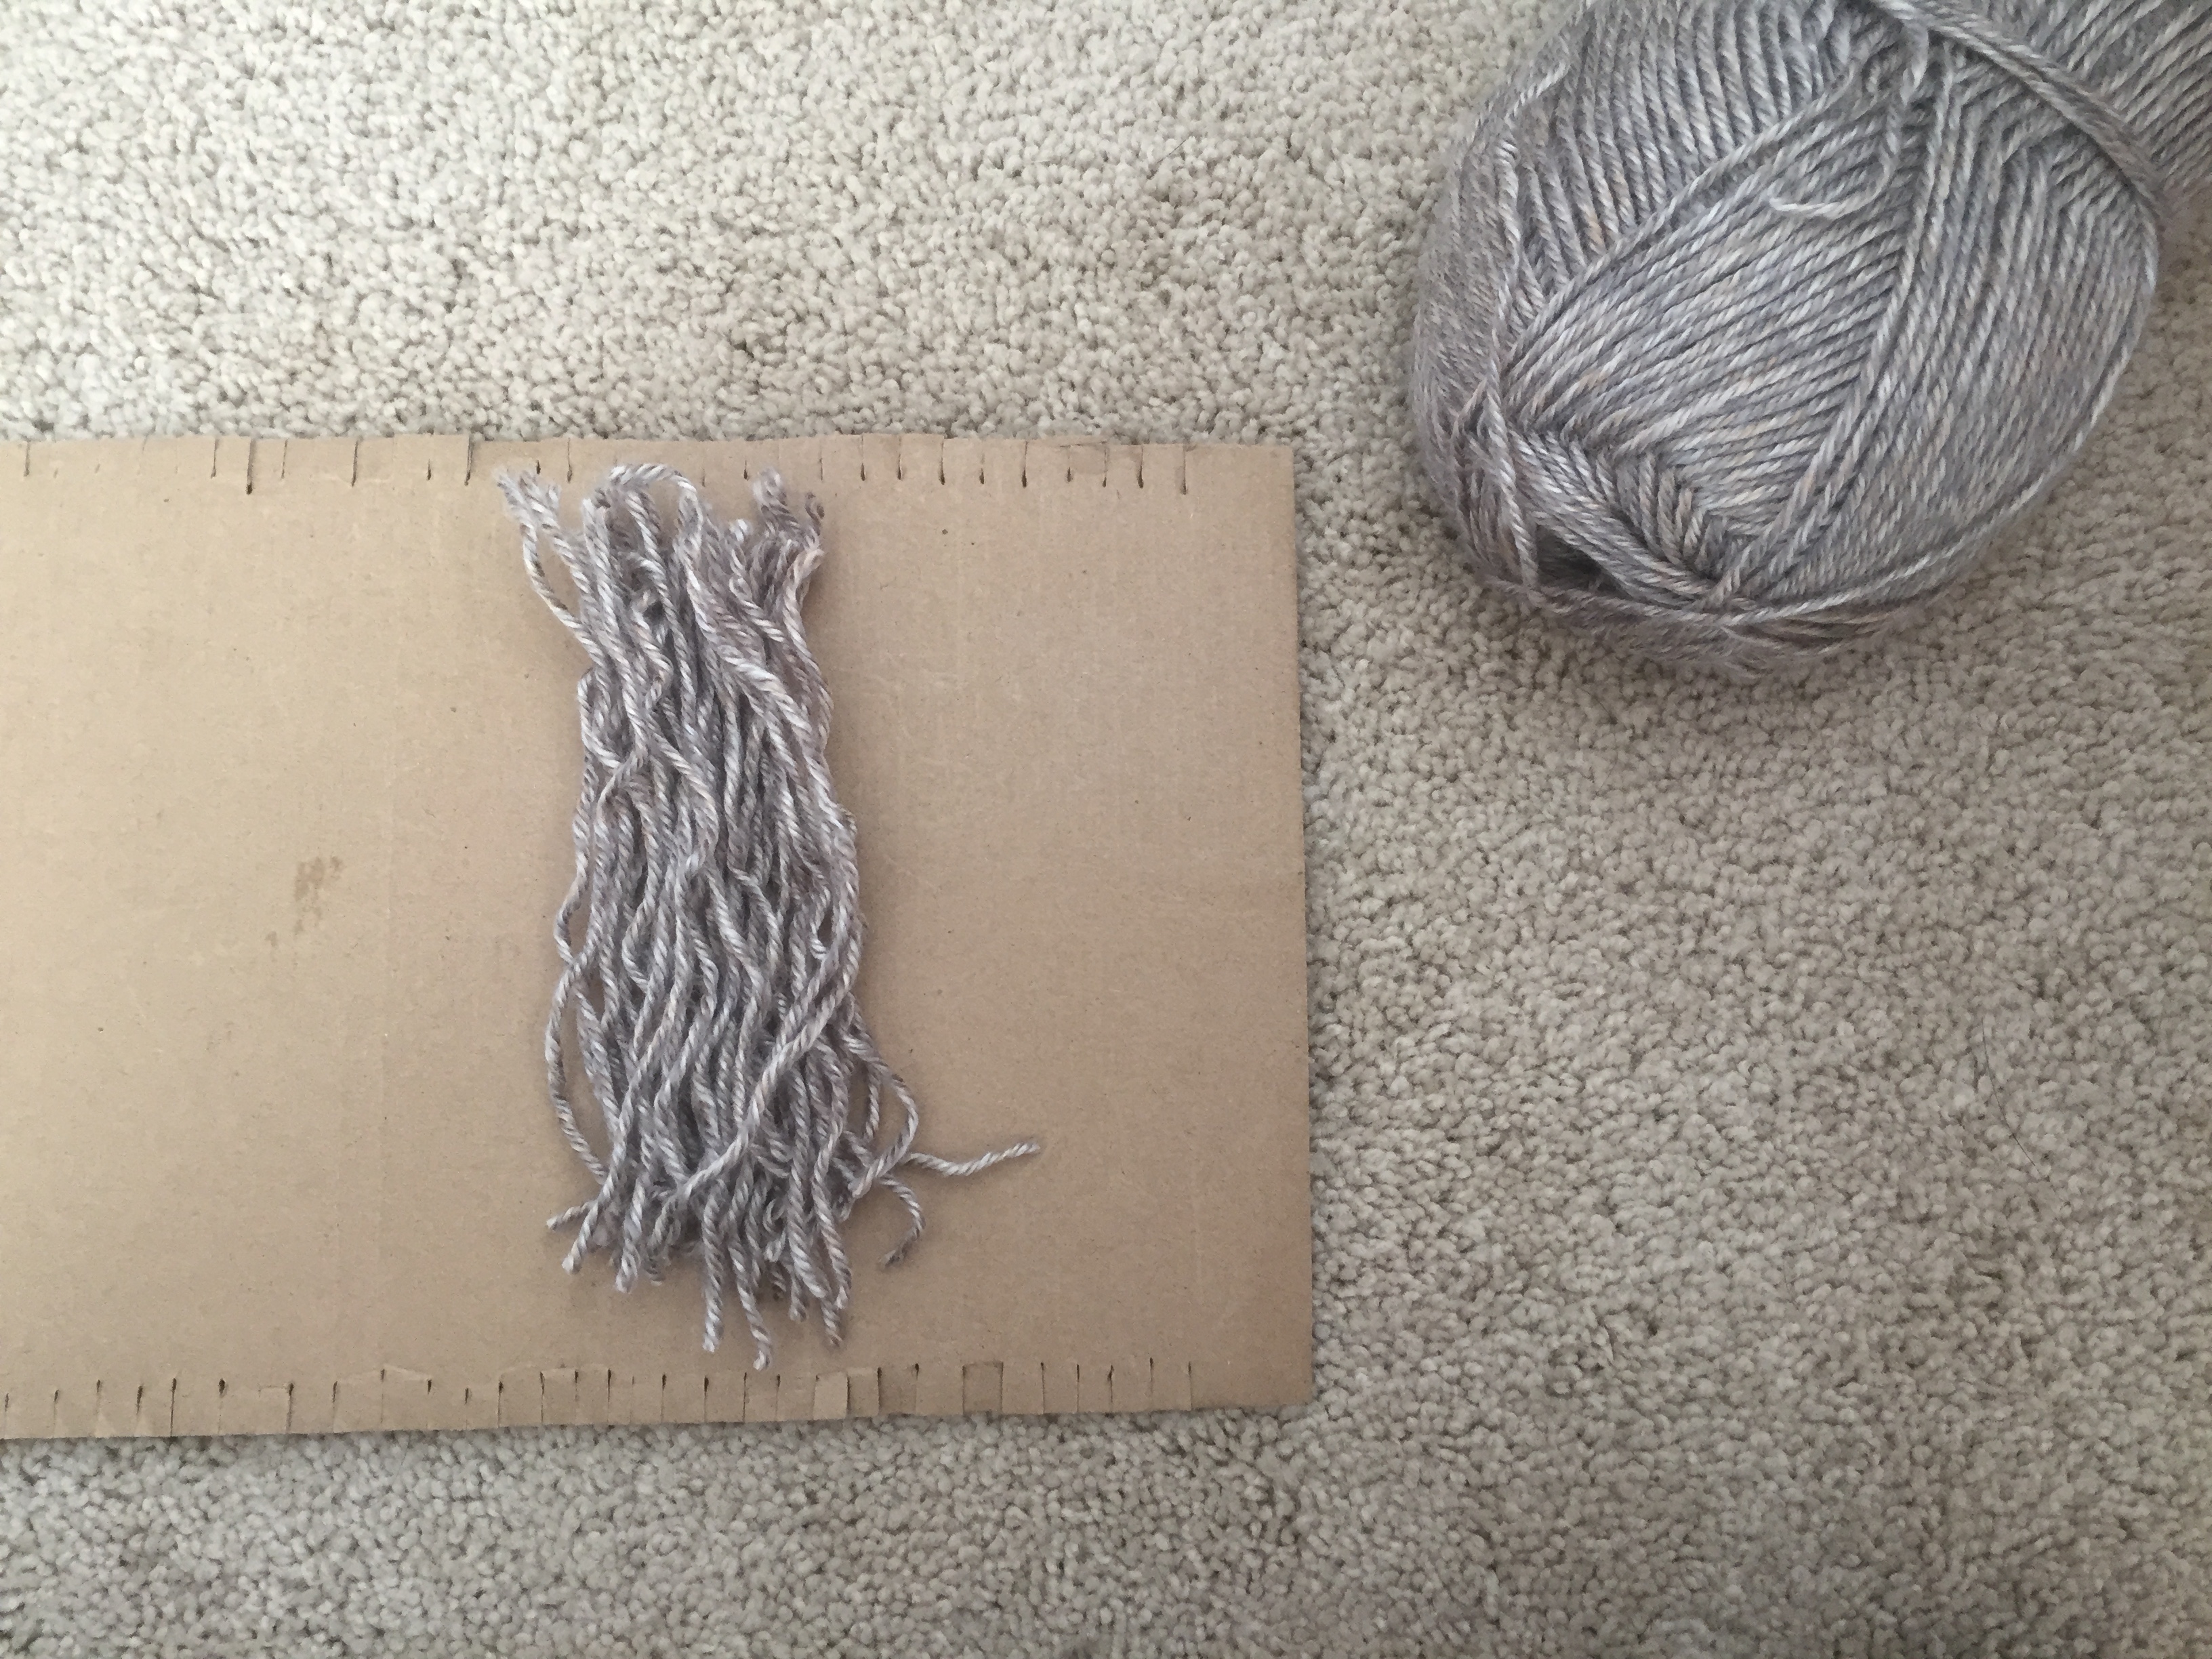
My solution to this problem was to figure a way to line up a bunch of fringe strips at the same time, while making sure they were all the same length. Once I figured out how long I wanted to the fringe to be, I grabbed a piece of cardboard and cut it to the length of my fringe plus half an inch. I then cut slits into the long edges of the cardboard all the way across. I was left with a chunk of cardboard that looks like it has thick fringe on the edges (convenient, right?):

Now, I did this very quickly and didn’t mind the unevenness since I wanted very organic looking fringe on my scarf. However, if you wanted very clean fringe that you don’t have to trim a lot, I would suggest measuring your slits so they are perfectly even. This would also give you an idea of how many fringe strips you can make in one pass.
Once the cardboard was cut, I placed a short tail into one of the slits and ran the yarn to the slit directly across from it. I wrapped the yarn through both of those slits 2 more times so I had a total of 3 wraps in that section.

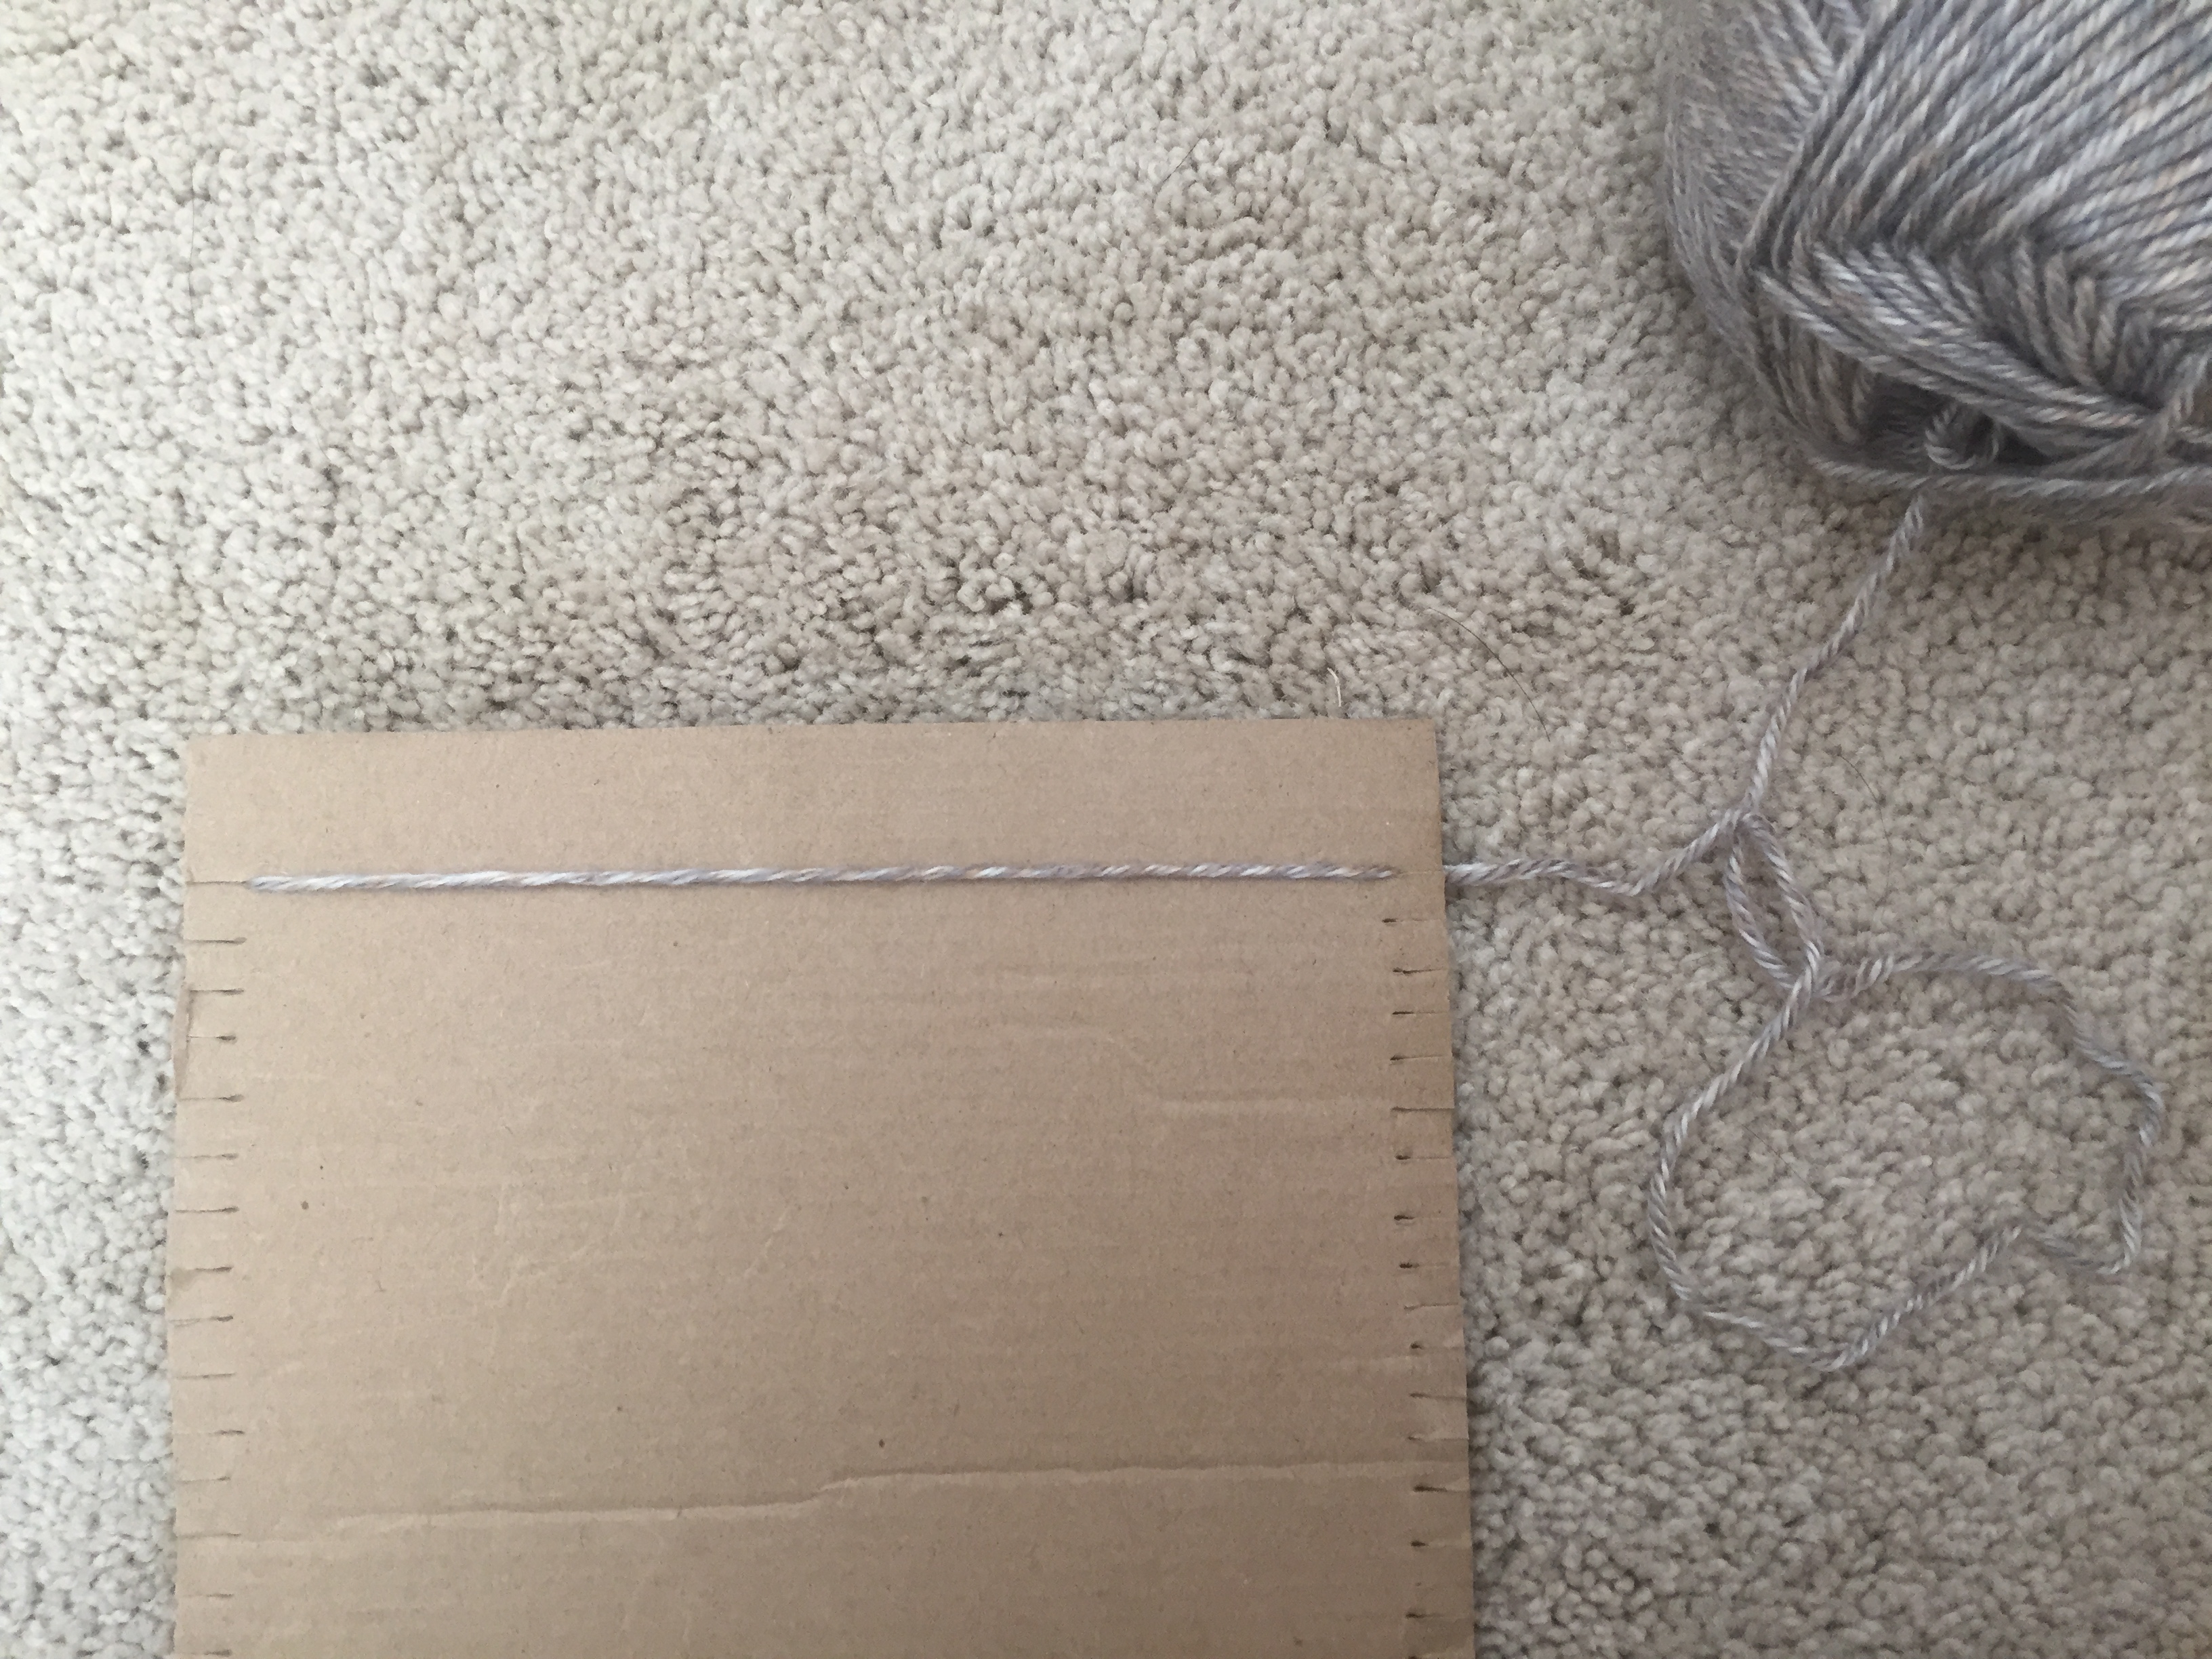
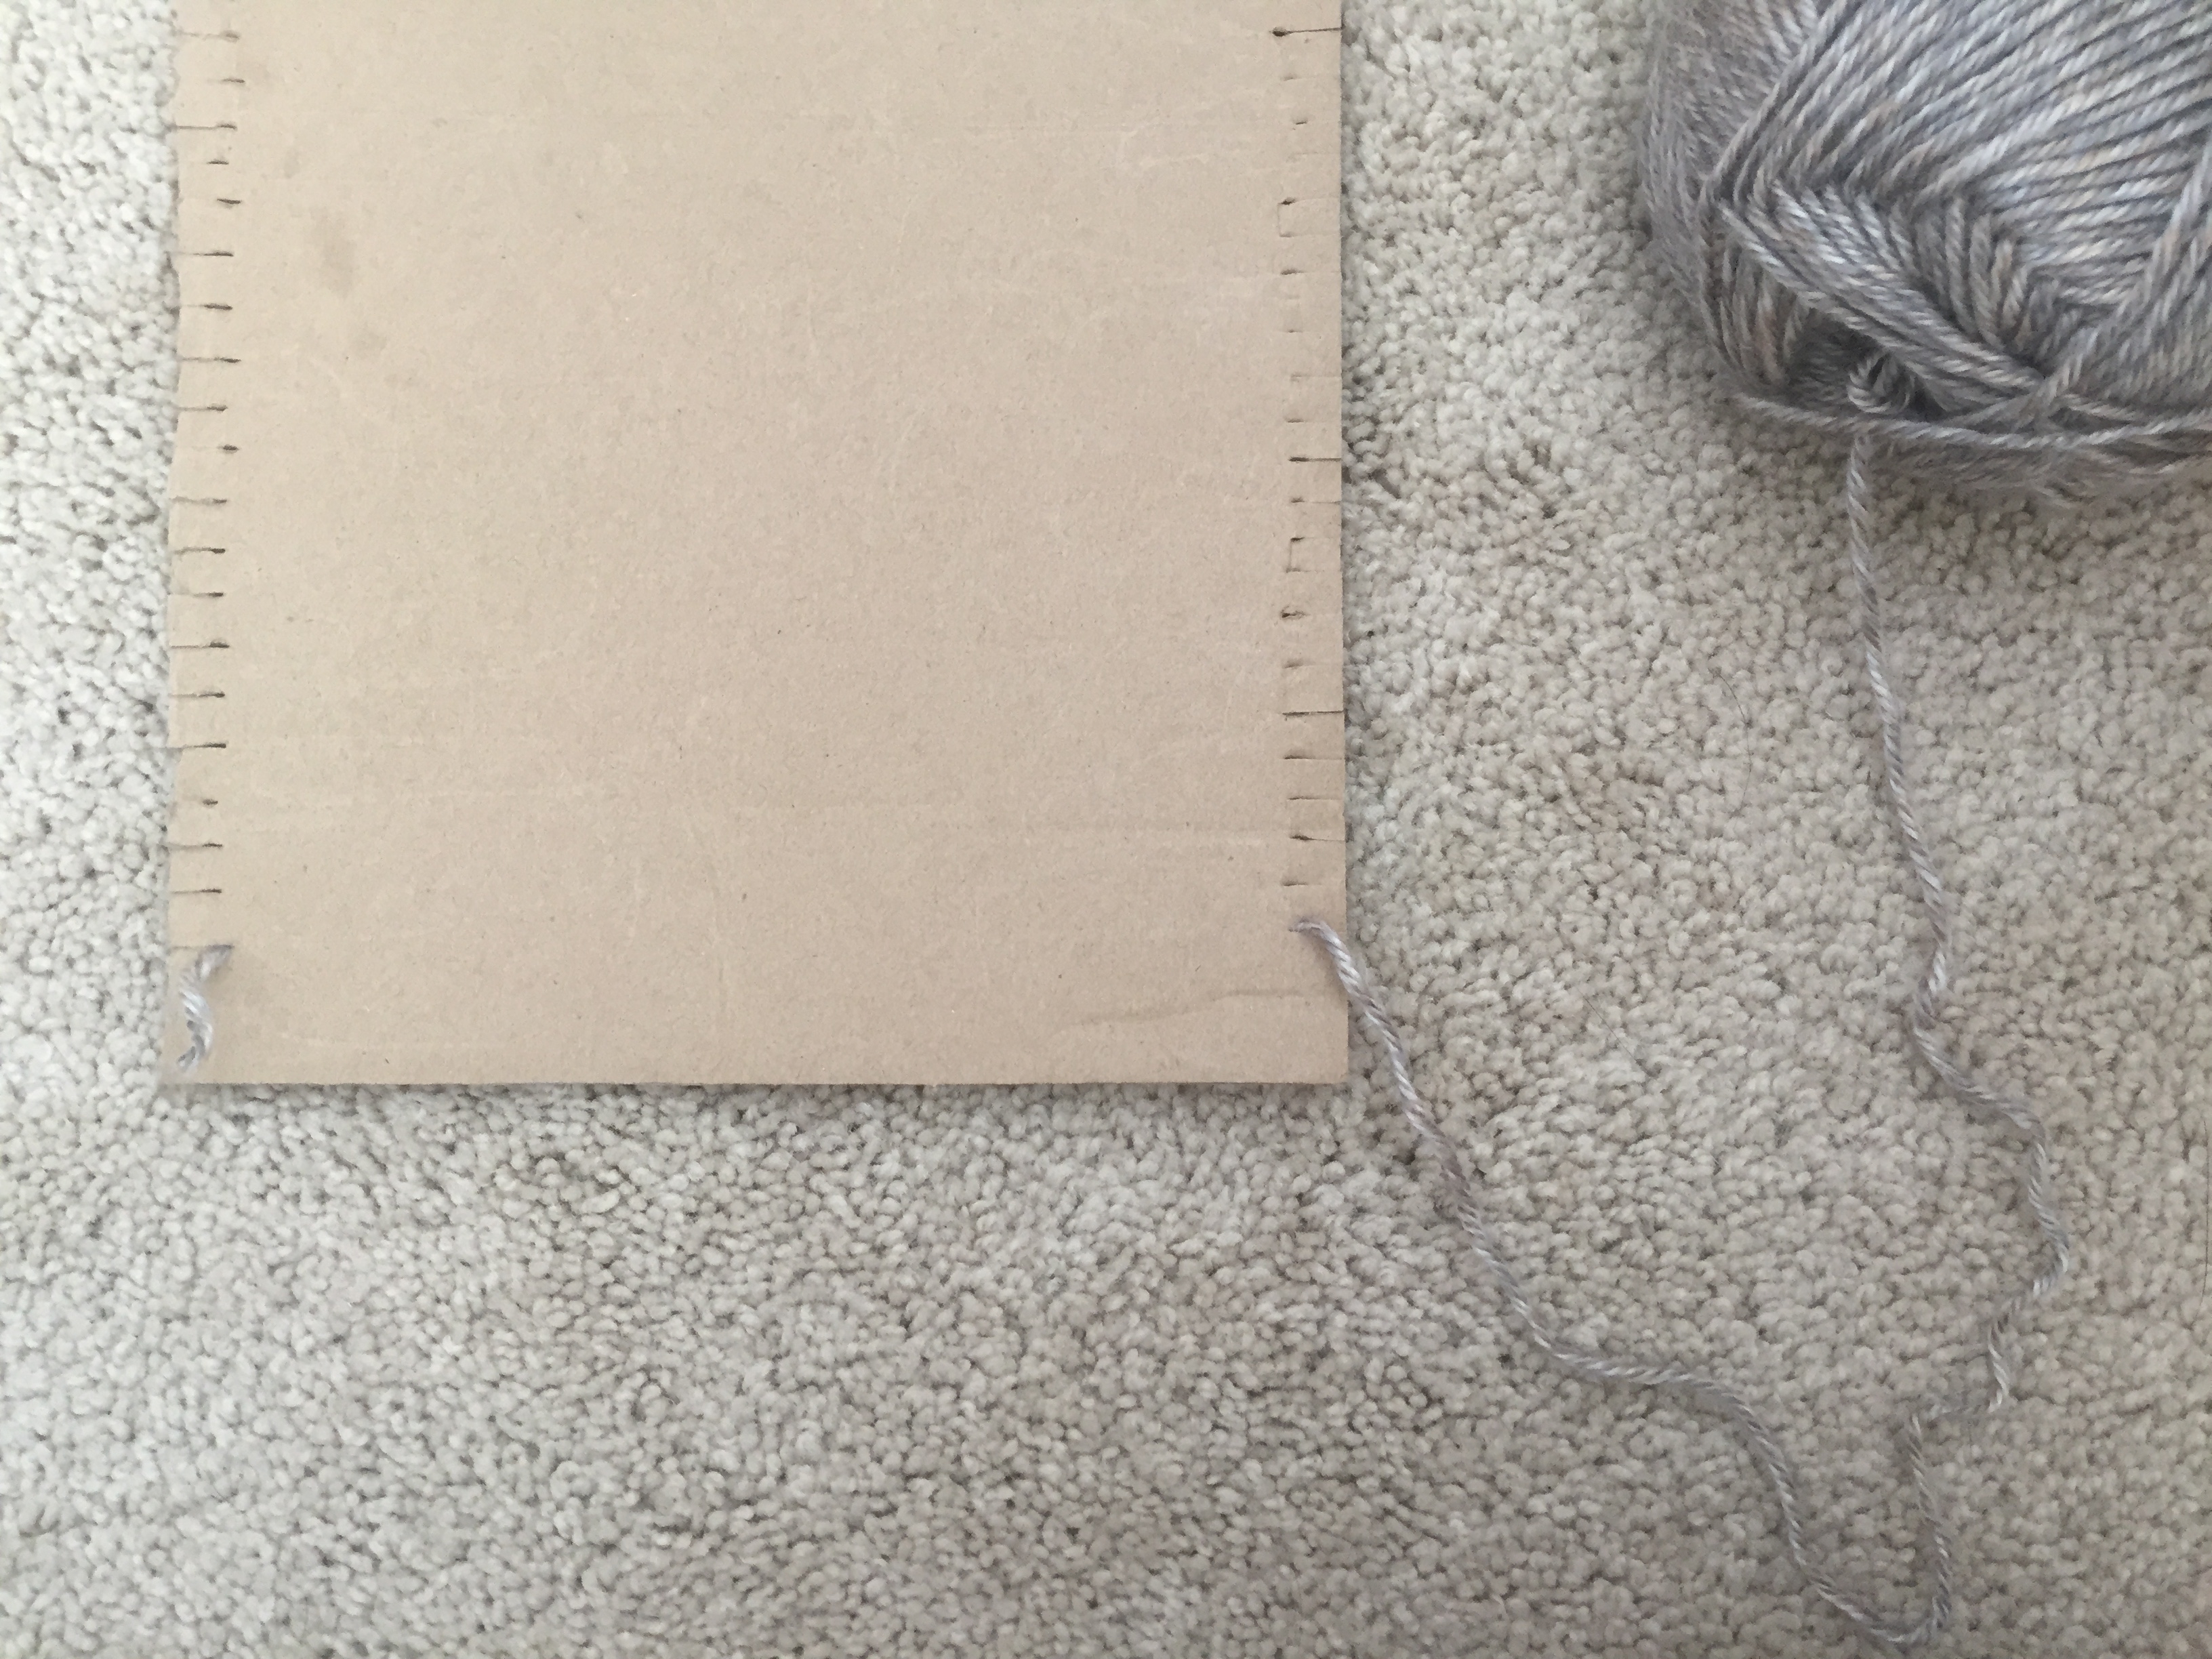

To continue down the board, I just moved to the next section of slits on my next wrap.


I continued this process the entire way across the cardboard until I reached the last slit. The photo I have here is not the full cardboard, but I just wanted to give the idea of what I did. I didn’t need anymore fringe when I wrote this, so I didn’t want to waste a lot of yarn creating the mini tutorial. I also changed to only 1 wrap around each of the sections to save more yarn.

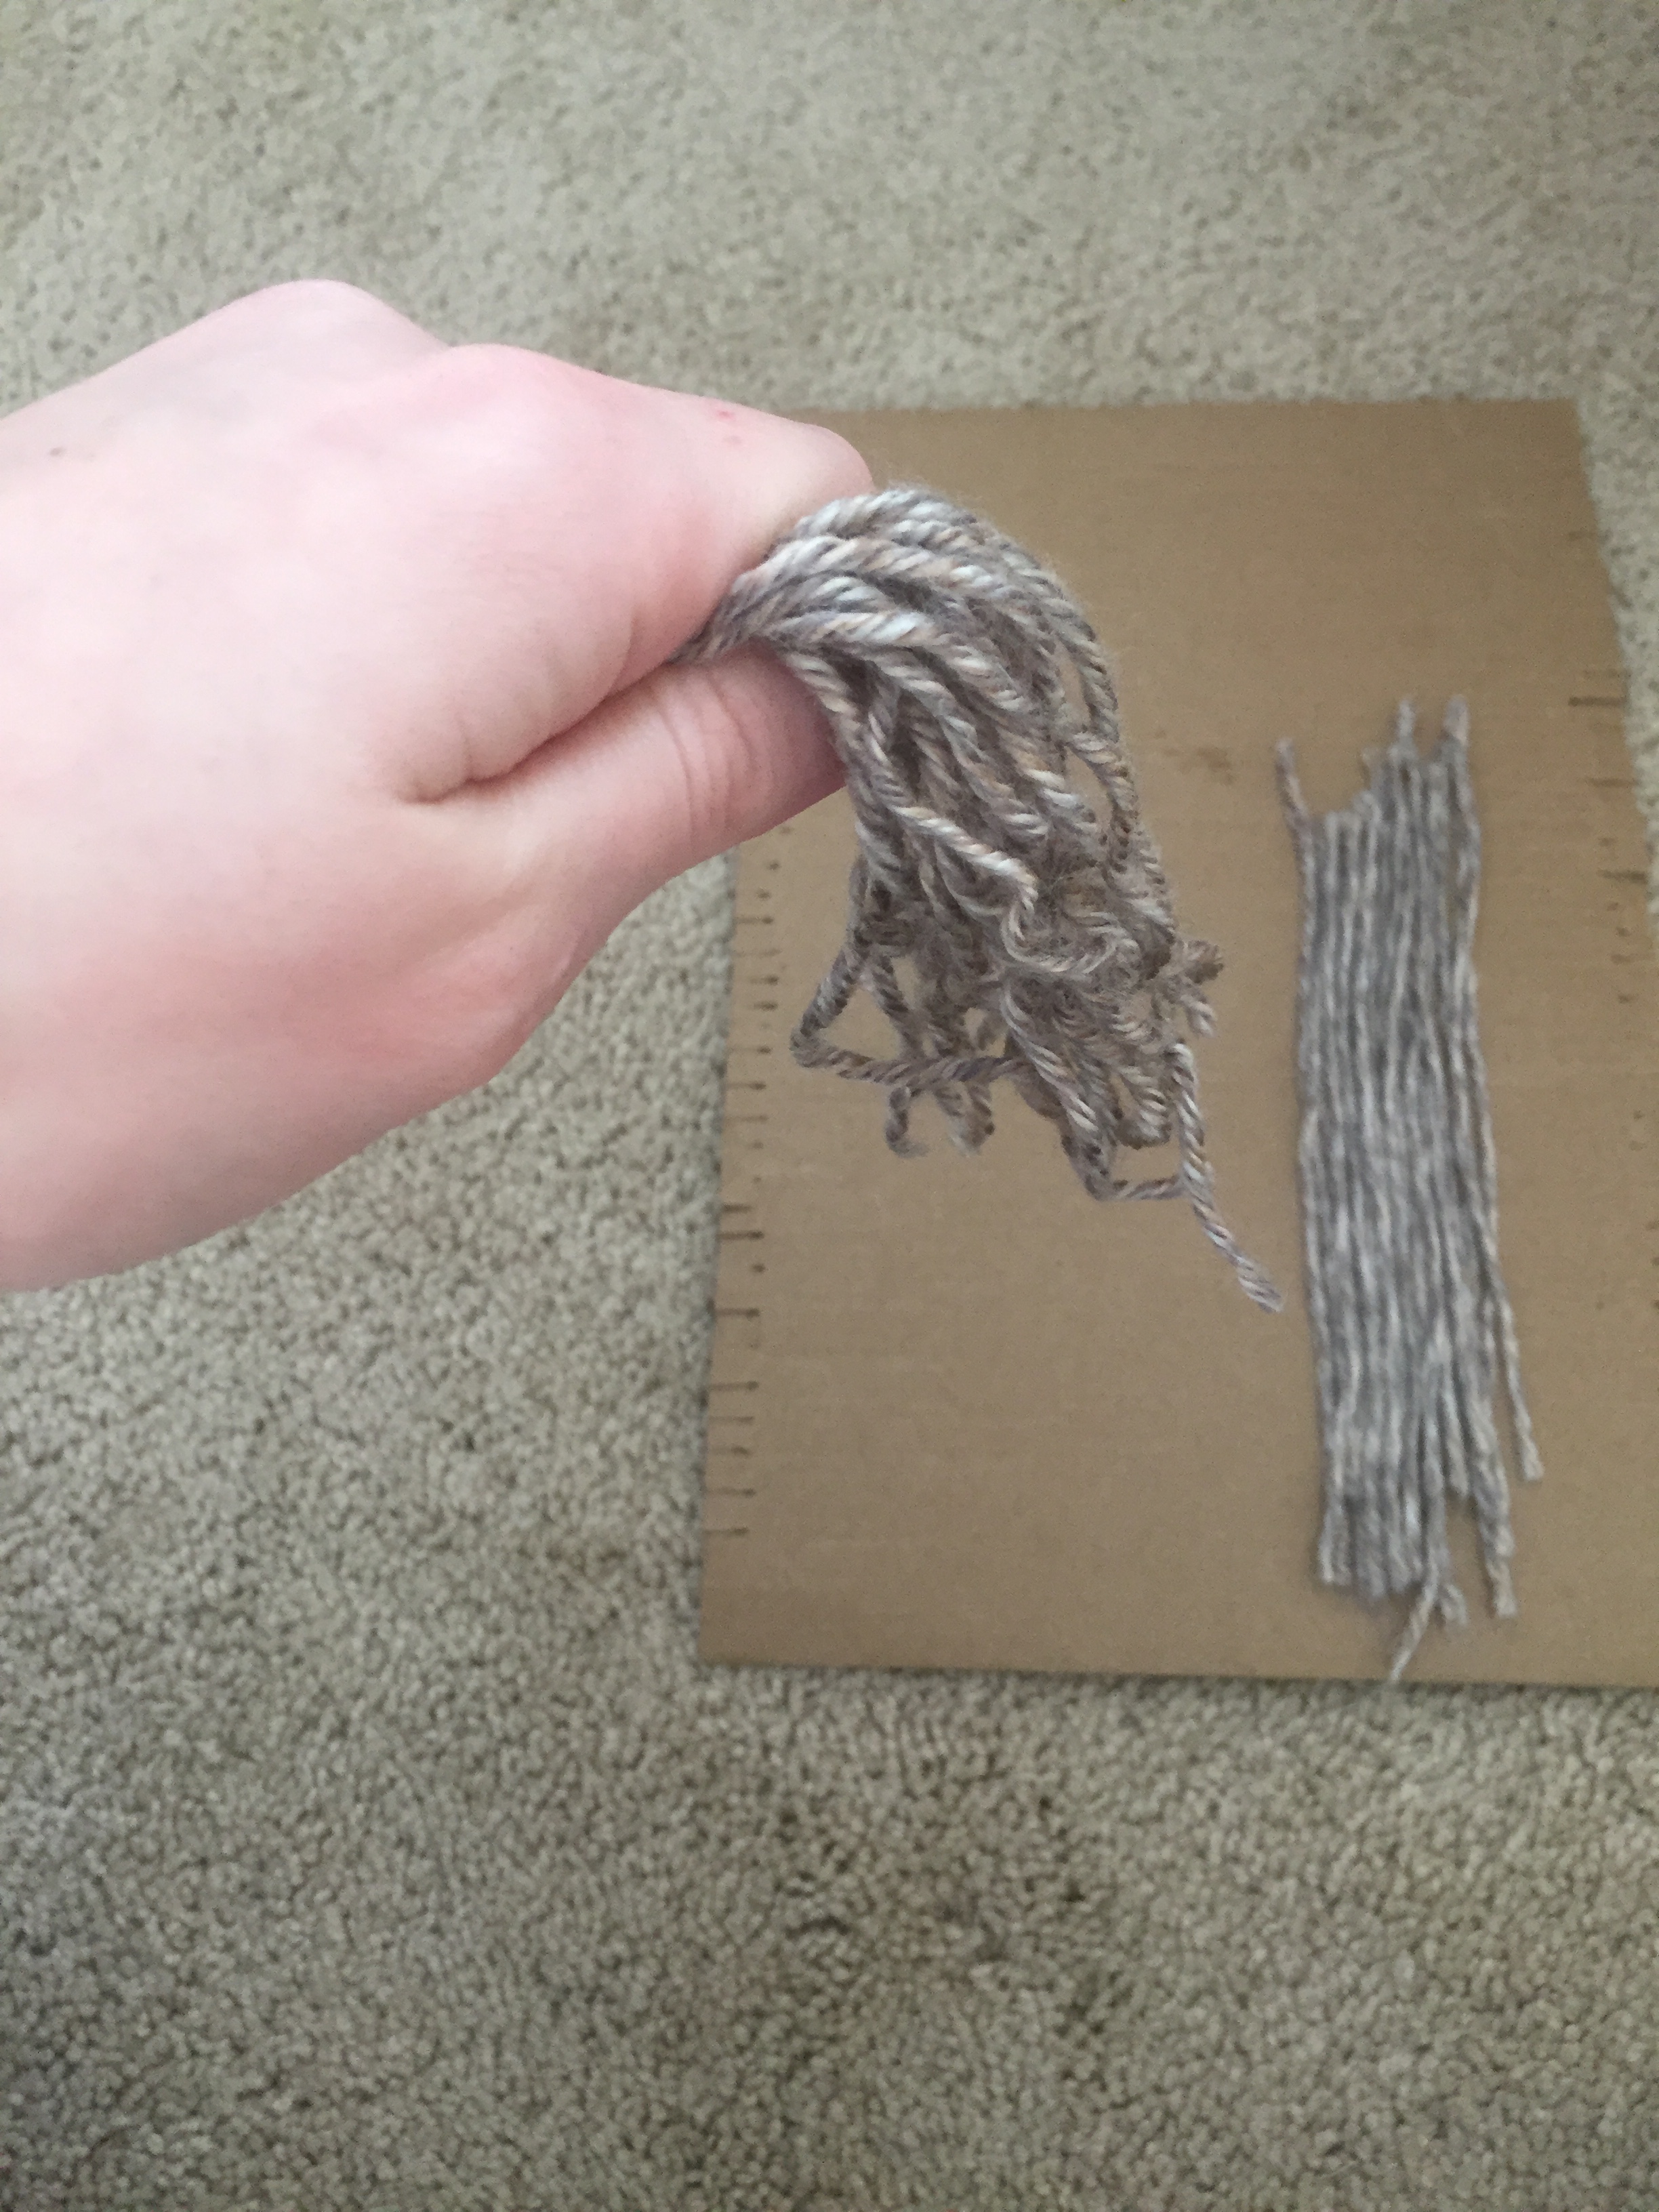
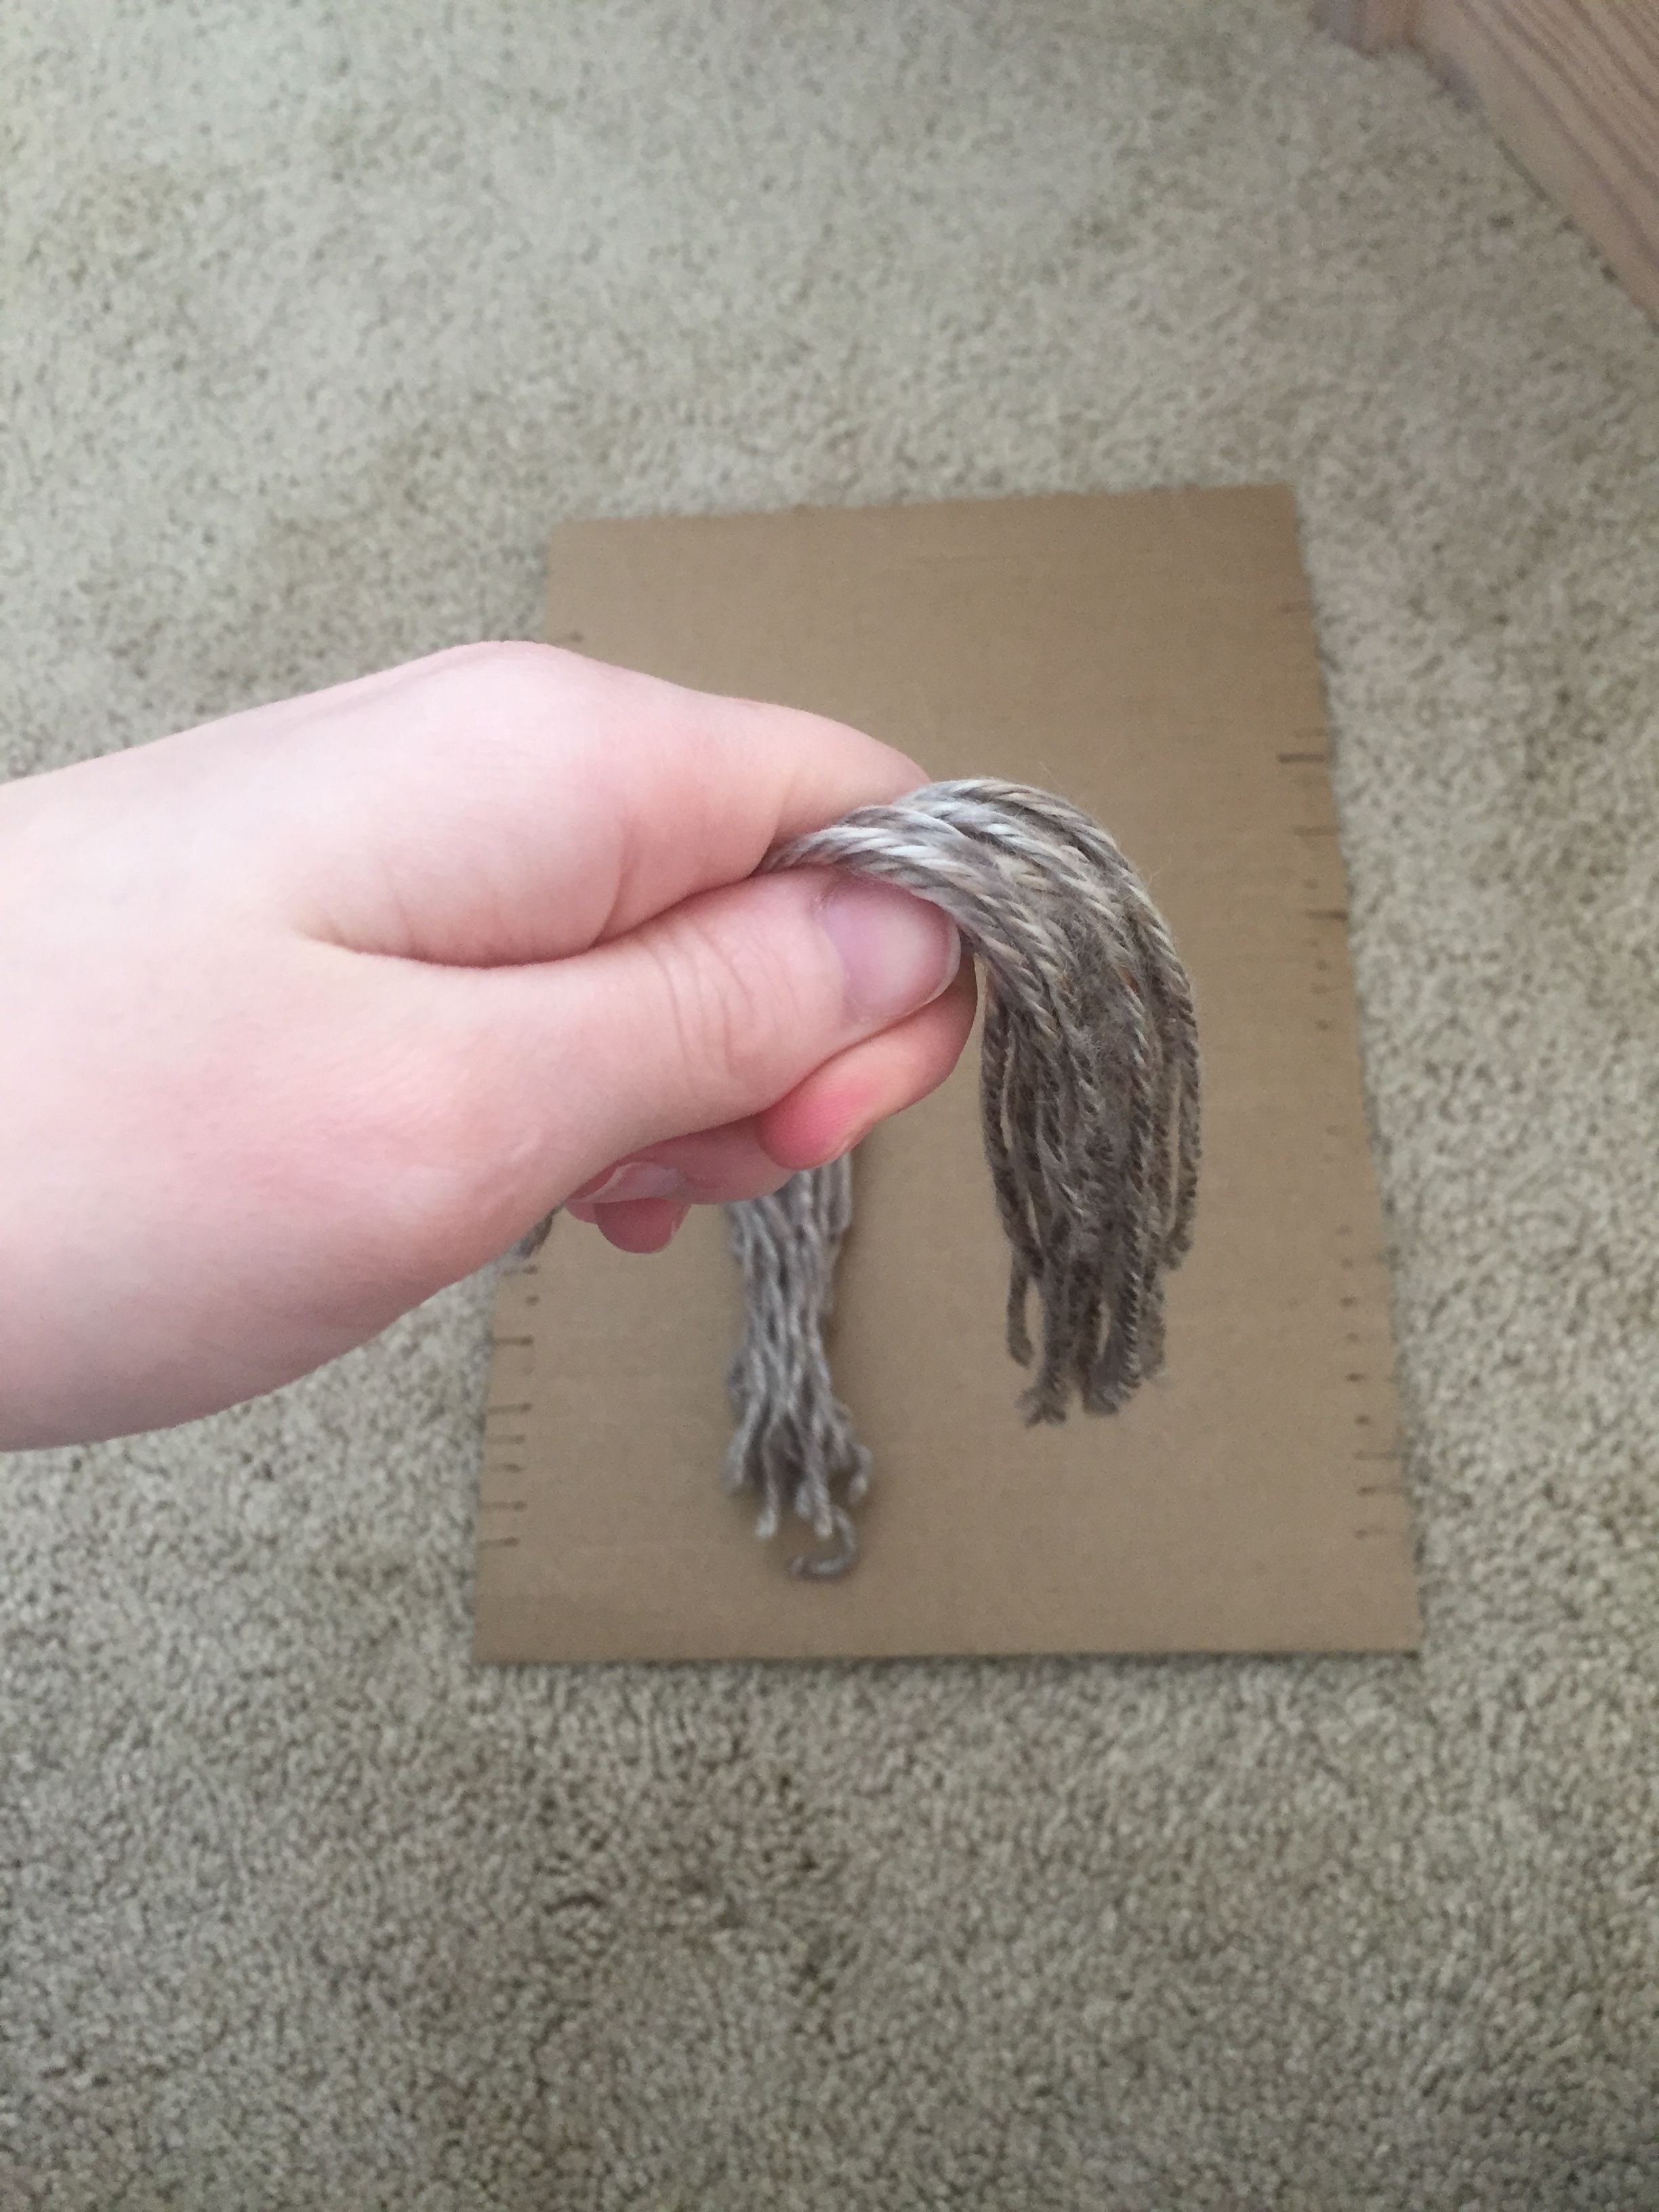
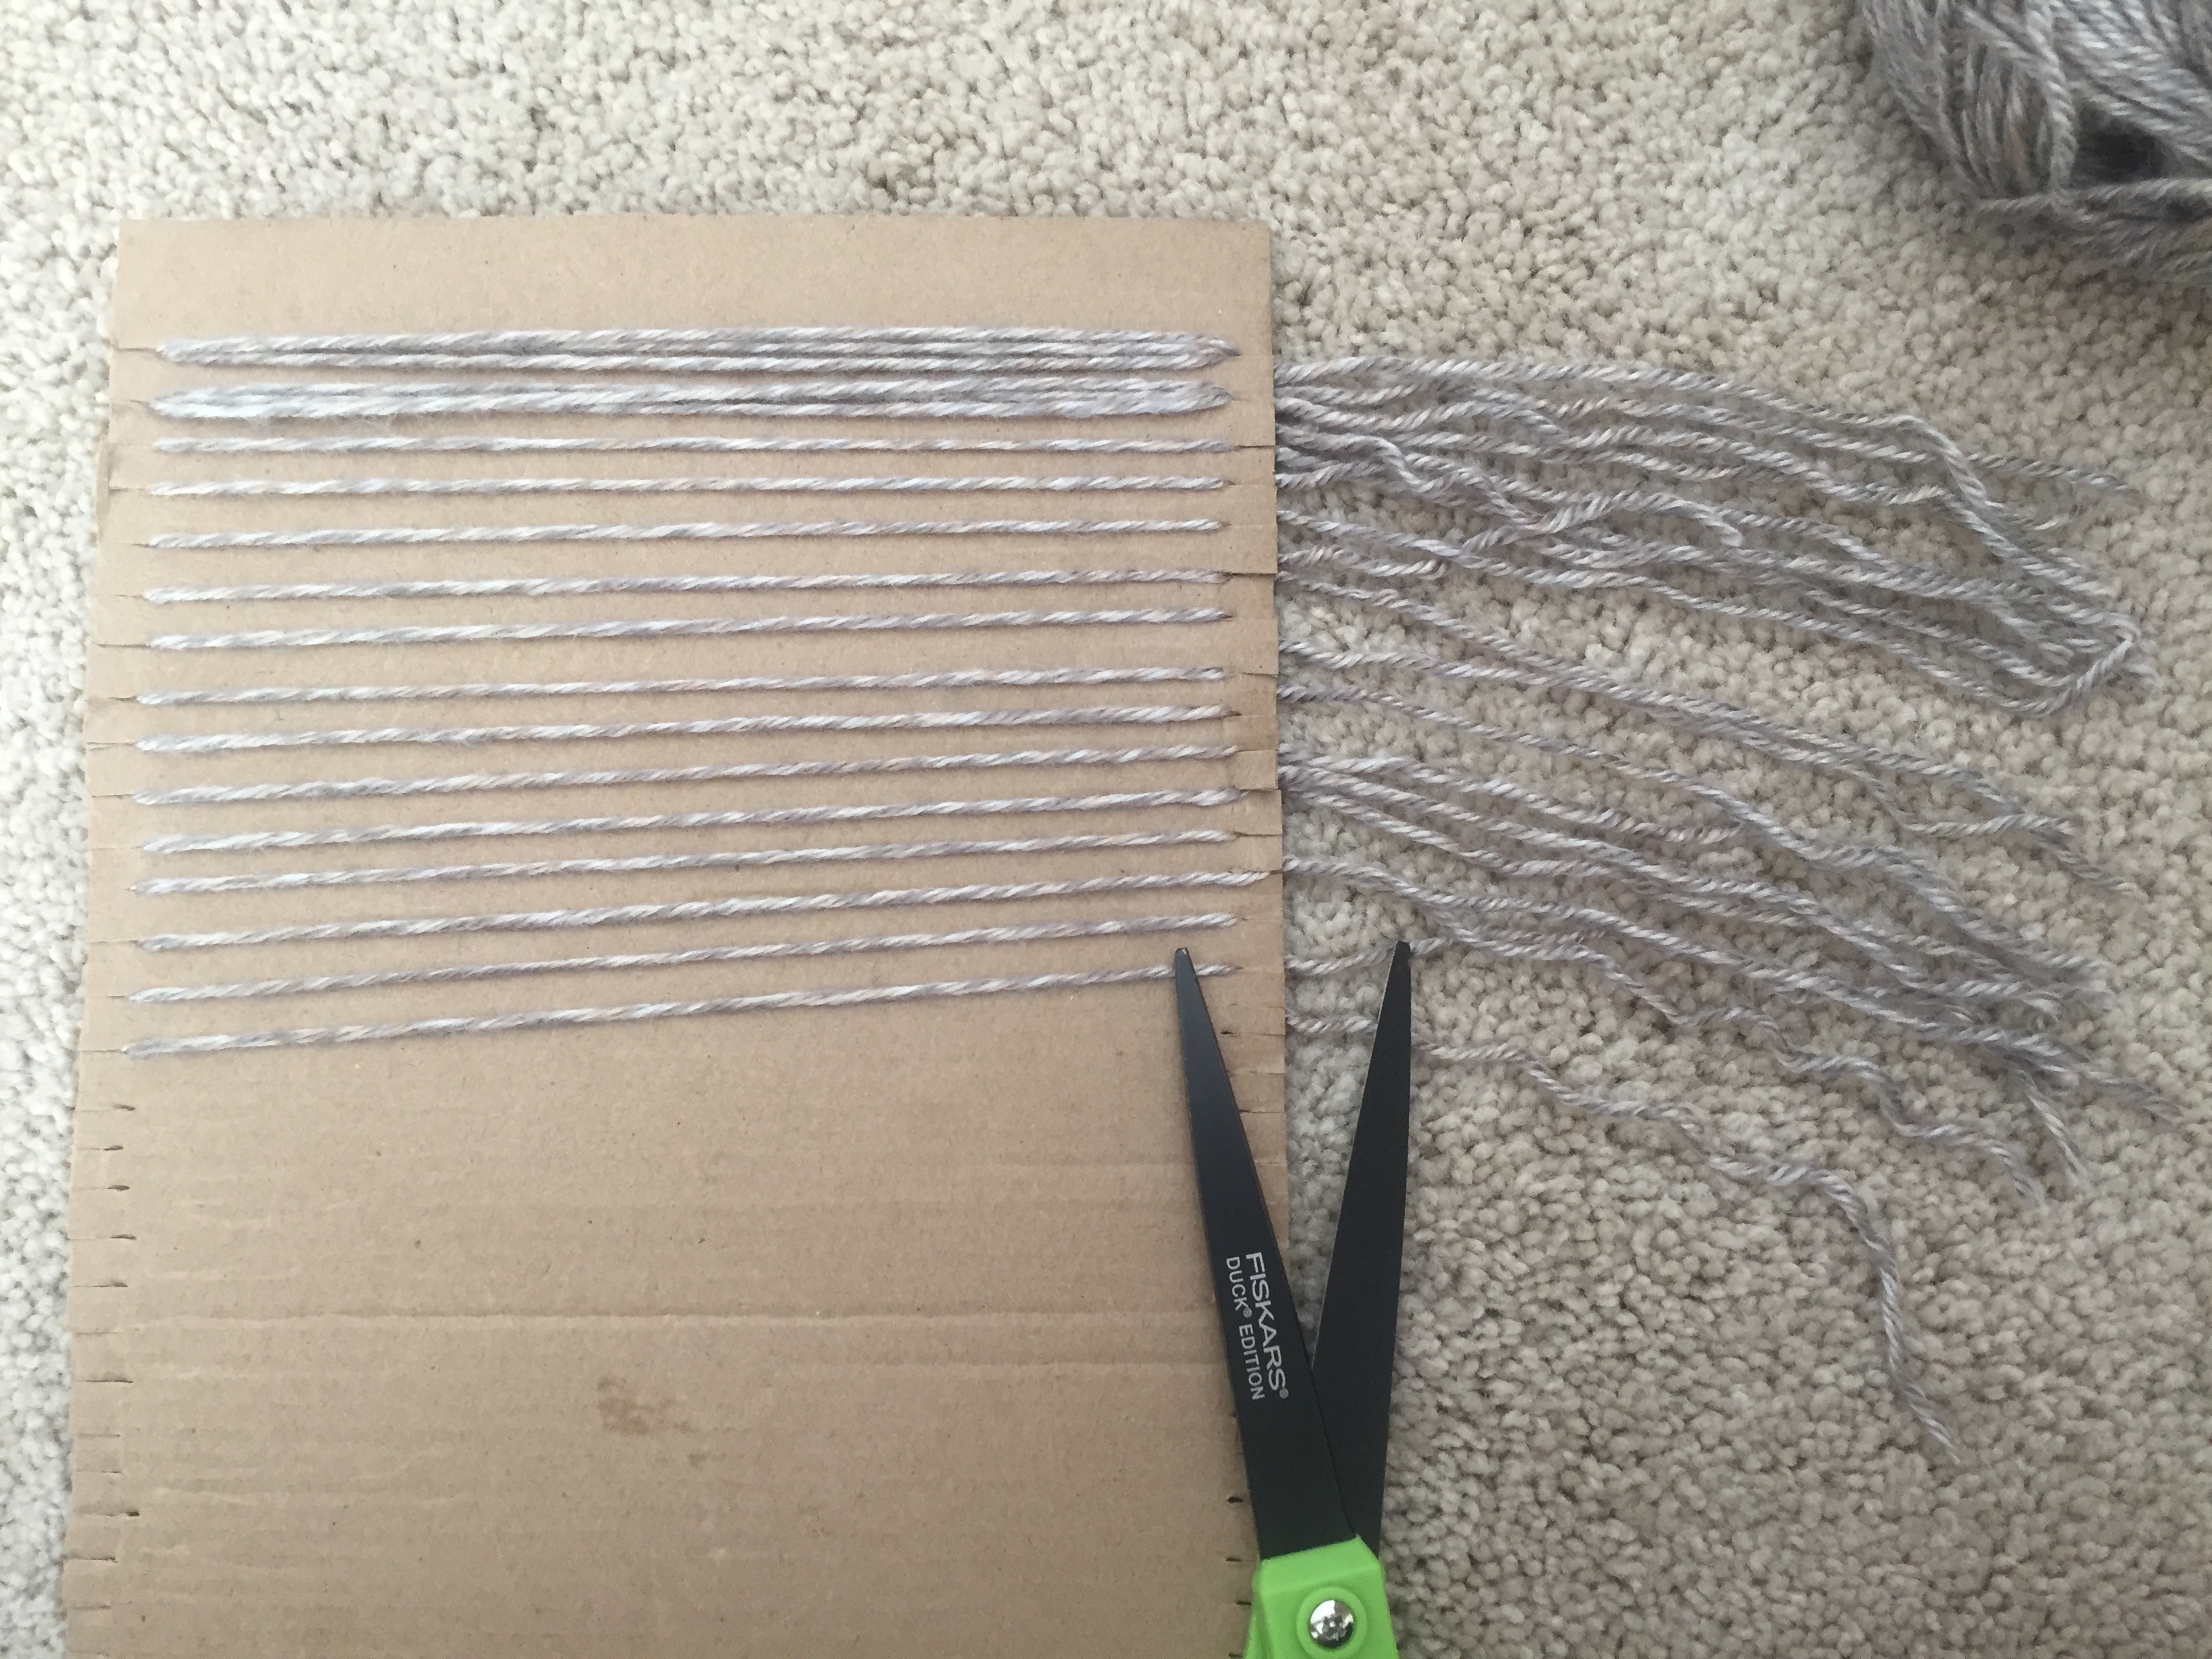
Finally, to cut the fringes, I took my scissors along one side of the cardboard and cut every fringe. Then I flipped the cardboard over and did the same thing on the opposite side of the yarn wraps. You can see in the photos below that the already cut yarn hangs off the edge you are now cutting on.

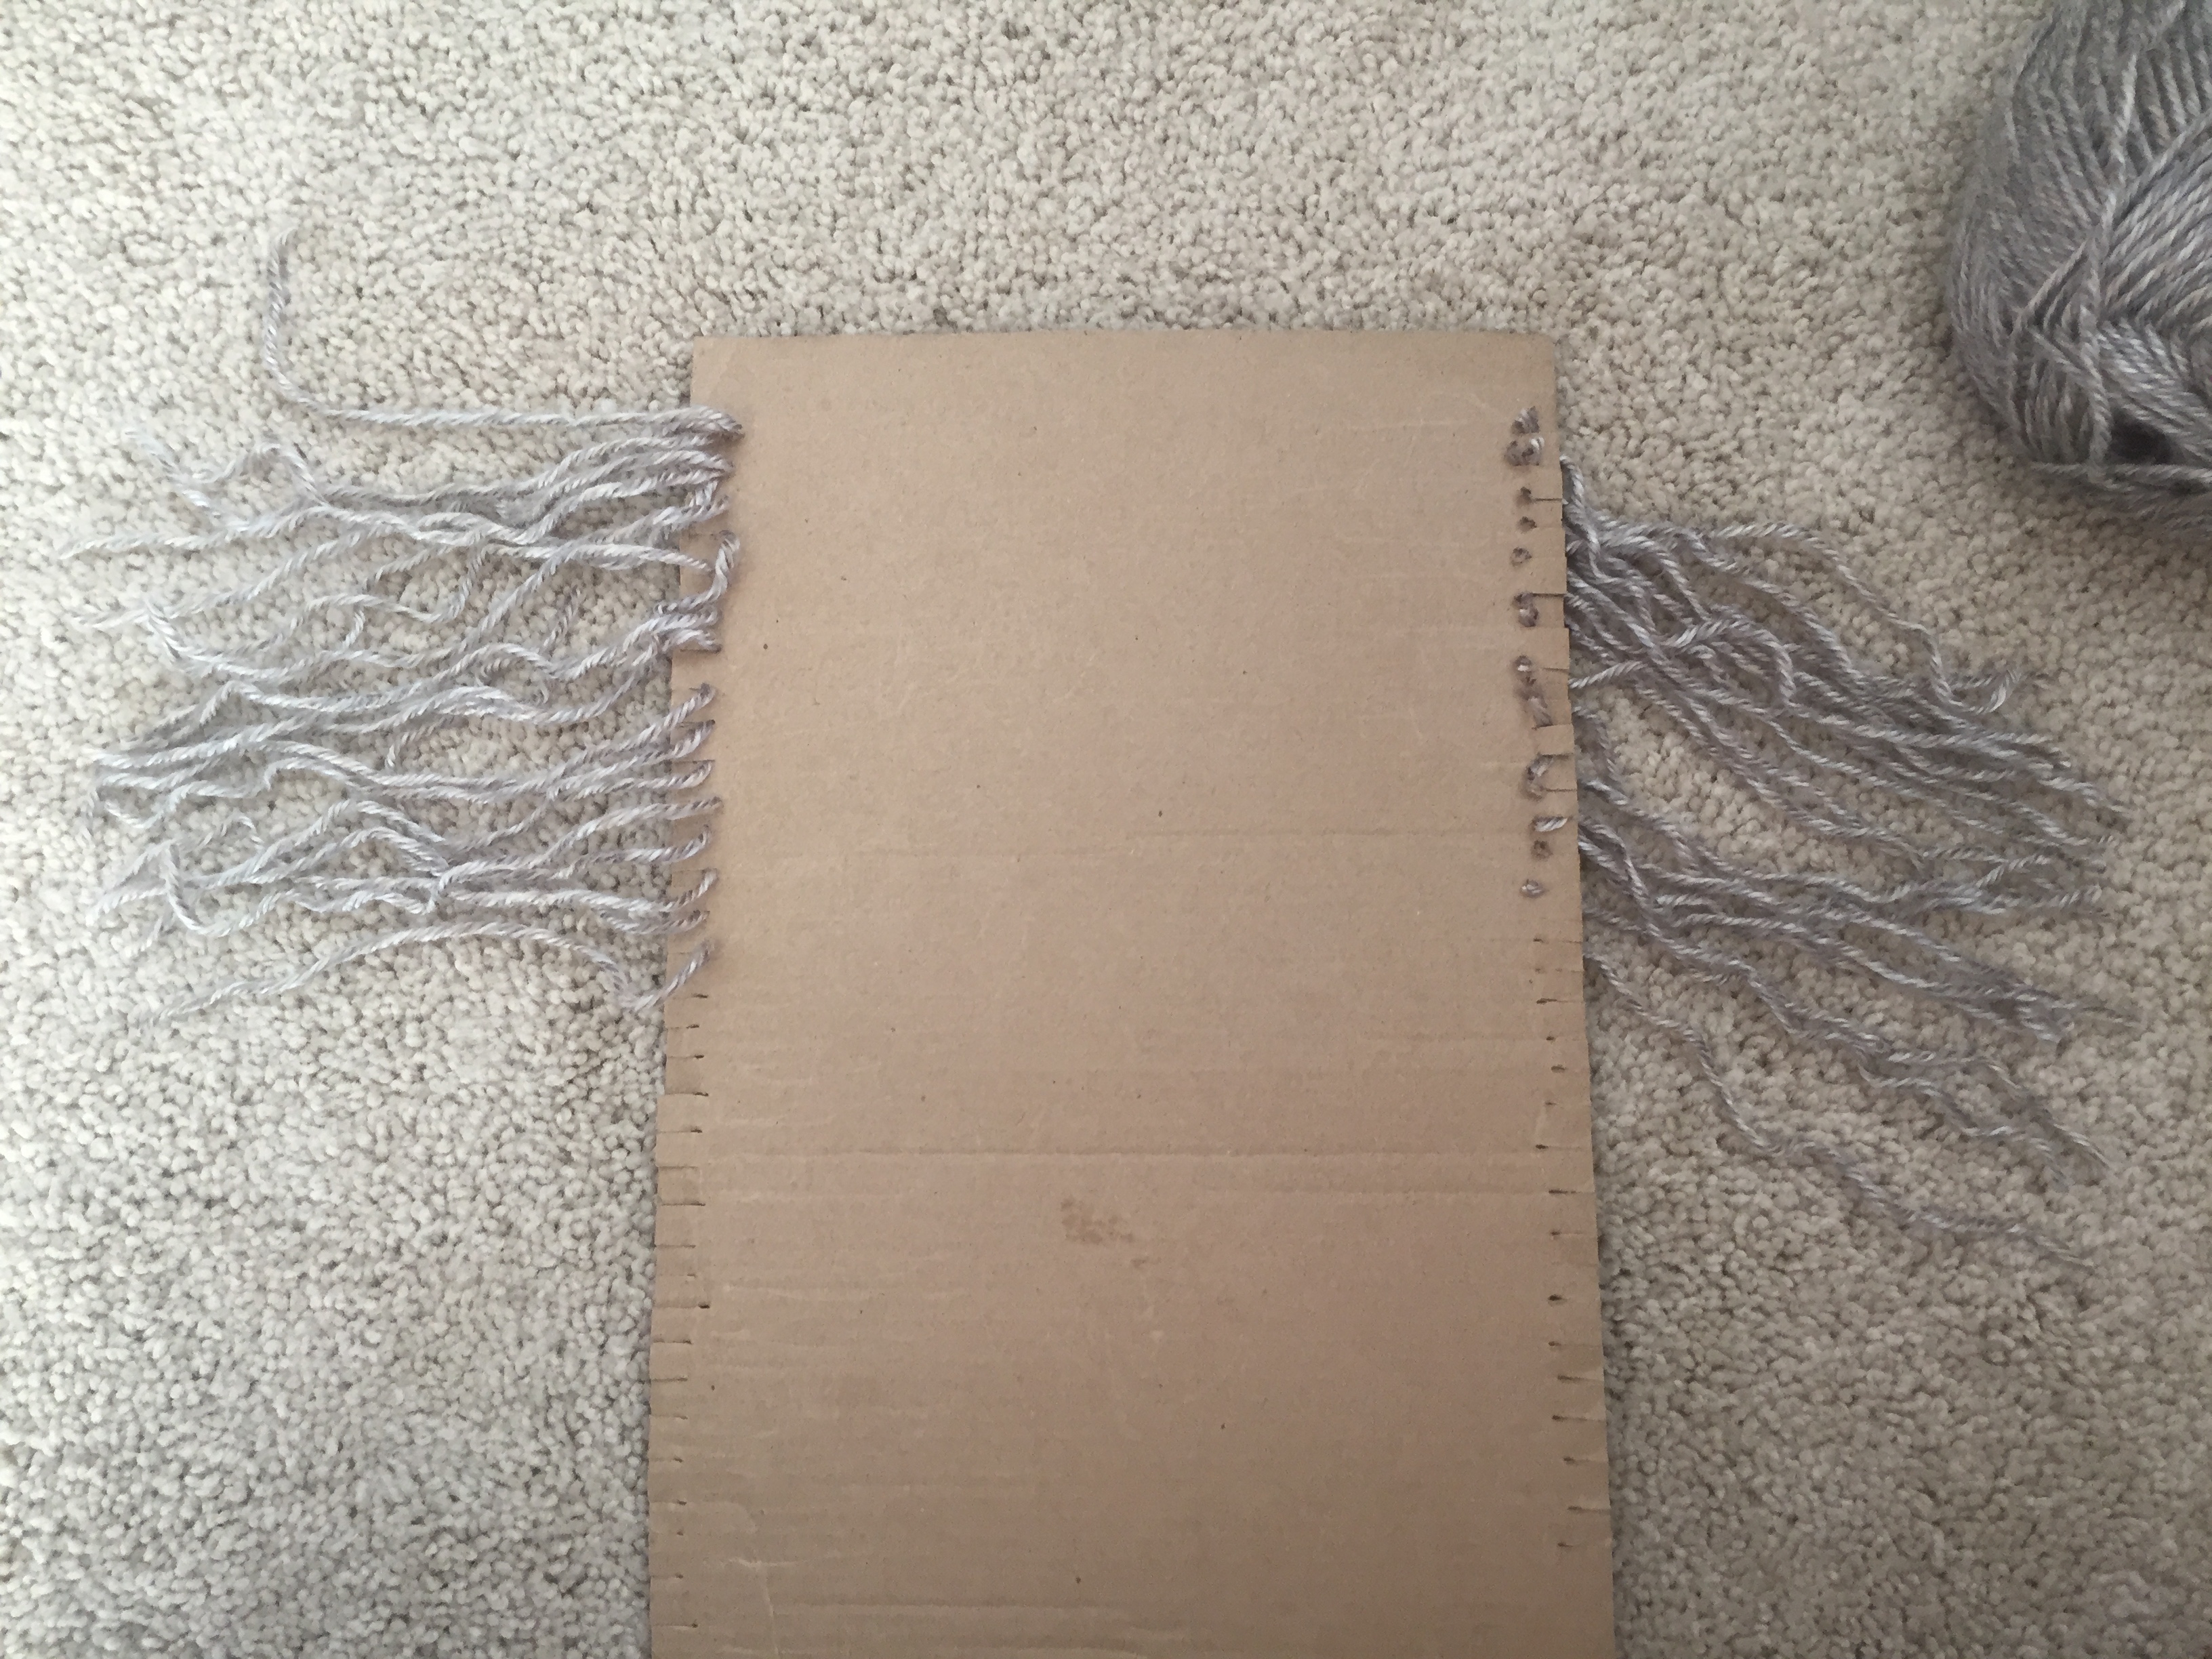
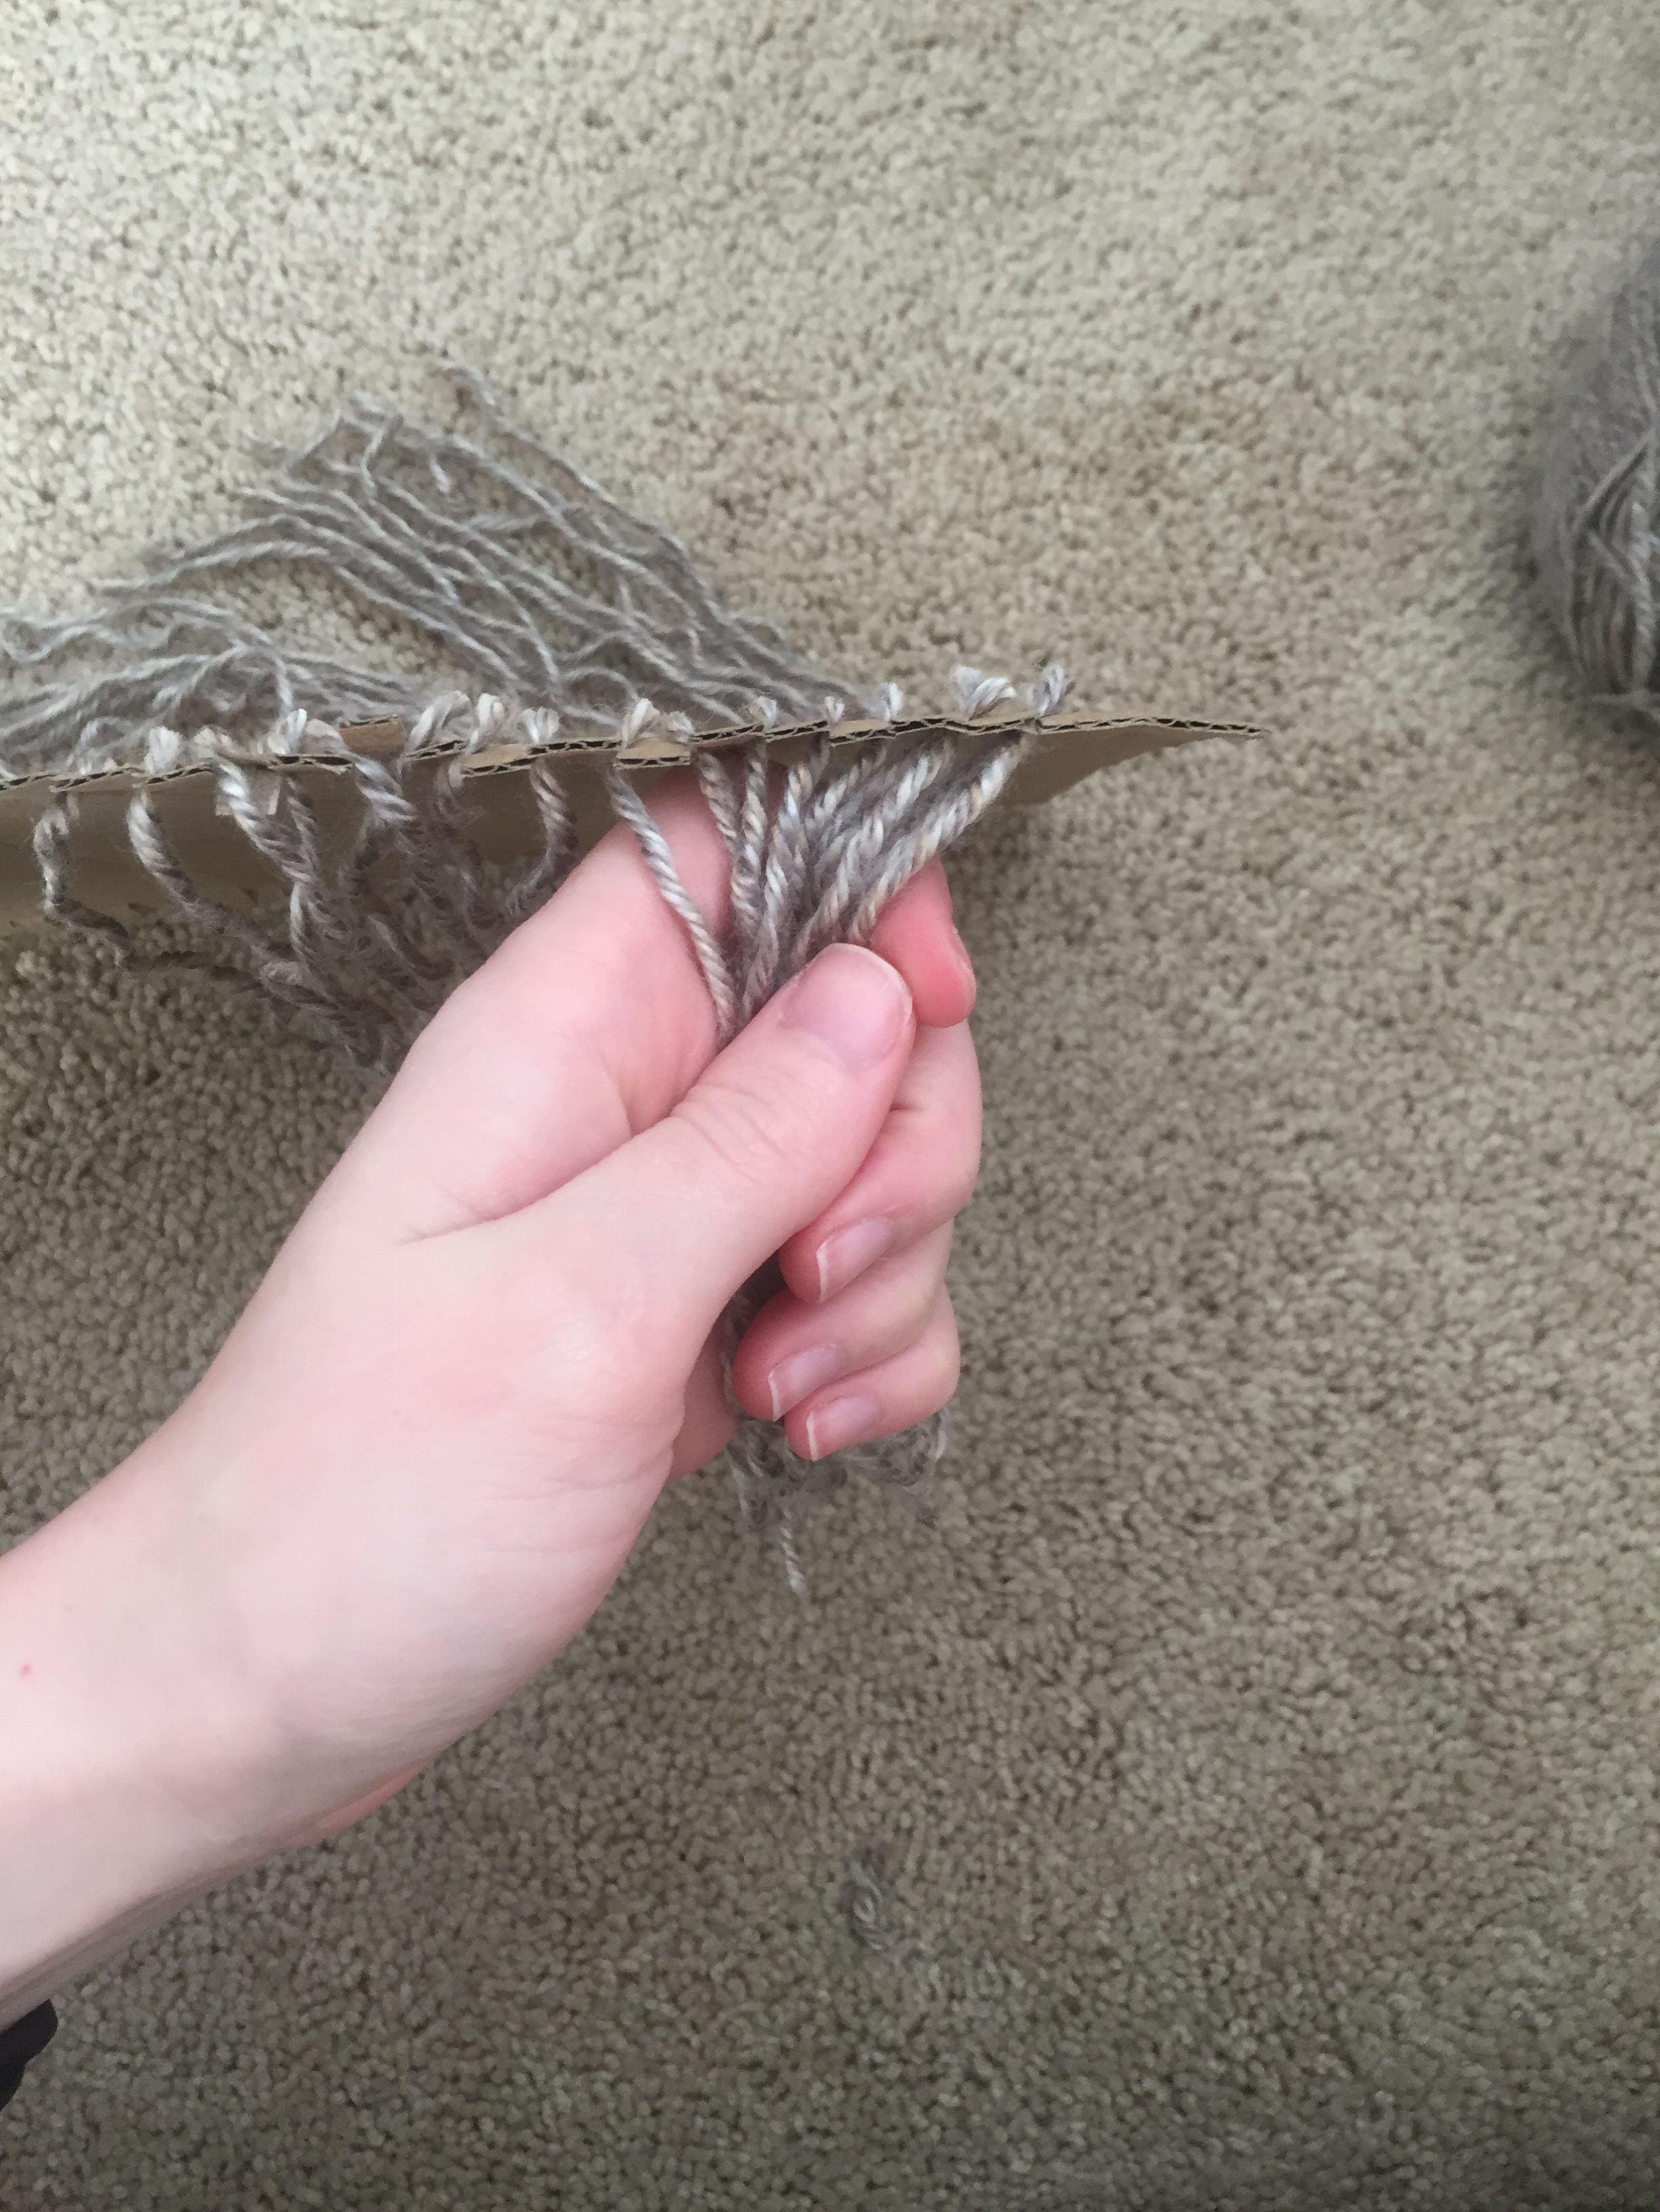
Once all of the fringe has been cut, just grab it and pull it off the cardboard. Easy!

Problem #2: Wrinkly Fringe Looks Like Crap
The second problem I ran into was that the yarn looked really wrinkly and weird and didn’t lay nicely (like the final photo above). I read online that wet blocking acrylic yarn was very difficult and almost never works, so I began looking into alternative ways to fix the issue. I read about steam blocking, but since acrylic yarn doesn’t like wet blocking I figured that would be pretty ineffective….?
Then I had the epiphany of trying out my hair straightener! I found some others who talked about using it, but they warned to not touch the yarn directly. I went ahead and made some scarp fringe to run a quick test and it actually worked very well!

I set my iron as low as it could go (which happens to be 310 degrees F) and got to straightening. On the scarf itself, I just held it so the fringe was towards the floor and straightened it just like I would my own hair. I made sure to use quick swipes and not leave the iron in contact with the yarn for too long. If it started to get too hot, I would move on to a new section and let that section cool down a bit.
The results are kind of amazing. The yarn actually softened and has a really nice drape now. I highly suggest trying this yourself!