


This is a tutorial for a free pattern available on my Ravelry account. You can download it as a PDF here.
This post contains some affiliate links. The banners and links I include in my posts are all legit and vetted by me. You can use those links to visit sites and purchase materials which will give me some support – all at no extra cost to you. If you like this post and would like to support me, please use the links or banners provided to get your materials!
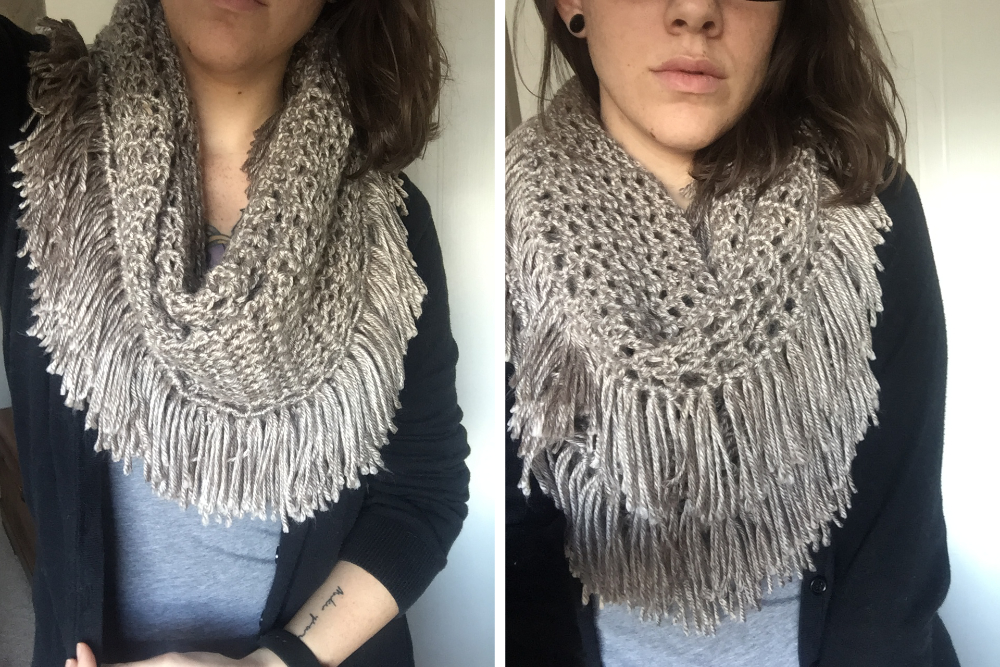
Hello everyone! I hope winter isn’t being too harsh on you.
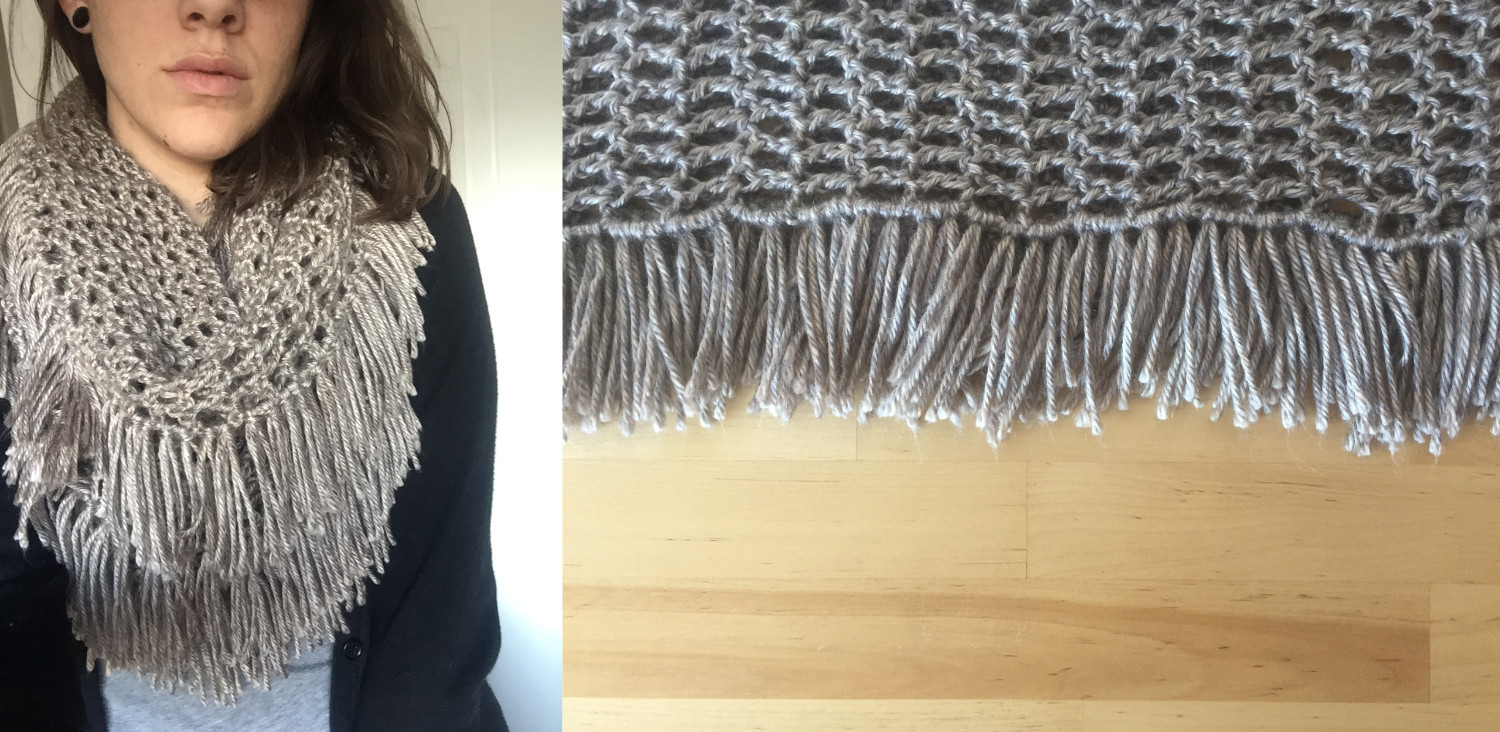
If it is, then might I suggest making yourself a nice warm infinity scarf? This is a beginner crochet pattern for a soft, warm infinity scarf you can make to keep yourself or your friends nice and warm! Just like with the rest of the Back to Basics patterns, I’ve left a lot of room for customization in this design, so the possibilities are endless! Feel free to experiment with different size hooks and weights of yarn to create something truly unique!
GATHER YOUR TOOLS
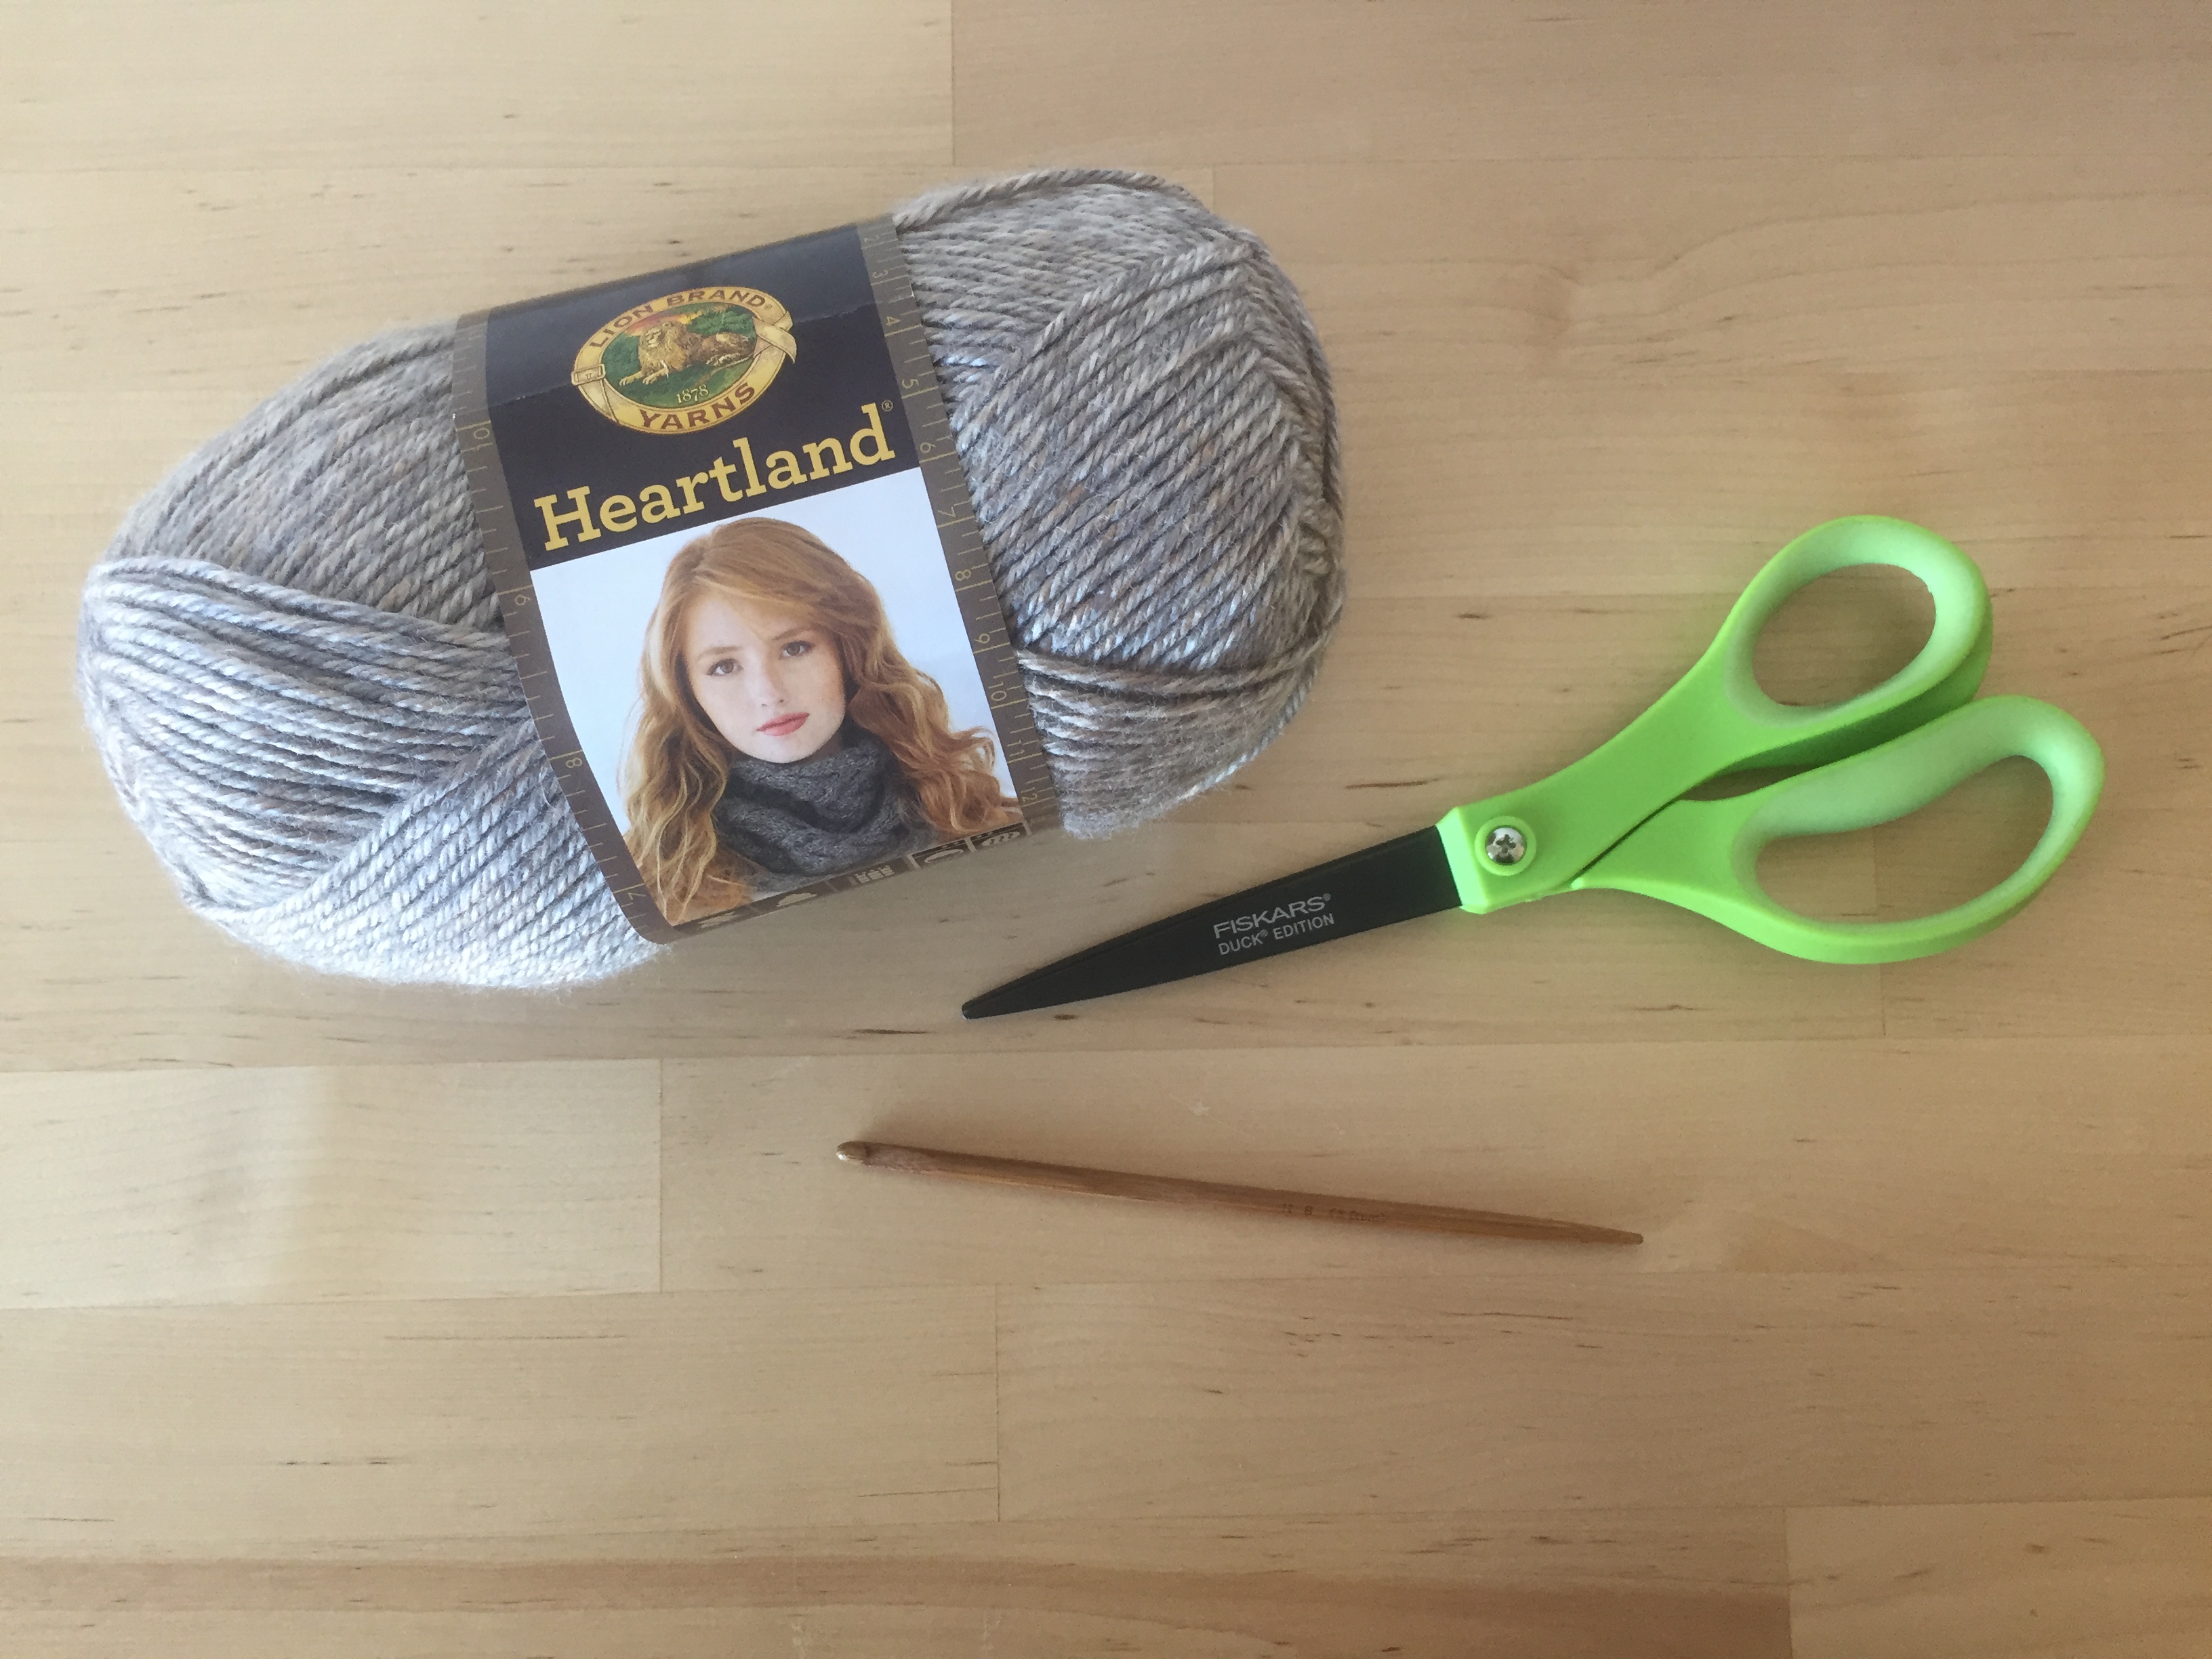
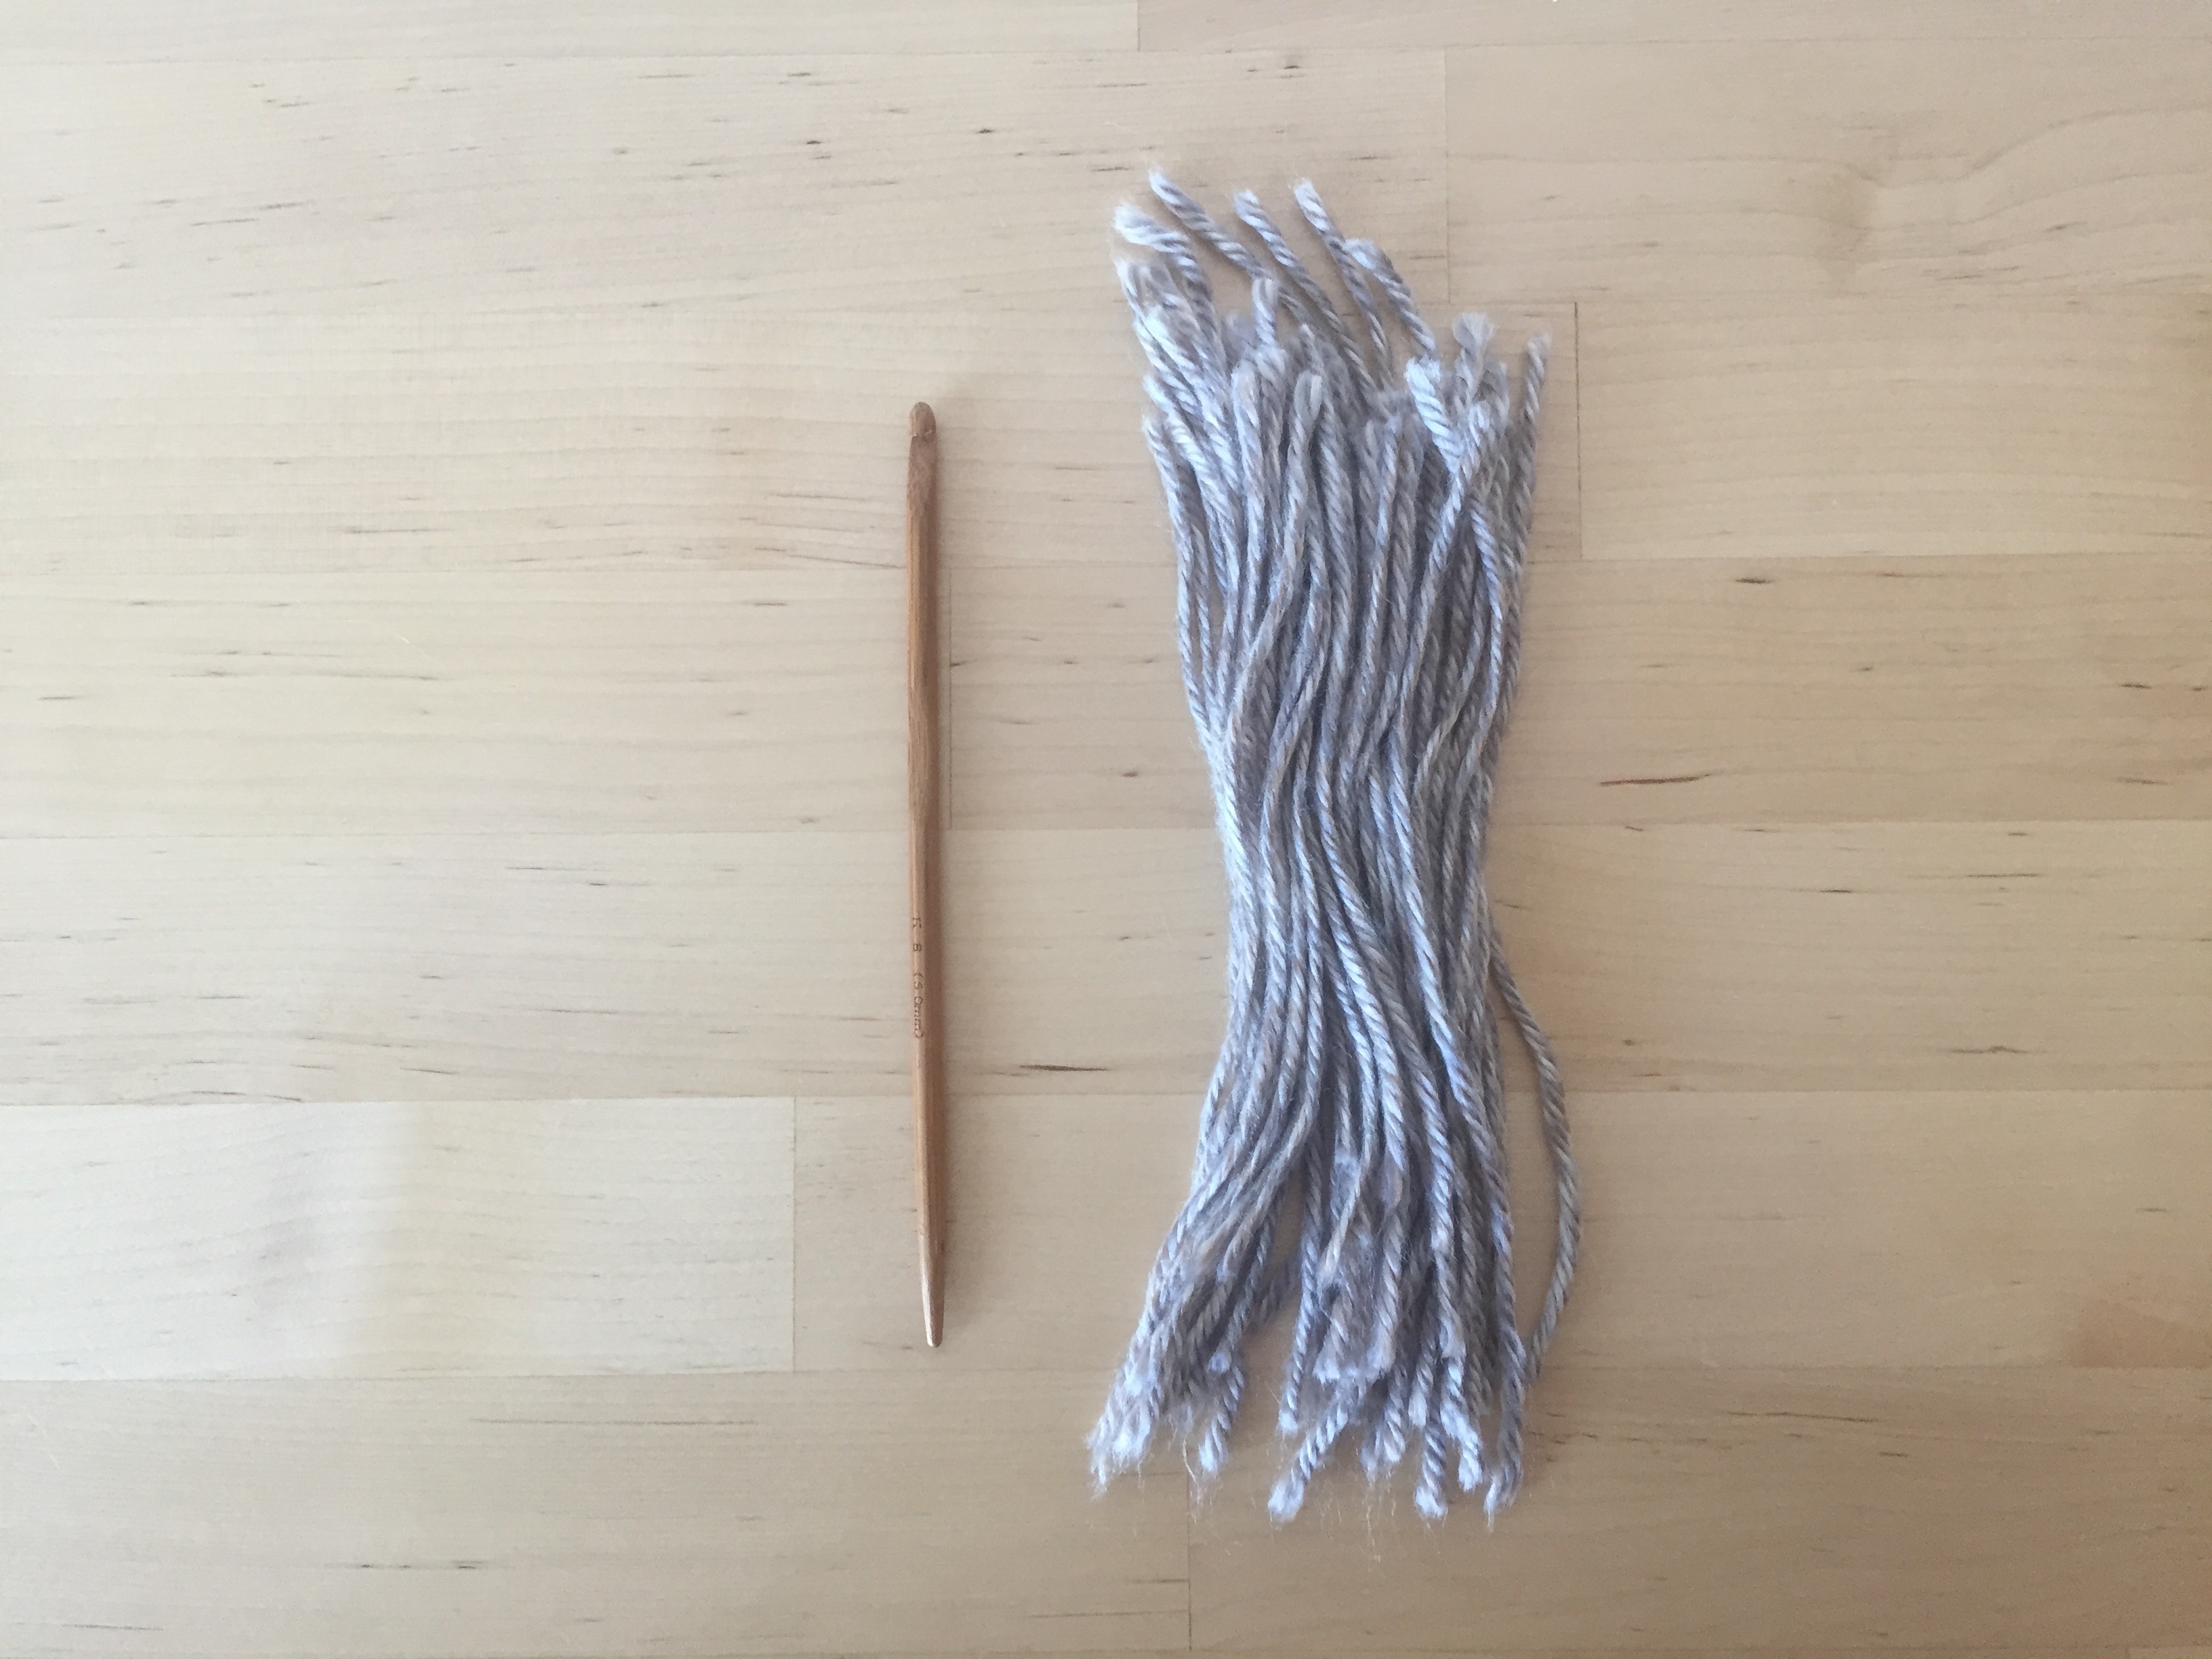
Hook: I’m using a US size H hook (5.0mm)
Yarn: 550 yds / 500 m of Aran or Worsted (4).
My choice of yarn for this tutorial is Heartland® from Lion brand in “Grand Canyon”. You’ll need 2-3 skeins for this tutorial.
I’m currently going through a major yarn crush with this yarn because it is soooo soft when worked up. I like the range of nature inspired colors that it comes in as well.

Other Materials: Stitch markers are always handy, scissors, and a ruler.
If you don’t have any stitch markers, large safety pins work well, as do bread bag tabs… We’re going for functionality over fashion here, ok? You may also benefit from getting a large tapestry needle, or a relatively small crochet hook (for weaving in ends).
LET’S TALK SIZING
This pattern creates a one size fits most, adult infinity scarf.
Gauge: 8 dc/ 6 rows = 4 inches in mesh stitch (dc are counted in mesh pattern, not consecutively)
LET’S Crochet!
Chain 45 stitches.
If you want your scarf to be thicker, add some stitches to the initial chain. Likewise, if you want it to be thinner, remove some stitches.
The last 4 stitches in the chain count as your first dc plus an additional chain.
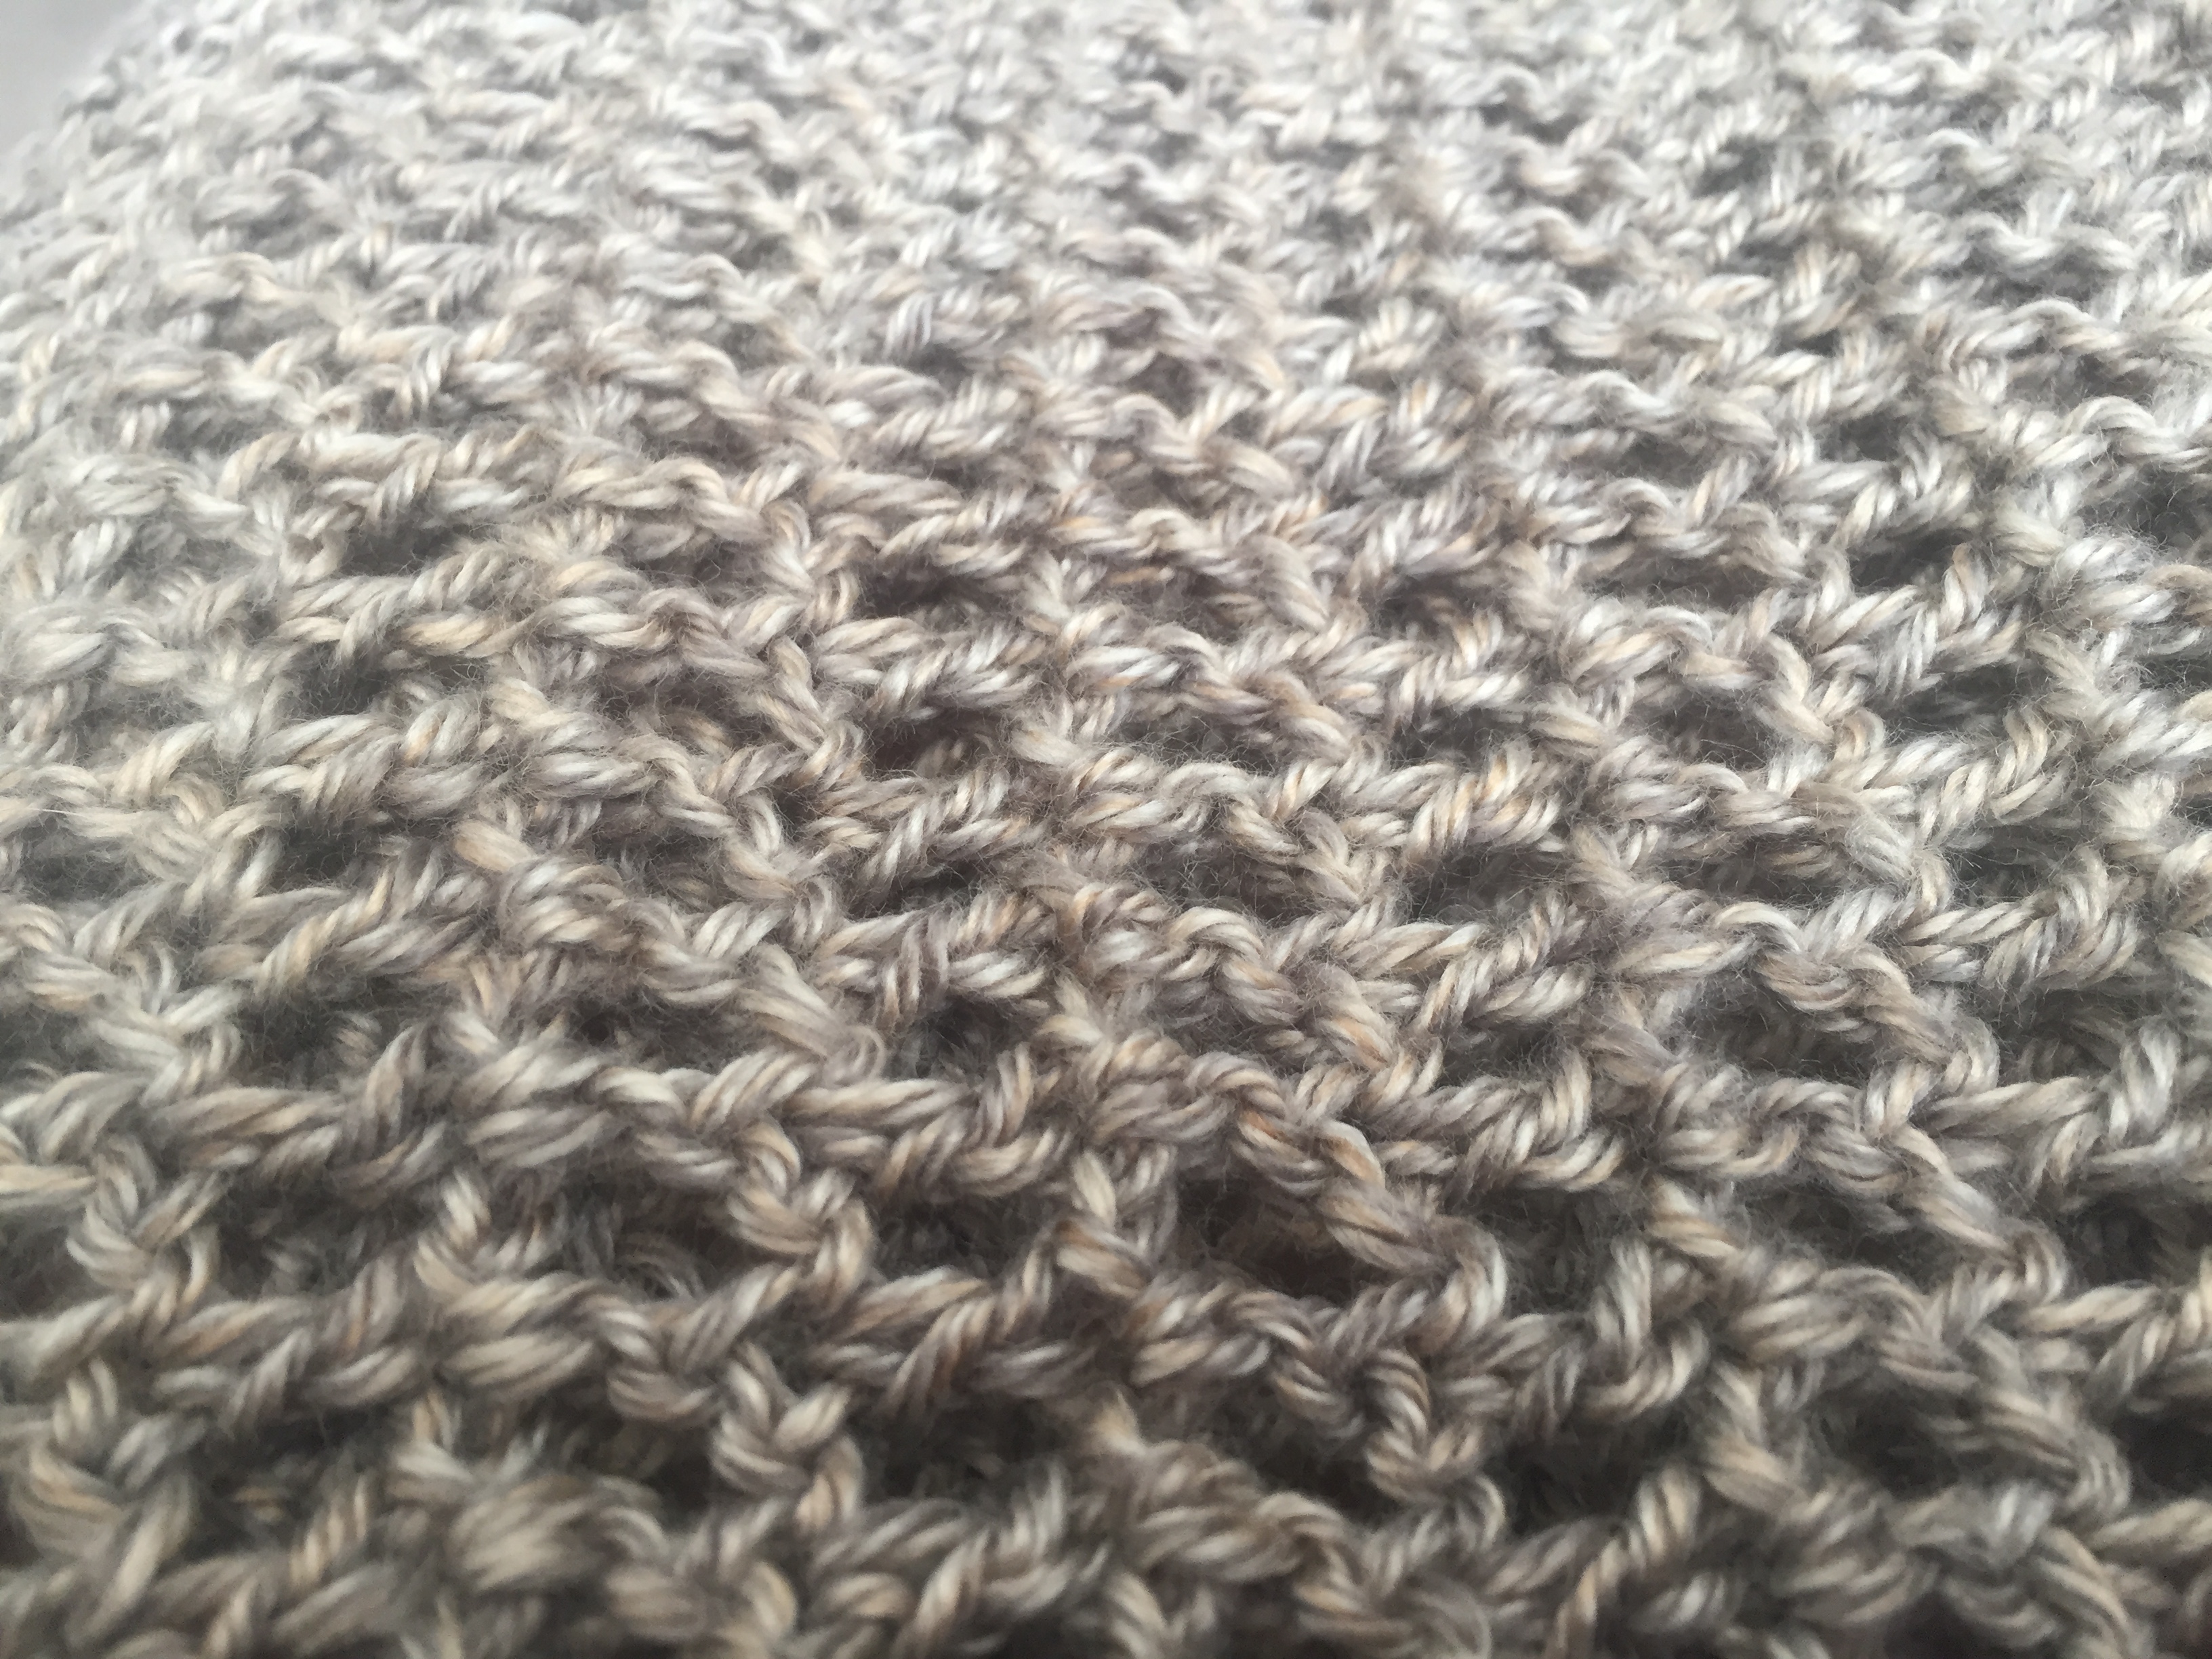
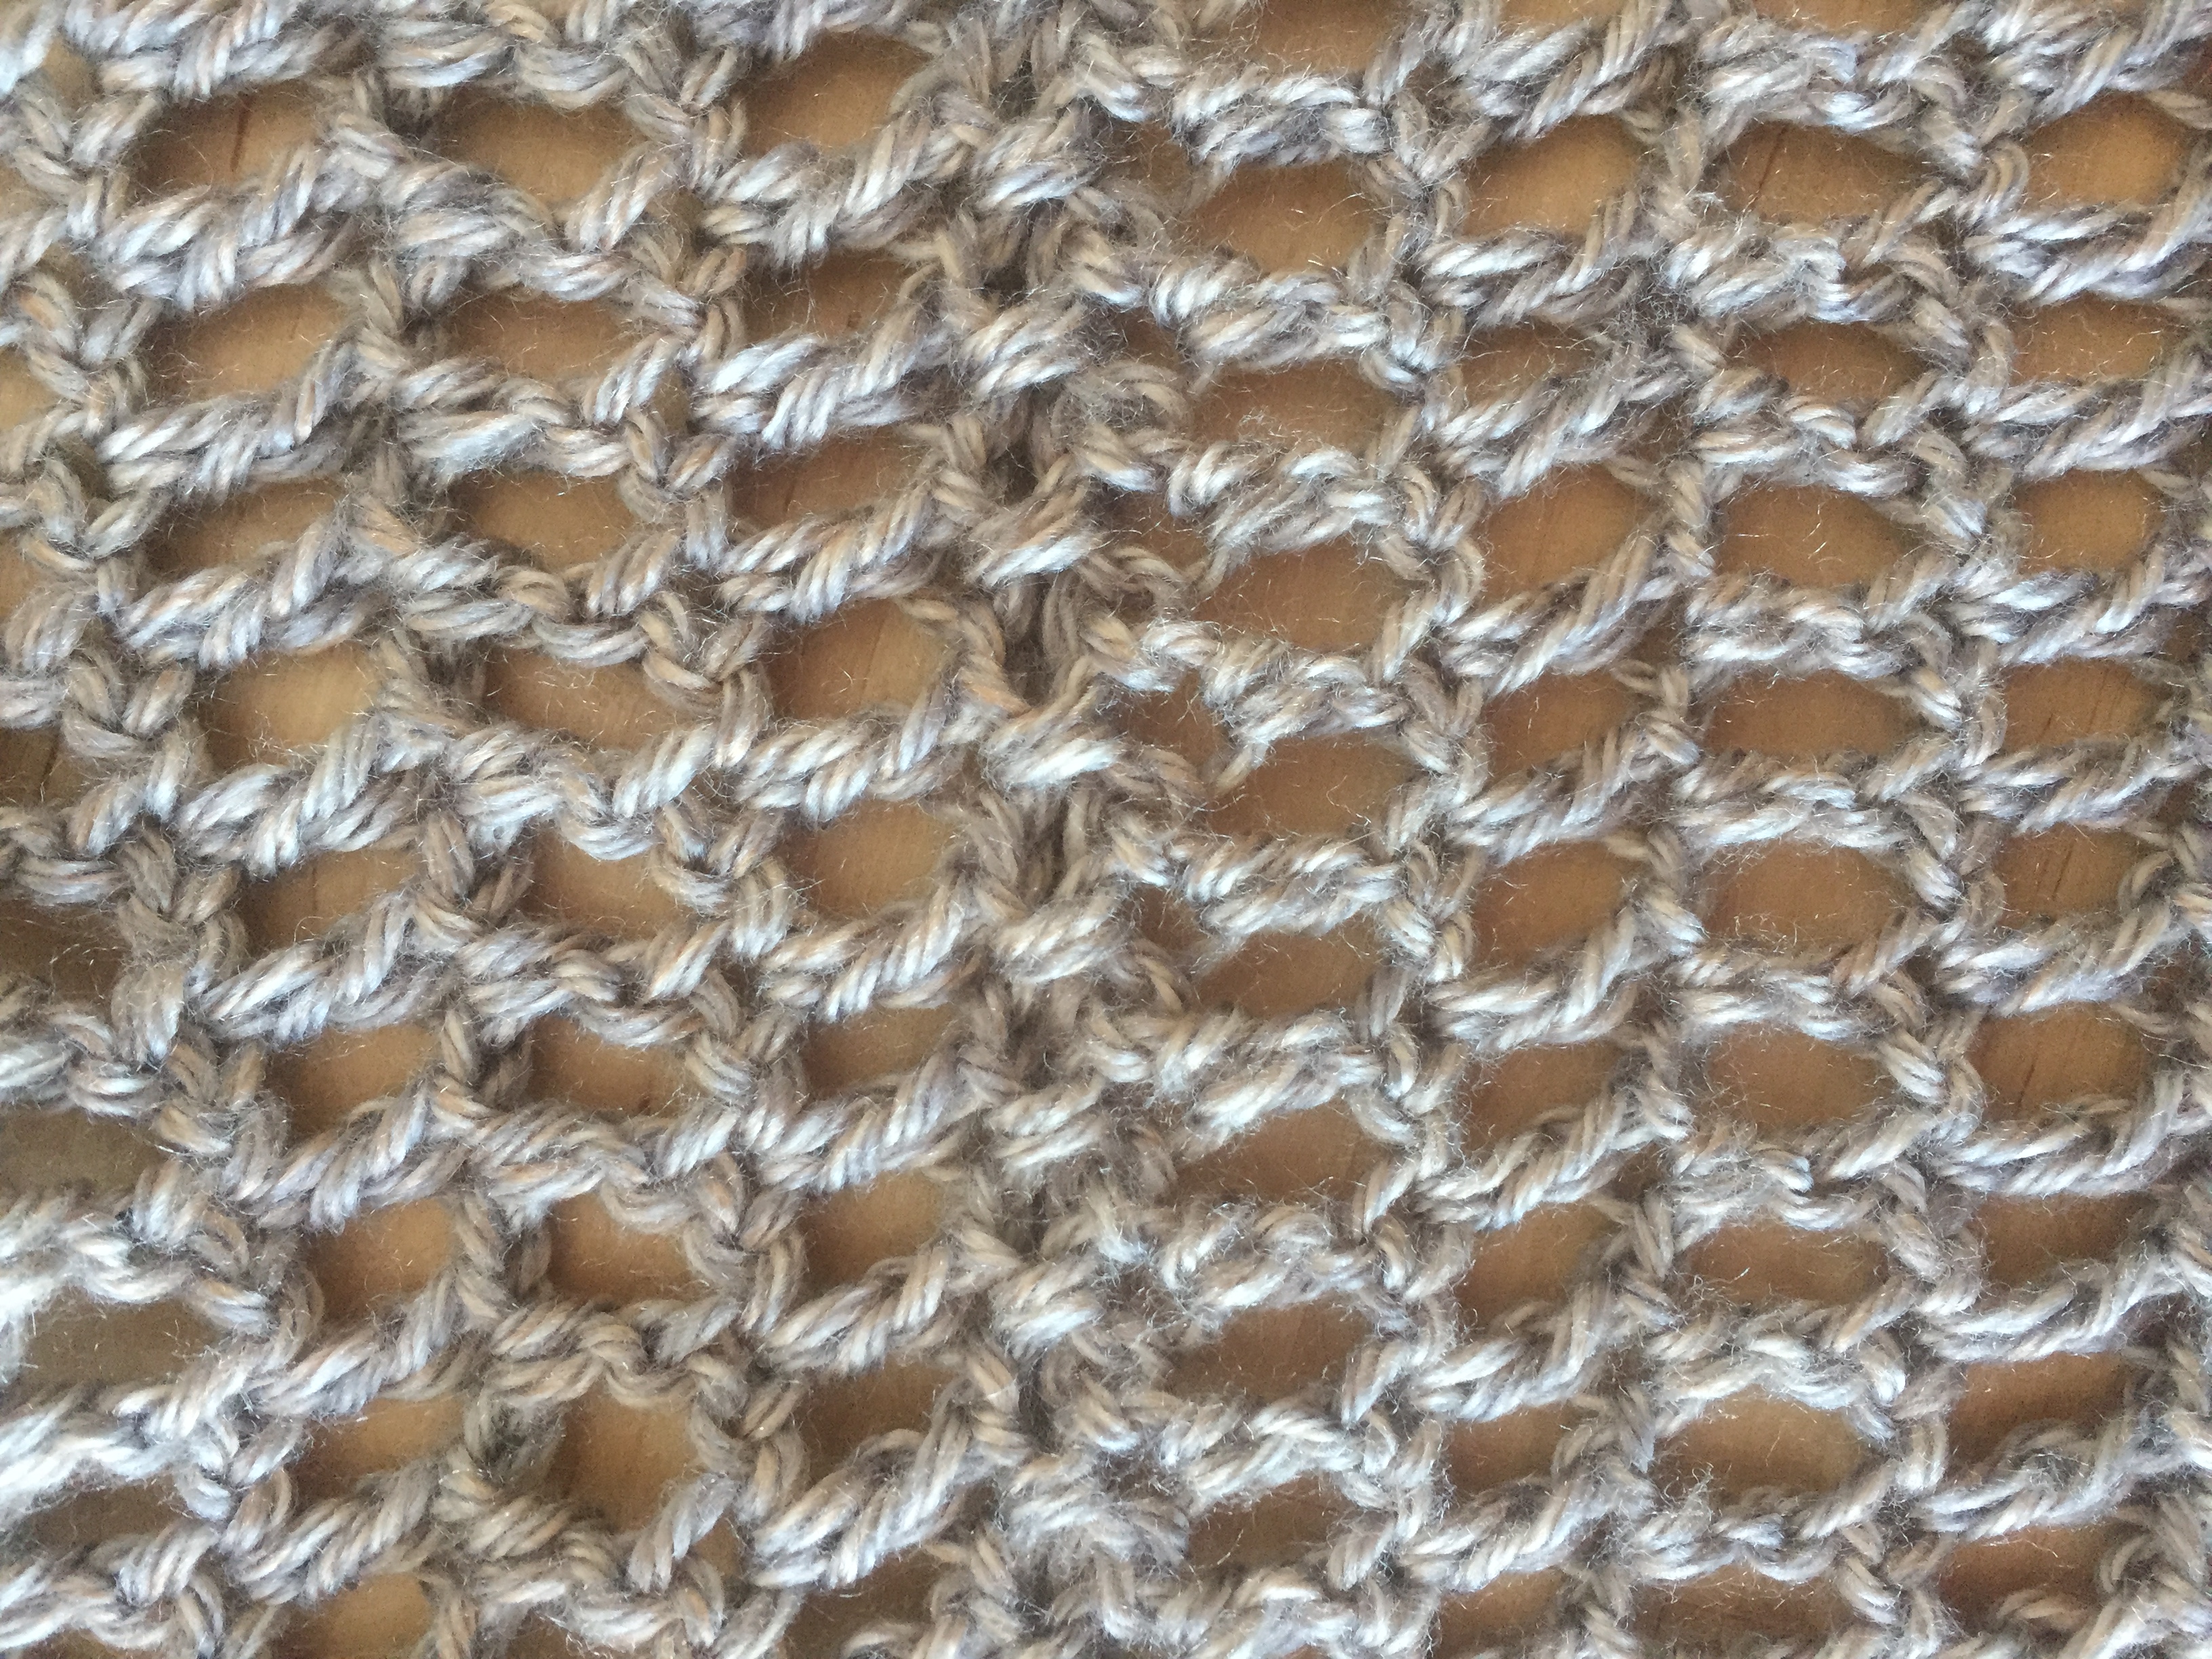
ROW 1: 1 dc in the 5th chain from the hook, **ch 1. Skip 1 ch, dc in the next ch stitch.
Repeat from ** to the end of your foundation chain. You should end on a dc in the last chain.
ROW 2: Ch 4, turn your work. ** skip 1 stitch, 1 dc in the top of the next dc from the previous row.
Repeat from ** to the end of the row.
ALL OTHER ROWS: As Row 2.
Repeat until your scarf measures approx. 65 inches in length.
This repeated pattern creates a loose mesh fabric that is both flexible and warm. This fabric will be able to be folded over to create a double layered scarf with very high levels of snuggliness.
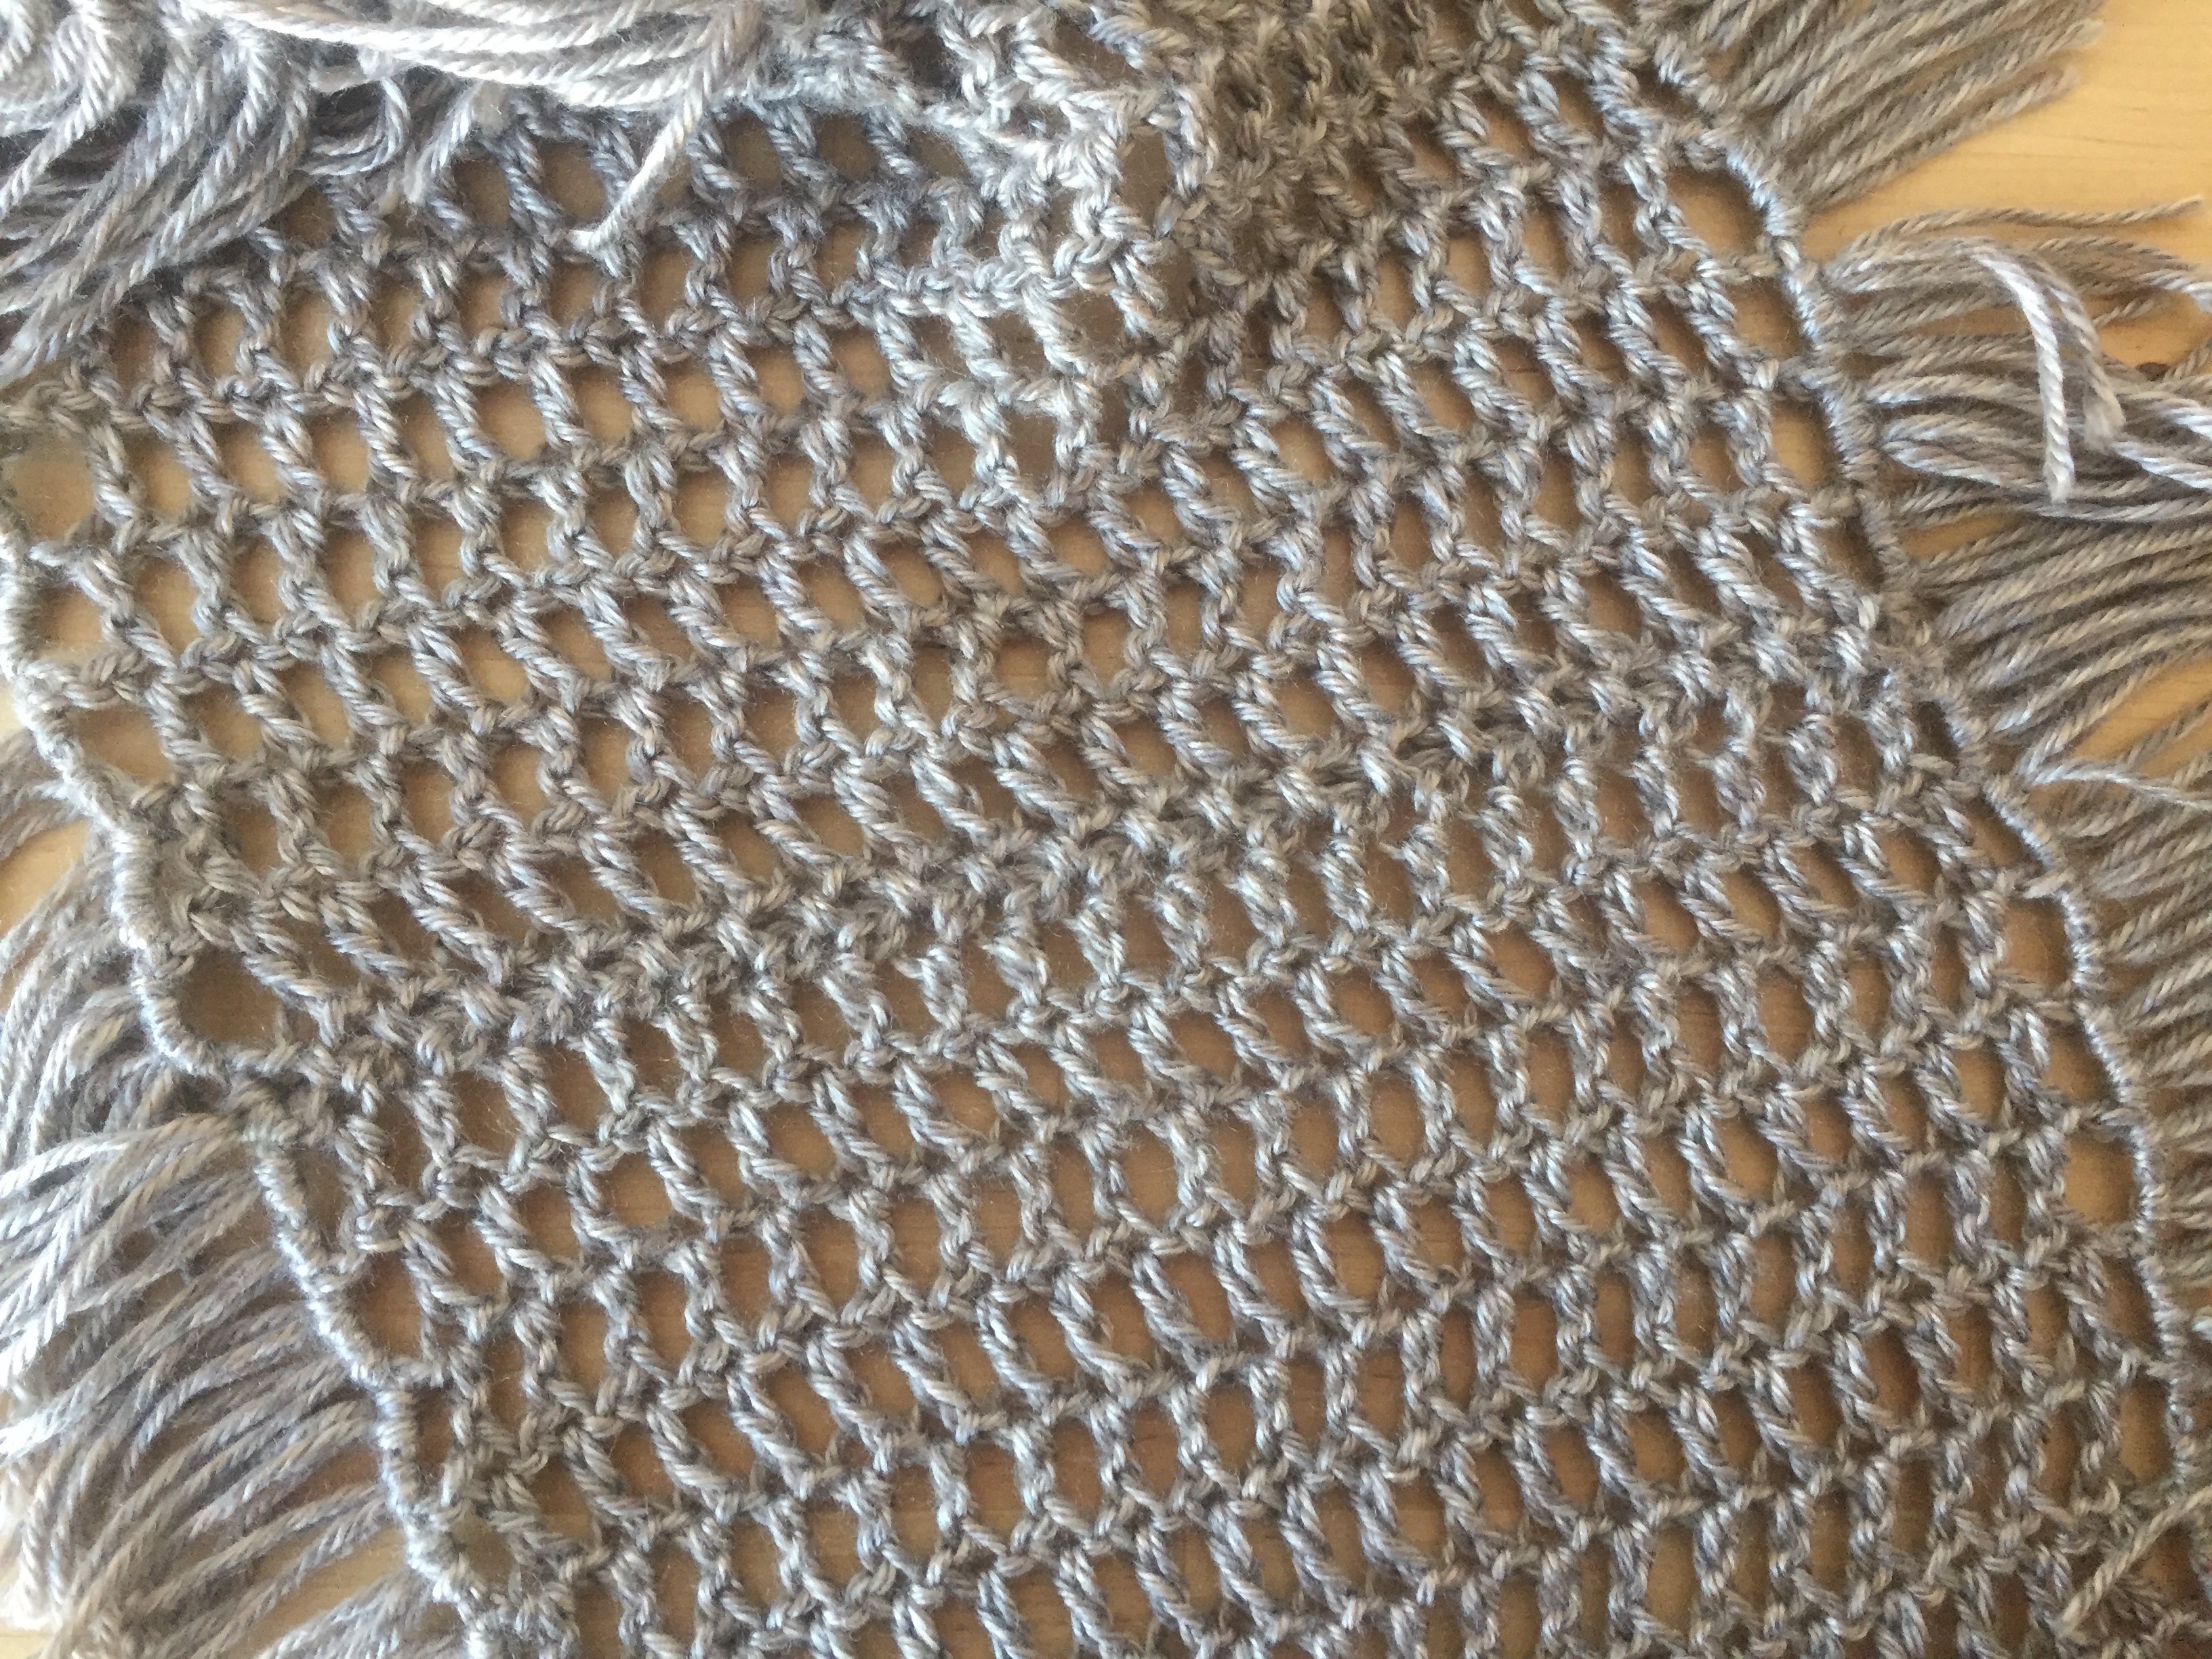
Once the fabric is finished, bring the short ends together and seam them.
To maintain the looseness of the scarf, seam by doing a single crochet through both edges of the scarf, ch1, and repeat to the end.
FINISHING
Let’s make some fringe!
Count the openings in the mesh along the long edge of the scarf.
Double that number to get the amount of mesh openings along both long edges.
Cut a “set” of yarn strips for each mesh opening, about 6 inches long each. Each fringe “set” is 2 strands of yarn held together.
For thicker fringe, double the amount you cut and use 2 sets of fringe in each opening. (Sample photos show using 2 sets of fringe in each opening.)
I like to double up my fringe so that it’s thick, but not too thick. It covers the edge of the scarf very well and doesn’t look sparse, but doesn’t look over the top either.
Take two of your strips of yarn together and fold them in half.
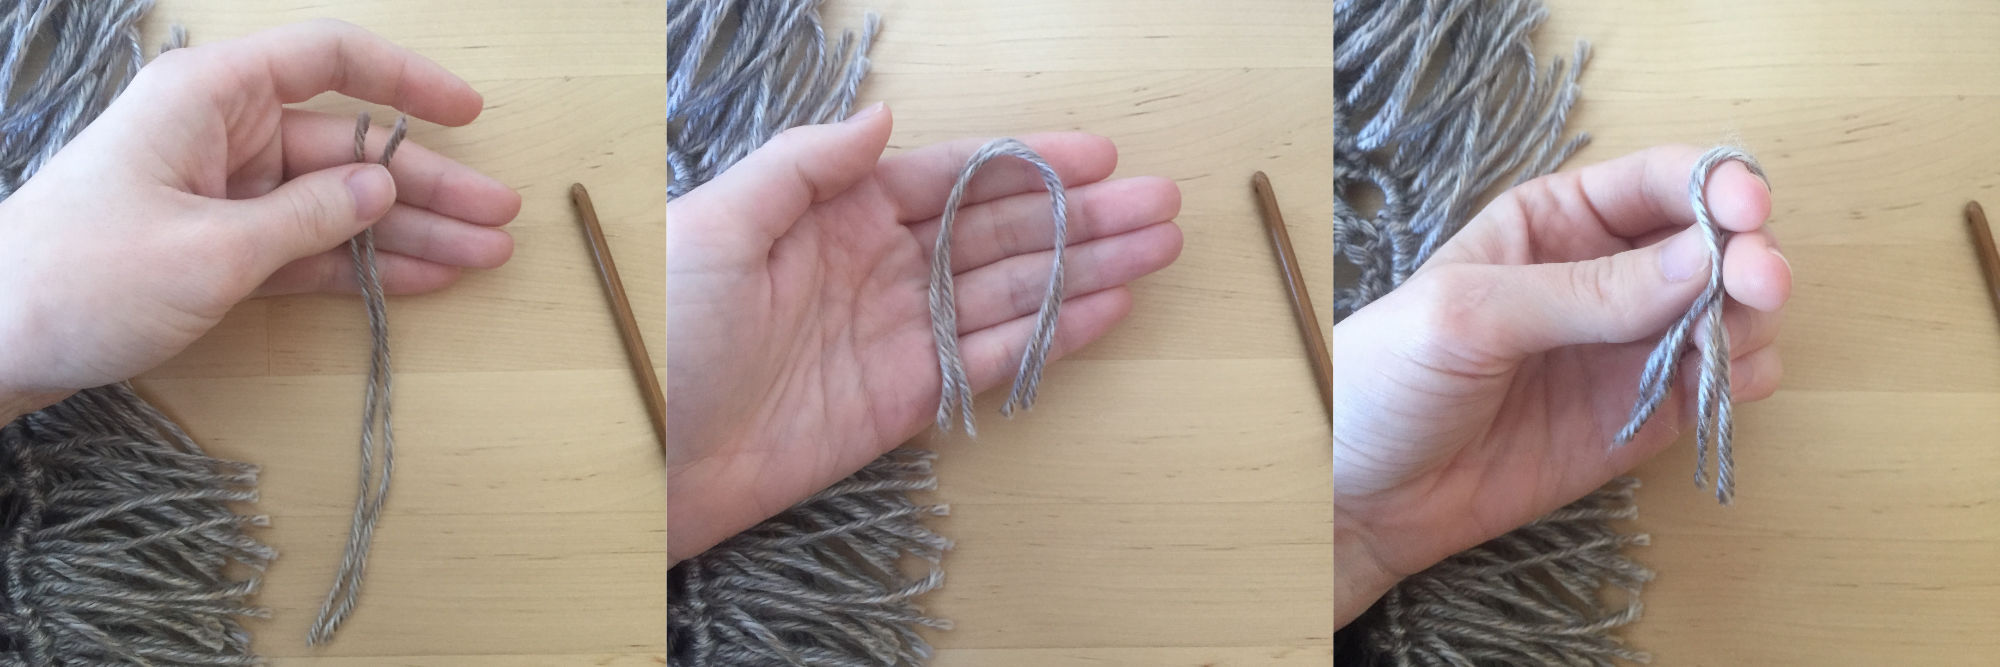
Use your hook or fingers to pull the “loop” through the edge of your scarf. Pull the ends of the yarn strips through the loop and pull them tight to secure the fringe.
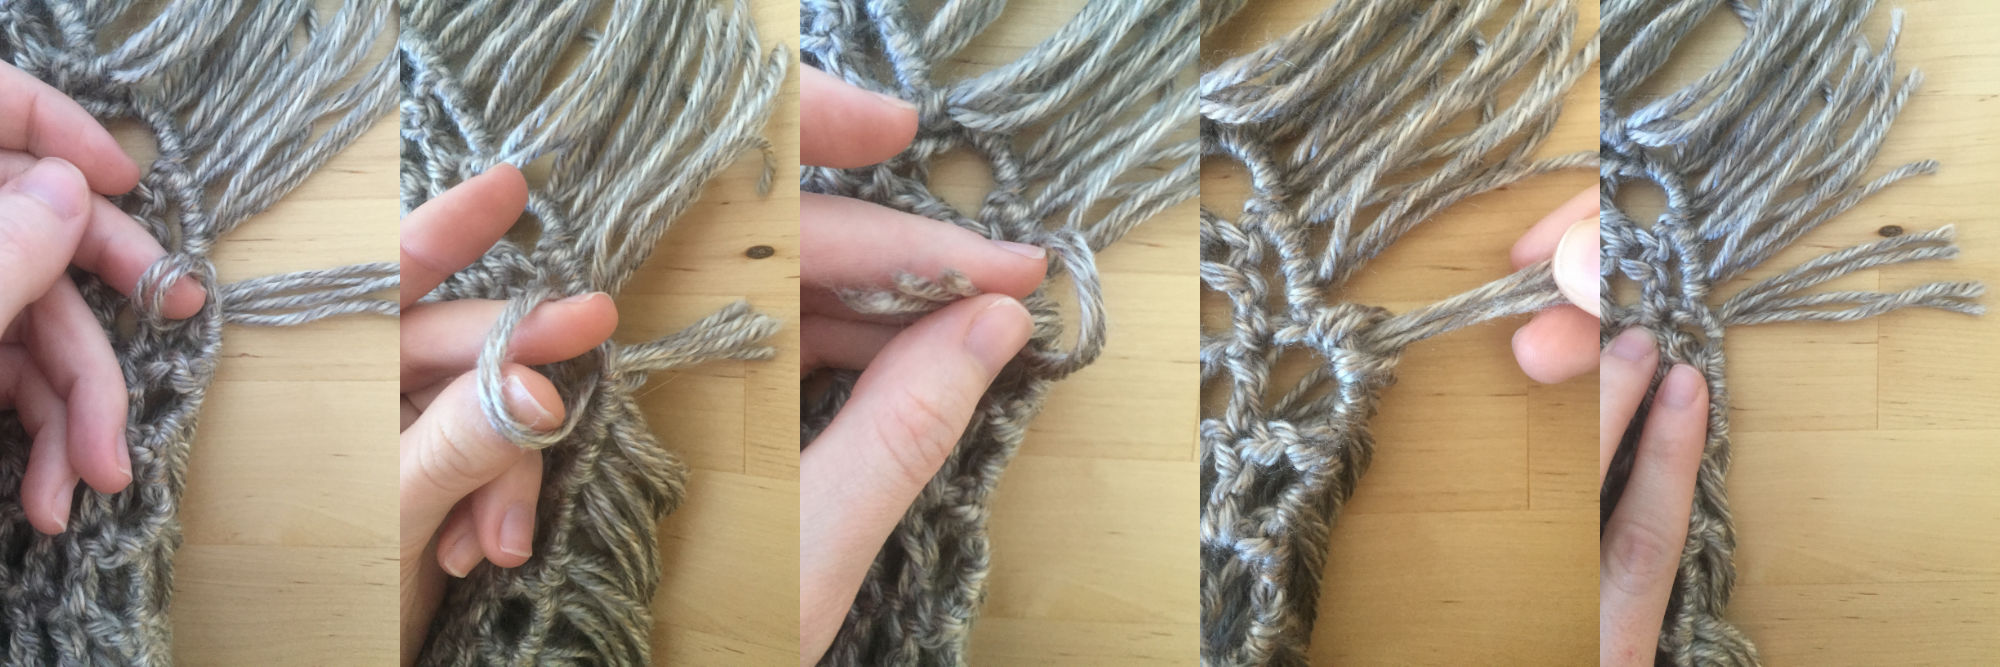
Keep adding fringe the whole way around the scarf until it reaches your desired fringy-ness.
Repeat on the other edge of the scarf.
And… That’s it! Once the fringe is added, you can style your scarf however you want. Fold the scarf in half, length-wise, so that all of the fringe is on the same side, or just give it an “infinity twist” and wear it loose and wild for a more bohemian look.
I’d love to see your scarves! Please leave a comment here if you’ve created this piece with a photo, or a link to where we can see the finished product. You can also feel free to hook it on Ravelry an contribute to the project there.
Happy hooking!
![]()
