With fall quickly approaching, many crafters and makers are prepping for autumn craft shows and stocking their online shops where they will be selling their handmade goods to the masses. When creating your inventory for your shop or a show, every detail counts – especially the finishing touches! Today we’re going to talk about a technique for creating the most important finishing touch: clothing labels.
There are many kinds of clothing labels out there and each type has their own proper application. The variety of types also means they are available in a variety of qualities and price ranges. If you’re just starting out, all of the pretty leather and wooden garment labels can look really appealing, but it’s not always realistic to spend that kind of money before you’ve had many (or any) sales. Because of this, looking into some of the cheaper options may be a better choice. Laser printed clothing labels are one of the cheapest options available. You can buy them in bulk or short runs, they can be printed with any imagery or text without a setup fee, and they’re a very professional looking tag. The only downfall here may be the wait to have them produced and shipped.
In my own stubborn craftiness, I decided that I would scour the internet looking for ways to make my own clothing labels – at home. I found a few blog articles that cover printing them yourself, but they mostly recommended using the rather expensive fabric paper you can buy at a craft store. Not only is that not good for me because I don’t have a craft store nearby, but I also didn’t like the “expensive” part.
I finally found this article from The Spruce that is rather in-depth and provides lots of options and detailed steps to making your own labels. I found Janet’s suggestions to be the most straight forward, so I decided to give it a go.
Quick Disclaimer:
I did a quick version of this process using the basic principles. If you read the article, you will see that there are so many other things to consider when making your own labels… Like fray stopper and color fasting the ink. I wanted to test this out before committing, so I laid out the basics for you to understand how it all works.
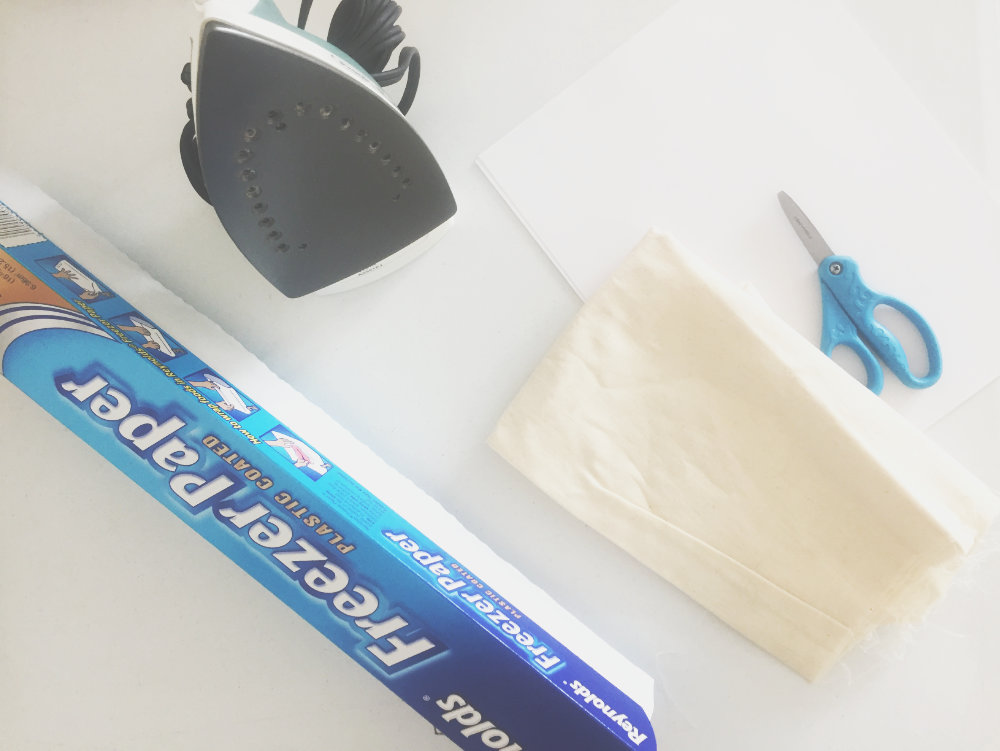
Materials
- Any light colored, 100% cotton fabric (Quilter’s cotton works well, I used some muslin I had laying around.)
- Freezer paper
- An iron
- A piece of 8.5×11″ cardstock (or plain paper… It’s for a template)
- A computer with some sort of document program (i.e. Word, Photoshop, Affinity, etc.)
- A laser jet printer
Directions
The long & short of it: Basically what you’re going to be doing is making 8.5×11″ sheets of fabric and making them stiff enough to run through your printer. The first thing you will need to do is get your fabric cut to size.
Preparing Your Fabric Sheet
Make sure the material is flat and wrinkle-free. Iron it beforehand if you need to.
Use the piece of 8.5×11″ paper and a pen or marker to trace the right dimensions onto your fabric. Do this on the wrong side of the fabric (if applicable).
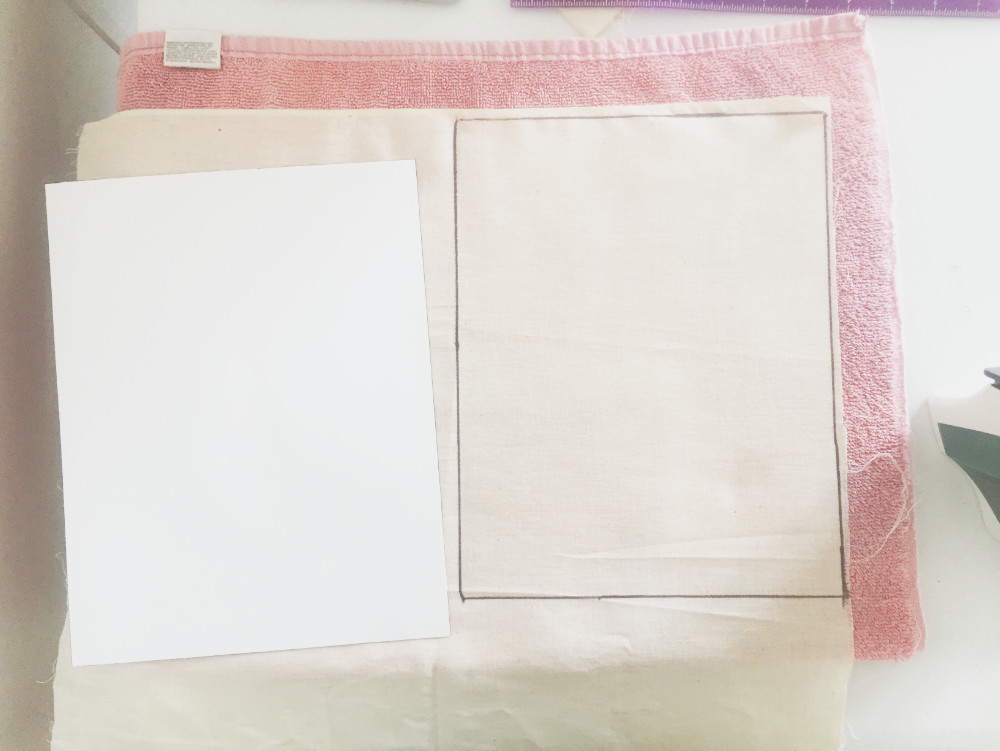
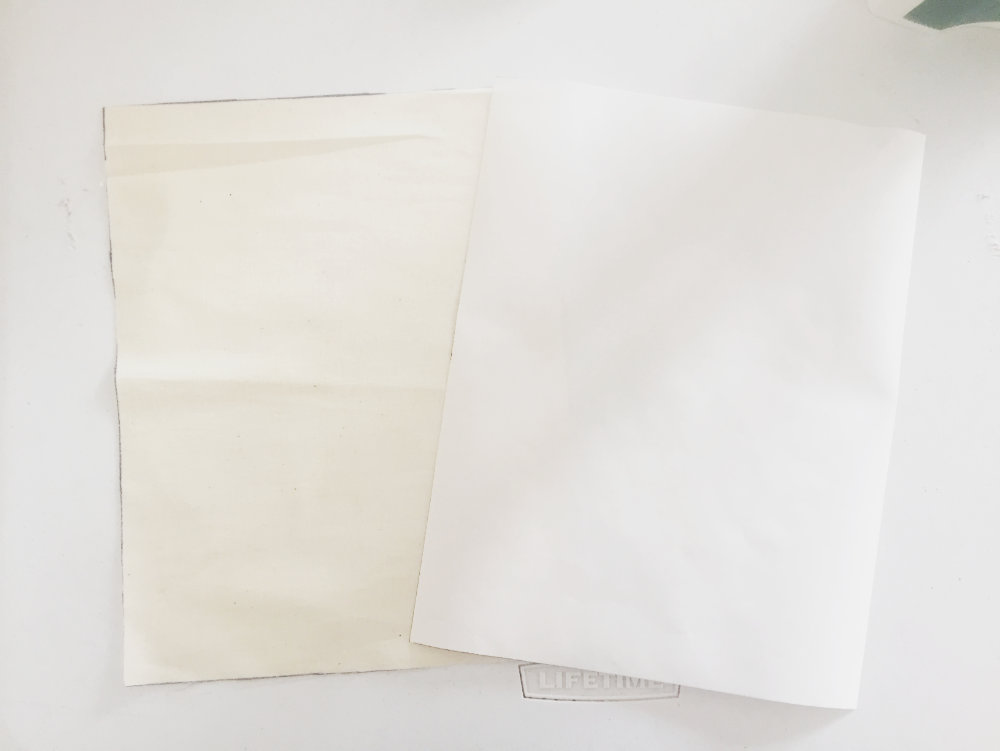
Next you’ll need a piece of freezer paper that is also cut to the right size. Repeat the same process you did for the fabric on the freezer paper.

Cut both sheets out carefully, trying to keep the dimensions as close to 8.5×11″ as possible. If you have a rotary cutter, I strongly recommend using it here. (I did not use a rotary cutter…)
Joining the Pieces
Take a look at your freezer paper and notice that one side is matte and the other is shiny. That shiny side will stick to your fabric when you apply heat, and peel off very easily without leaving a residue behind. Lay the freezer paper on top of your fabric sheet with the shiny side down. Line all the edges to match up as close as you can.
Use your iron on med-high heat and NO STEAM. Press all over the freezer paper over and over until it is pretty stuck. Check to make sure it isn’t peeling or curling up around any of the edges.
Leave the freezer paper attaches and let it cool completely.
Printing the Labels
Remove all other paper from your printer tray, and place your new 8.5×11″ fabric sheet in the tray. Make sure to lay it whatever way you need for the printer to pull it through with the fabric on top.
I found that the printer can be greedy and try to pull multiples through at a time, so I only run one sheet at a time.
You should have a document prepared with your clothing labels laid out on your computer. I’m not going to go into detail with this part because that’s a whole other lesson that I will probably cover in a future post, but you should be printing a whole bunch of tags on each sheet.
Make sure you set your printer to print at the maximum quality, and your document is setup at a high dpi (again, I’d like to make a more in-depth tutorial about this in the future).
Double check your sheet to make sure it will feed through well (no frayed edges, freezer paper is still stuck to the fabric, etc.), then press print!
Your labels should be done super quick (’cause it’s a laser jet, yo), and you can then marvel at your handiwork while they dry for at least 1 hour.
After it’s dried for at least an hour (I’m serious, ok?), peel the fabric away from the freezer paper.
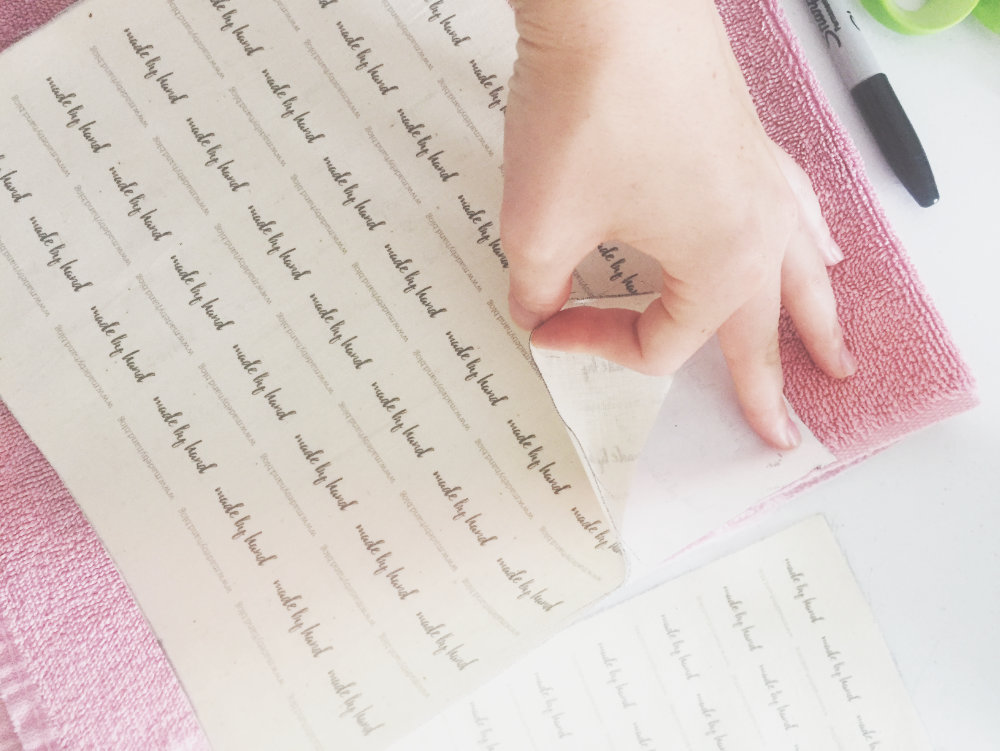
That’s it! All you have to do now is cut them out and attach them to your pretty things! (BONUS: the freezer paper can be reused! I used it 3 times so far without issue.)
There are plenty of ways to lay out a clothing label so that it attaches to your garment in unique ways, so do some research about what layout would work best for your project.
Other Things to Consider
Thicker fabric is better, but you don’t want it to be too thick for the printer. Quilter’s cotton seems to be the absolute best option, and is relatively cheap. A thicker muslin than what I used would also be great. I personally like the “rustic” look of muslin, so I think that is the route I’m going to go from here.
Inks can vary in chemical makeup and quality. Do some research on the best inks to use on fabric and consider getting a few cartridges of that type of ink for label making purposes.
Take a look at your own closet if you aren’t sure how to layout or attach your labels!
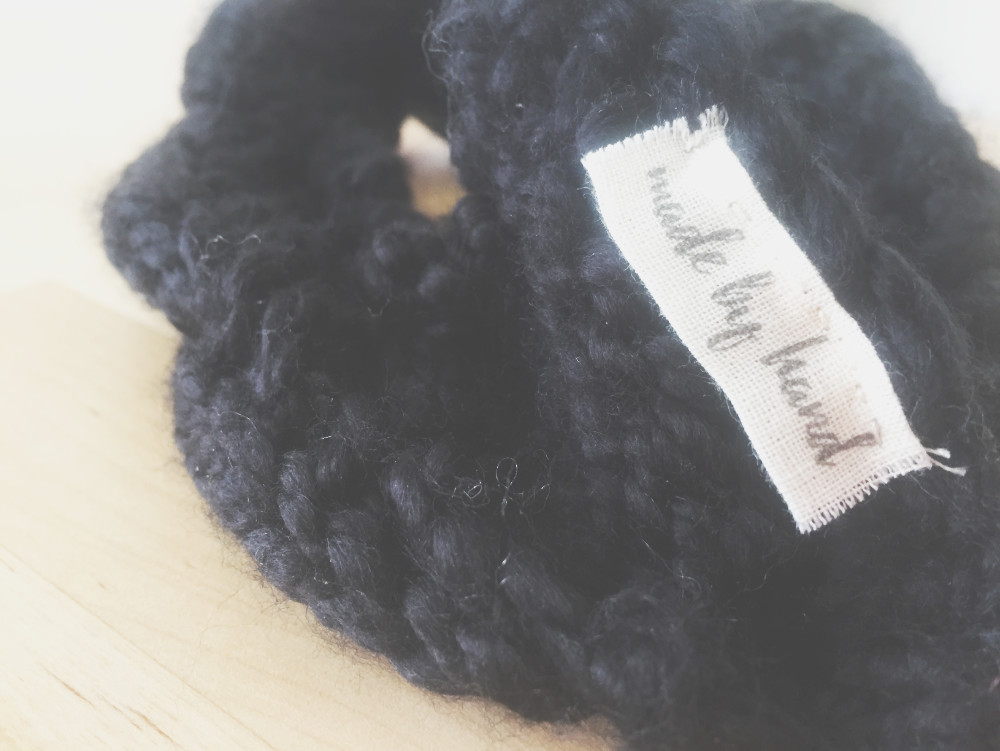
For simplicity’s sake and being frugal, I opted for a black ink only label design. You can experiment with using full color, but I figured black ink would be less expensive and make my materials go farther.
Buy a fray stopper and workable fixatif spray. They will both do amazing things for you.
I considered this, but don’t have the means to test it: Cut your tags out with a serger! This would create a really cool effect and simultaneously finish the edges of your labels.
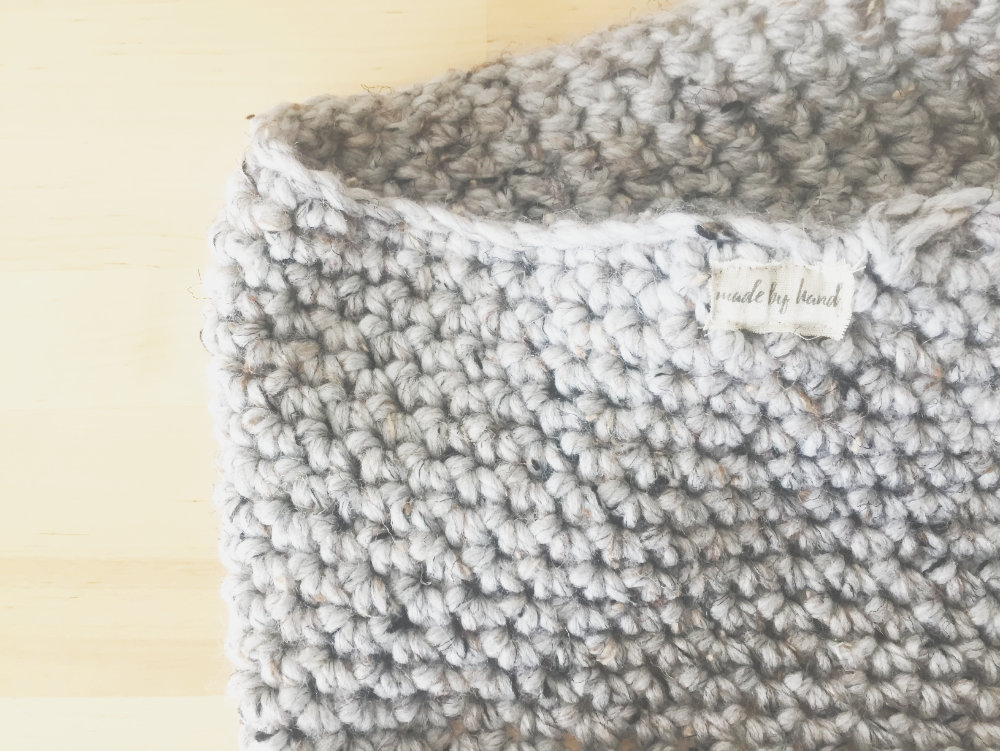
That’s all I have for you guys today! I’ll leave you with some action shots of my first round of label making as well as the hope that you’ll share this article on something social like Pinterest or Facebook 🙂
Happy Crafting!