Hey Makers! I have a really exciting tutorial for you today. Today we are going to learn how to make a super cute “kimono” style cardigan!
I love layering clothing, but summer is not always very kind to bodies covered in multiple layers of clothing… Luckily, there are lots of lightweight options for layering during all seasons of the year. Some of my favorite lightweight pieces are airy, summer cardigans. I see them all over my Pinterest, but don’t always find ones I like in stores. So, I did what I always do and took matters into my own hands (literally!).
The Summer Kimono Cardigan
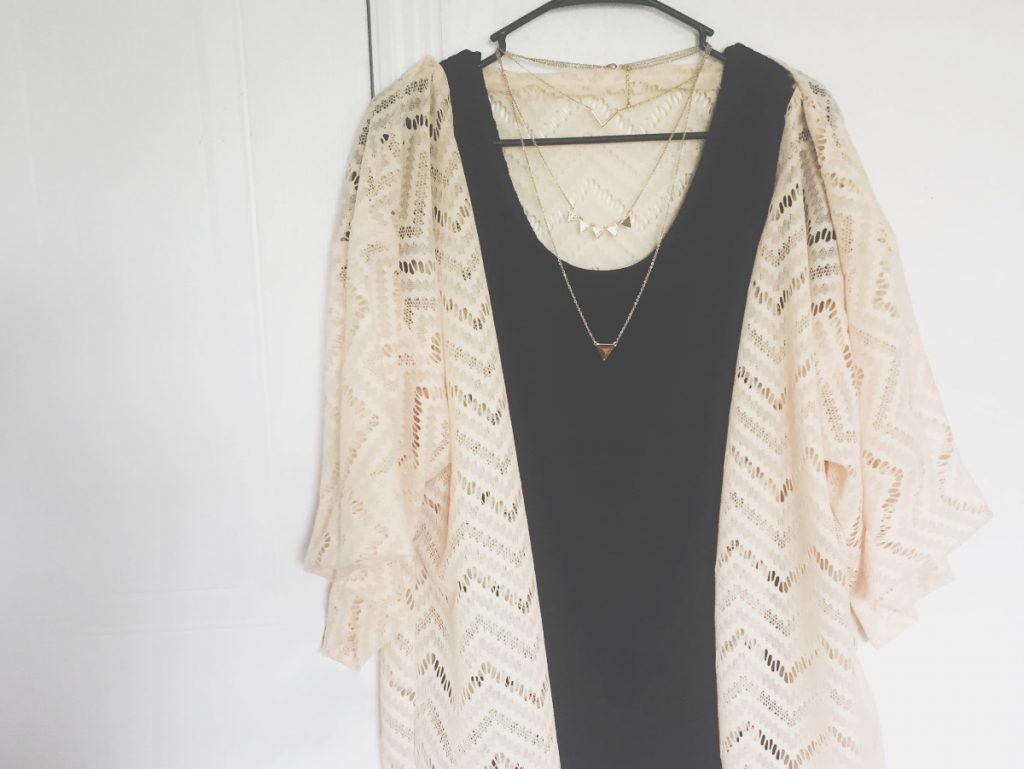
I wanted to start off with something simple, stylish, and easy to customize. I found many examples of kimono style cardigans that are made from lightweight, airy fabrics like silk, jersey, or any other lightweight fabric you like. I found a beautiful “crochet” fabric at Walmart one day and knew it would be perfect for one of these cardigans.
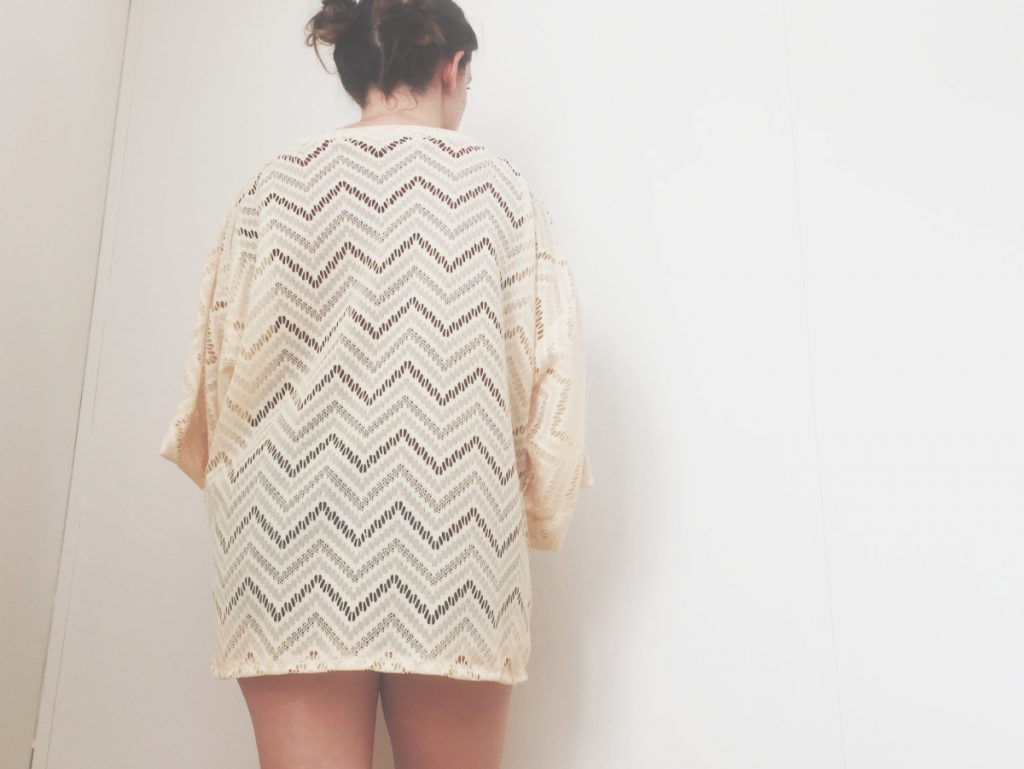
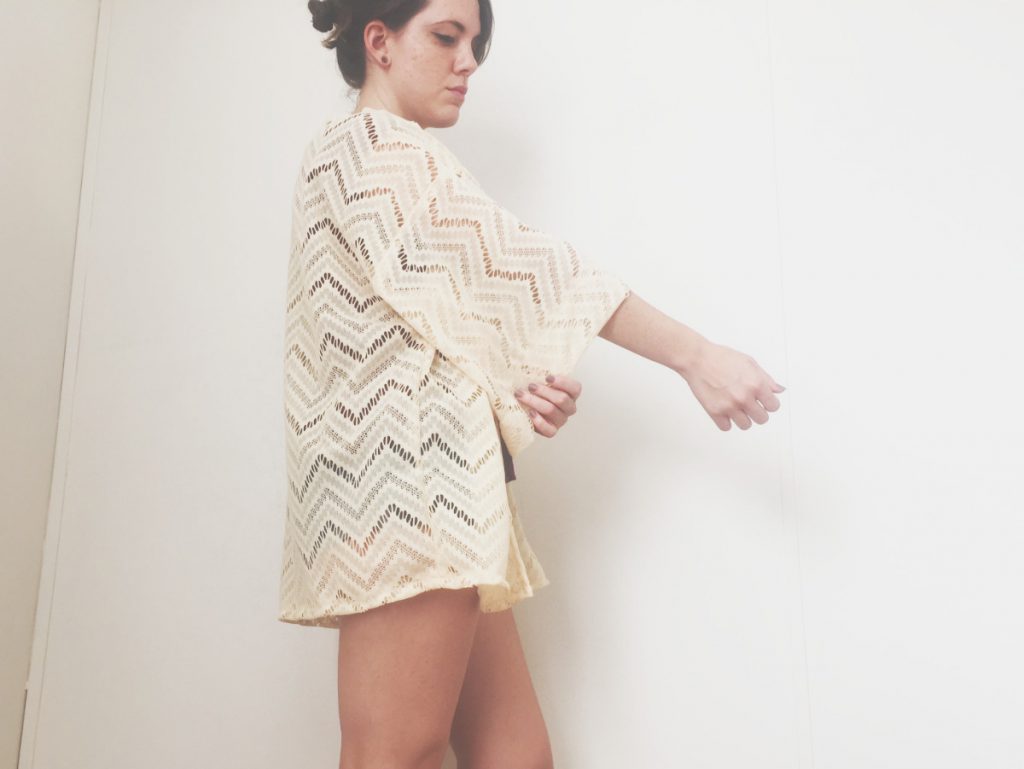
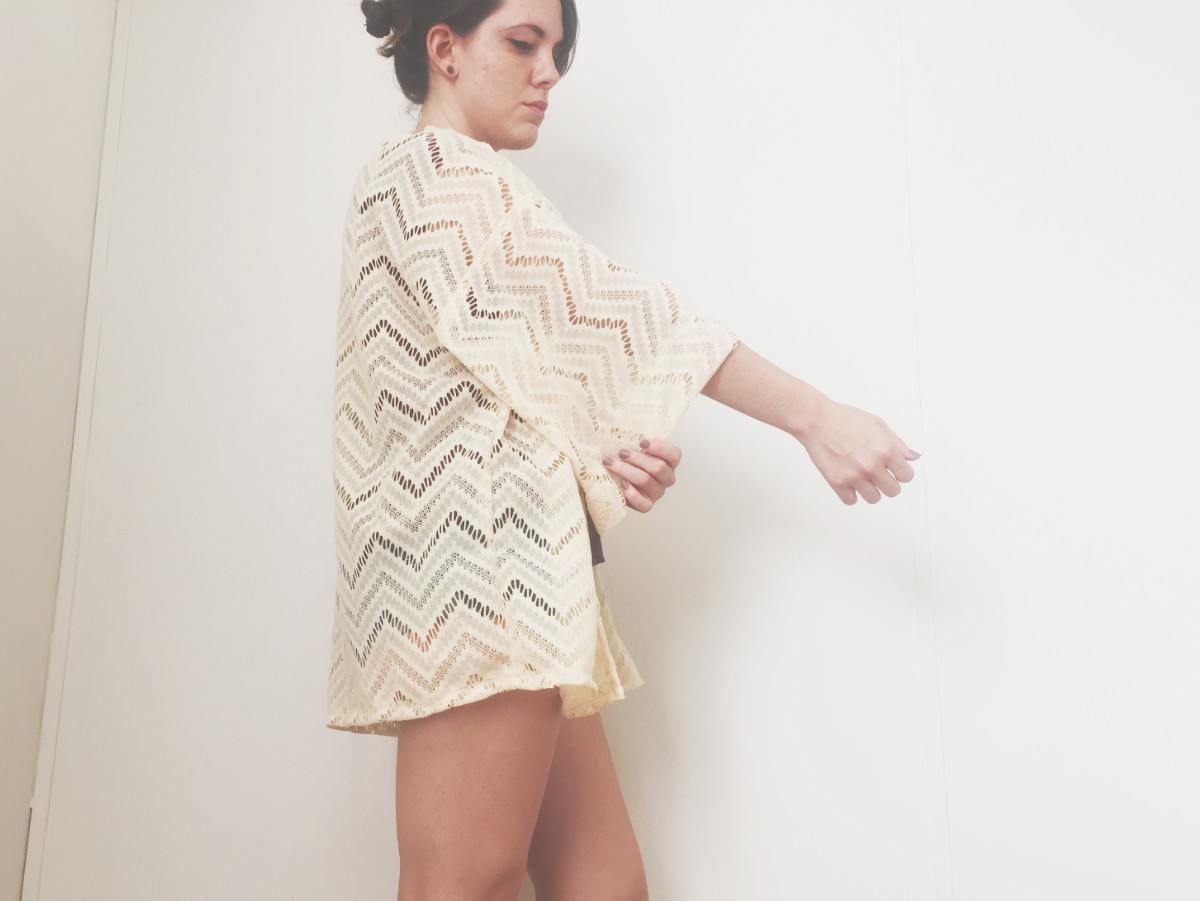
The other reason I was so drawn to trying this style of cardigan out is because the construction is extremely simple. I mean it. It’s literally made up of rectangles, and you can customize so much about it to match your personal taste. For my cardigan I opted for large, open sleeves, and a wide, angled neckline. I’ll be walking you through how to make one just like mine in this tutorial today!

Materials
I’m calling this pattern a women’s size Small/Medium. I think it’s roomy enough to fit a wide range of sizes, but you can feel free to adjust the measurements to fit your needs. Remember, it’s made up of rectangles, so the only thing you need to adjust is width and height!
- ~2 yards of any lightweight, airy fabric
- Matching thread
- Measuring tape or ruler
- Sewing machine or needle and thread
- Sharp scissors
- About 2 hours of your time 🙂
Directions
We’re going to start by cutting all of the rectangles. If you’d like, you can draw and cut all of these rectangle sizes out of paper, then use them as pattern pieces. I like to just cut the fabric to measurement, but being able to lay out pattern pieces on fabric can help to make sure you have enough material.
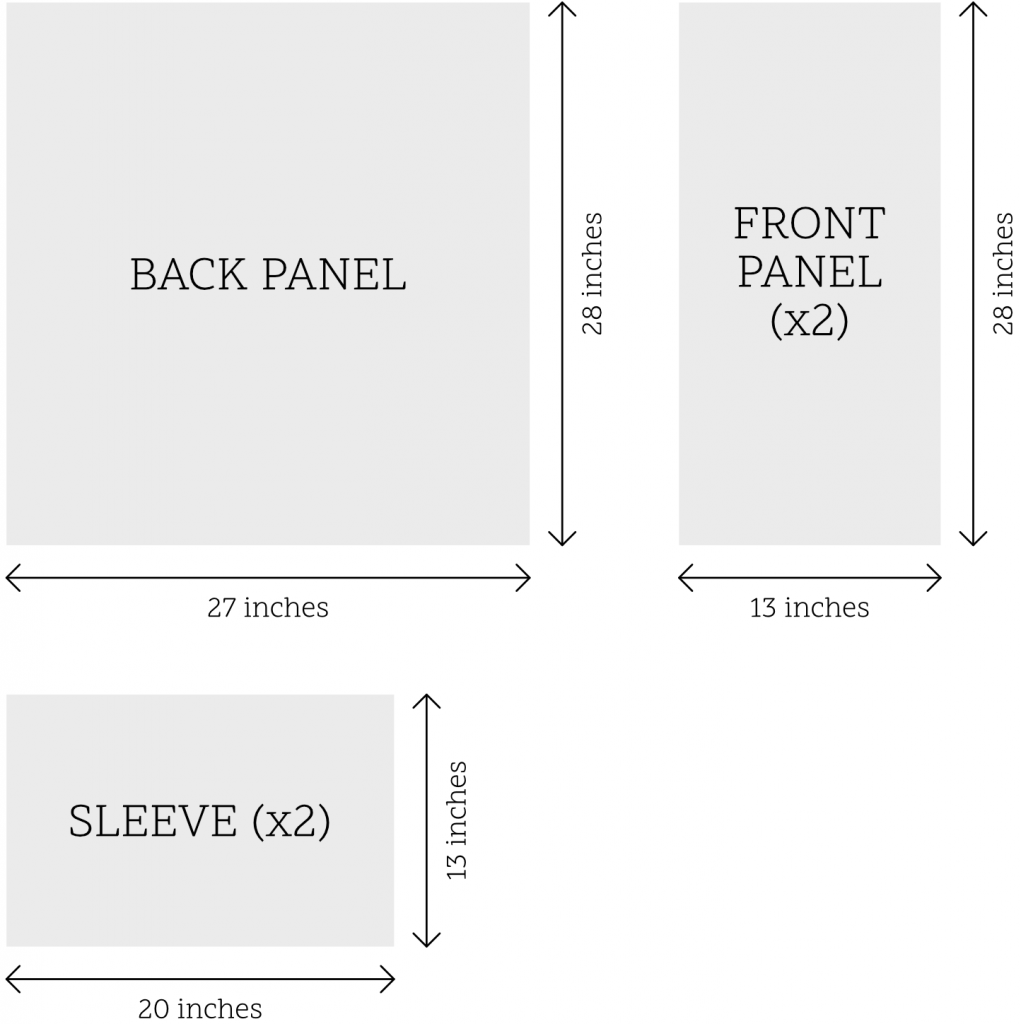
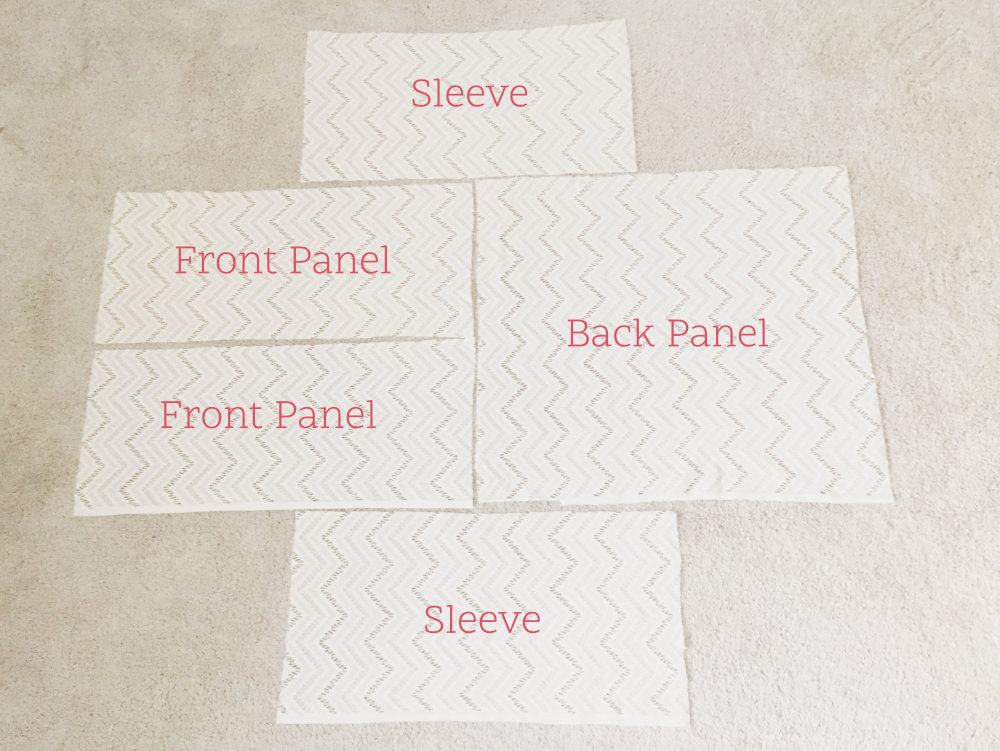
You will need to cut 5 pieces:
- Back Panel – 27″x28″
- Front Panel (x2) – 13″x28″
- Sleeves (x2) – 20″x13″
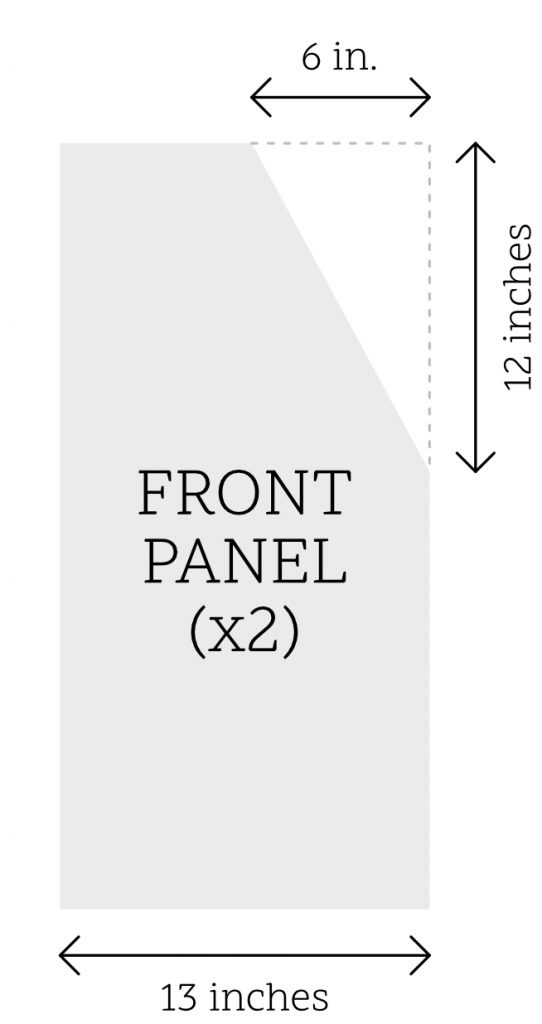
Shape the Neckline
To create the tapered neckline, I cut a section from the front panels.
Lay your panels on top of each other, right sides facing.
Starting in the top right corner, measure down the long side 12 inches, and across the short side 6 inches.
Cut a straight line diagonally from one point to the other so that you cut out a right triangle:
Construction
We will be running a total of 6 seams, then a few hems. The first seams you will run are the shoulders. I’m using a sewing machine, so I opted for a wide zig-zag stitch to allow for more movement in the finished piece. You can feel free to use whatever stitch you’re comfortable with, or even a serger.
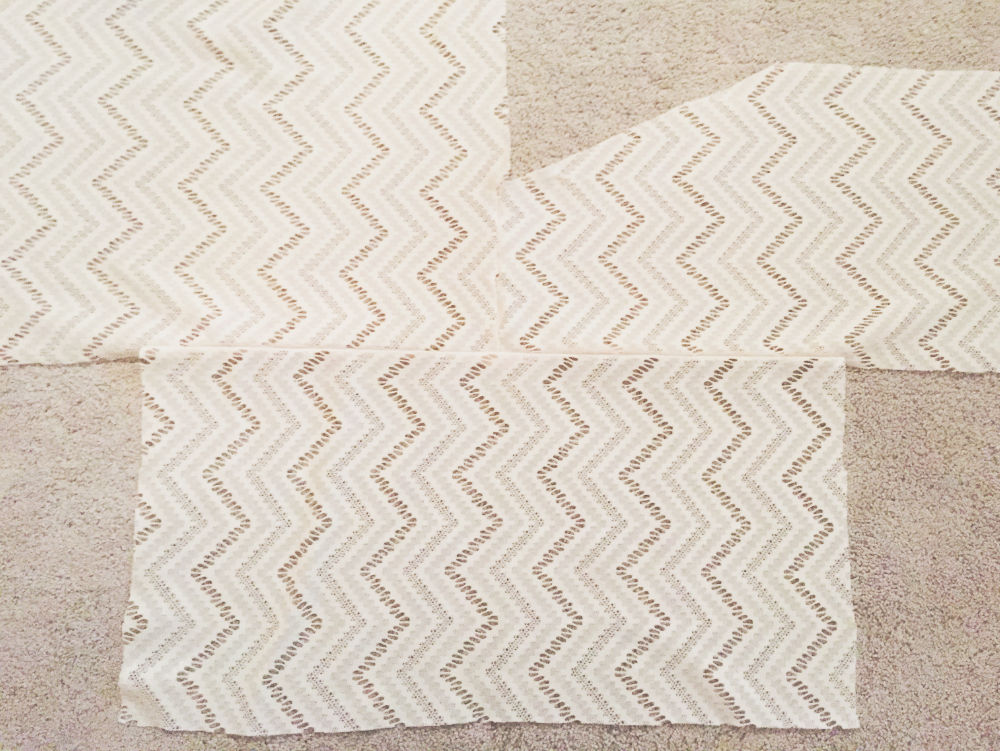
This is the basic construction we’re going to start with, then the sides will be sewn at the end:
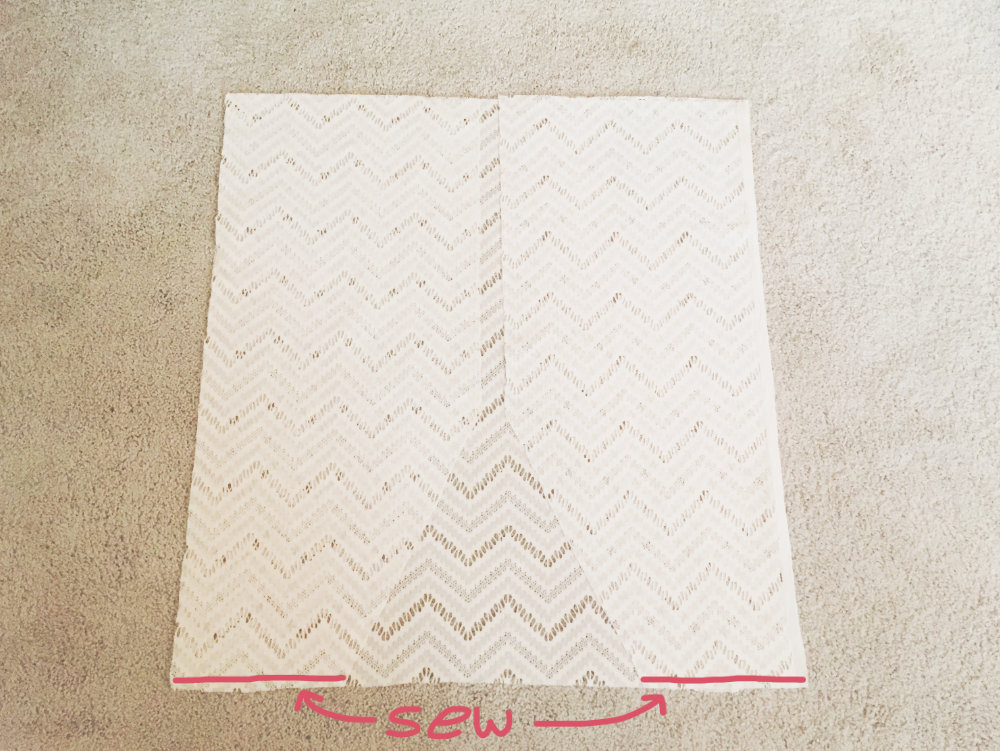
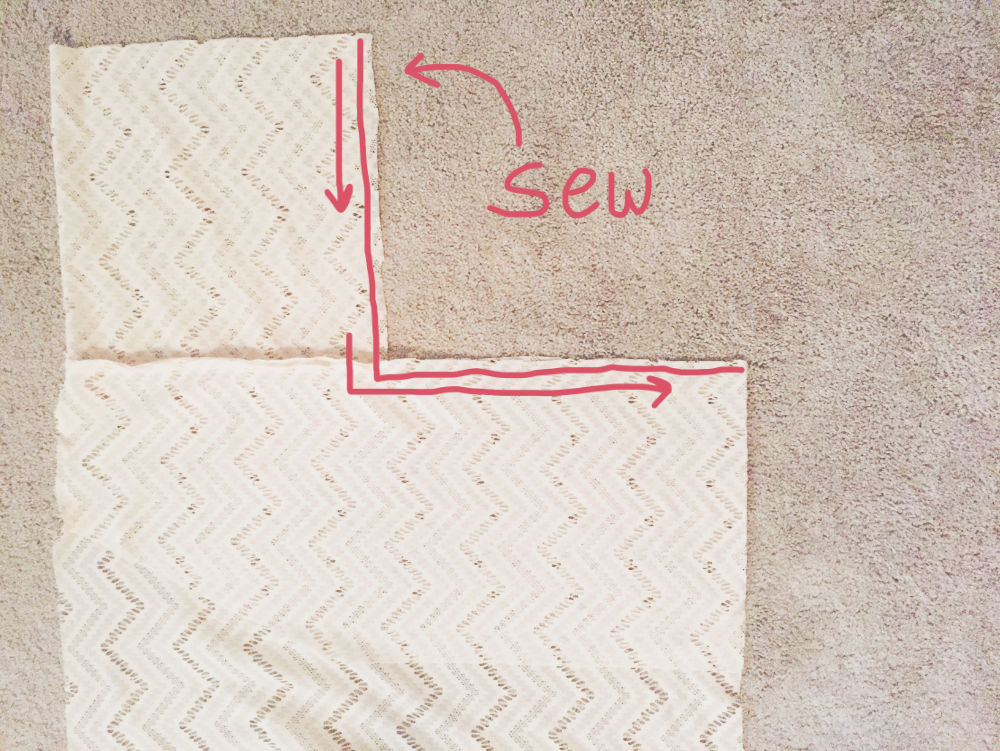
Shoulder Seams
Lay your front panels on top of the back panel, right sides facing.
Run a seam across each shoulder.
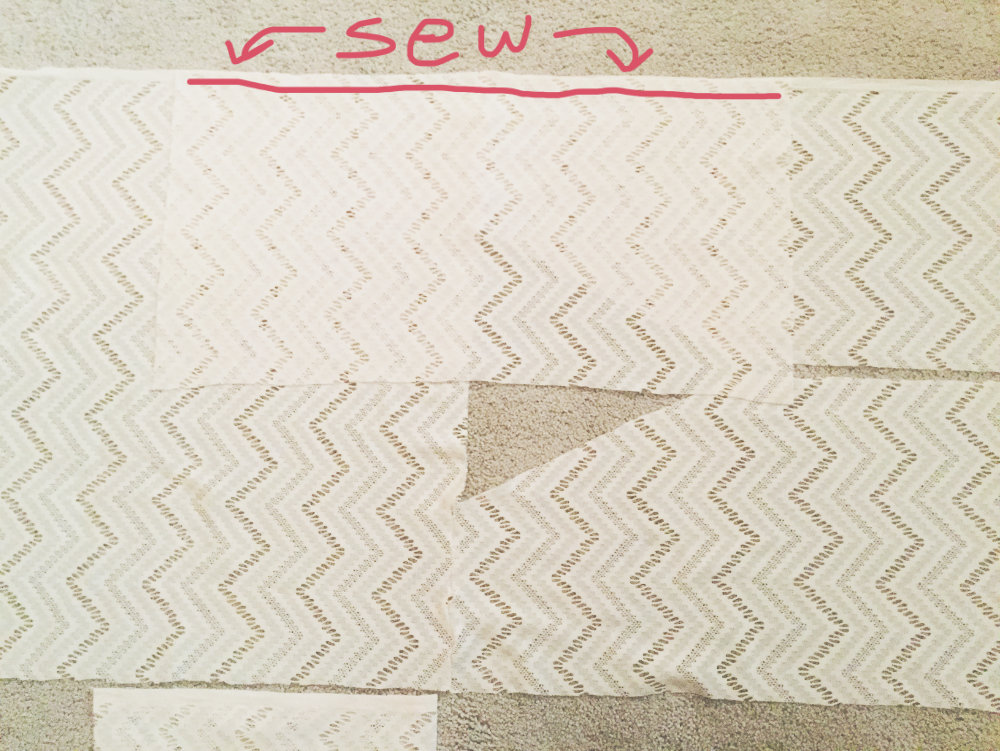
Sleeve Seams
Next, we will attach the sleeves. Open your front and back panels right side facing up. Lay the sleeves on top of either side of the body pieces with the center of the sleeve on the shoulder seam, right sides facing (see below).
It helps to fold the sleeve in half, lengthwise, then match the fold up with the shoulder seam and unfold along the length of the body pieces.
Run a seam along the edges to attach the sleeves.
Side Seams
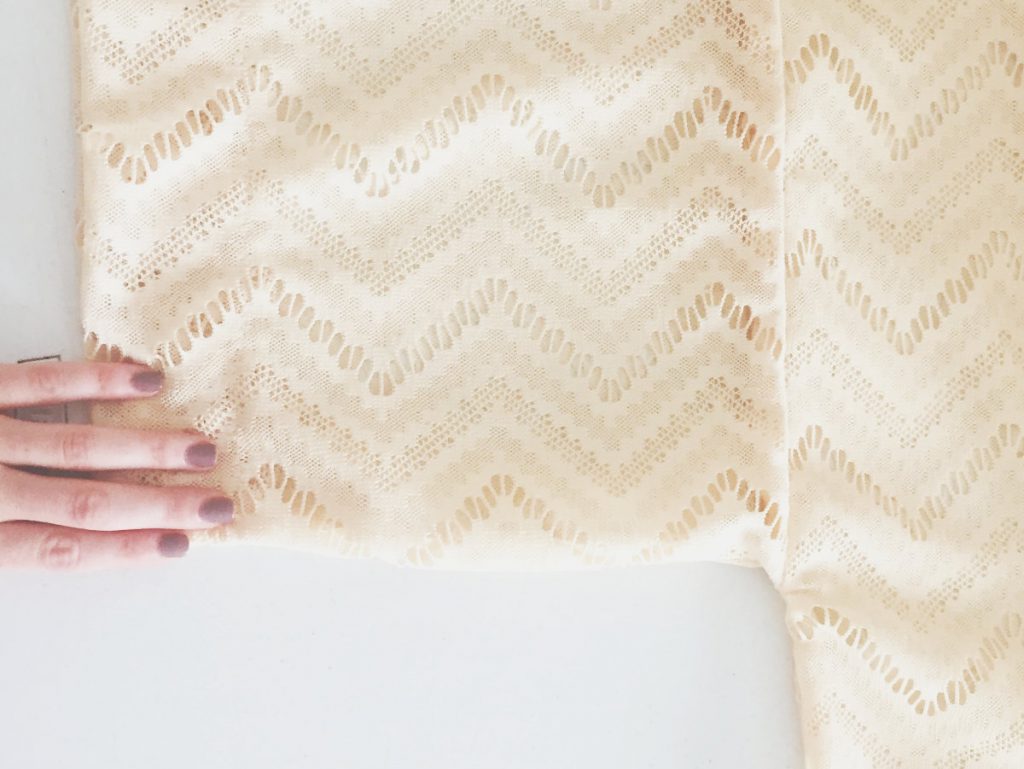
The final seams are sewn along the entire side of the cardigan at once. You will start from the edge of the sleeve and sew all the way to the bottom edge of the body.
Finishing
The final step is to sew some hems! I started with hemming the bottom edge at 1/2 inch. I like to freehand my hems so I have better control and it’s much quicker. I also only did a single fold, because I didn’t want the edges to become too thick. I wanted to keep as much flow to the material as possible.
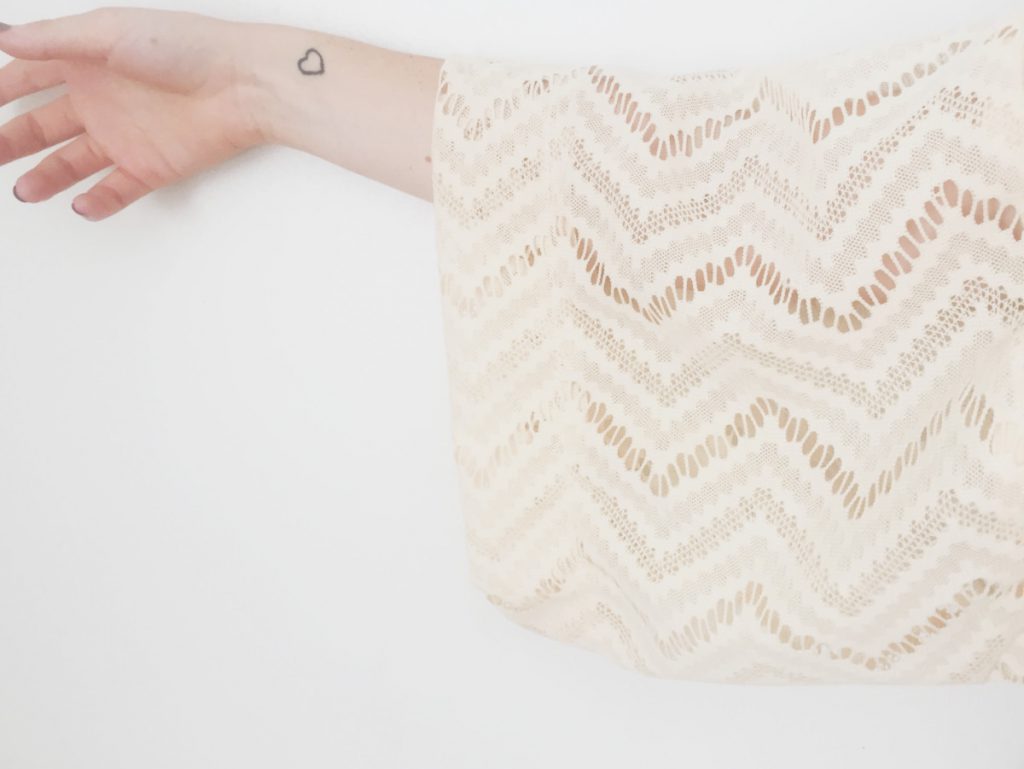
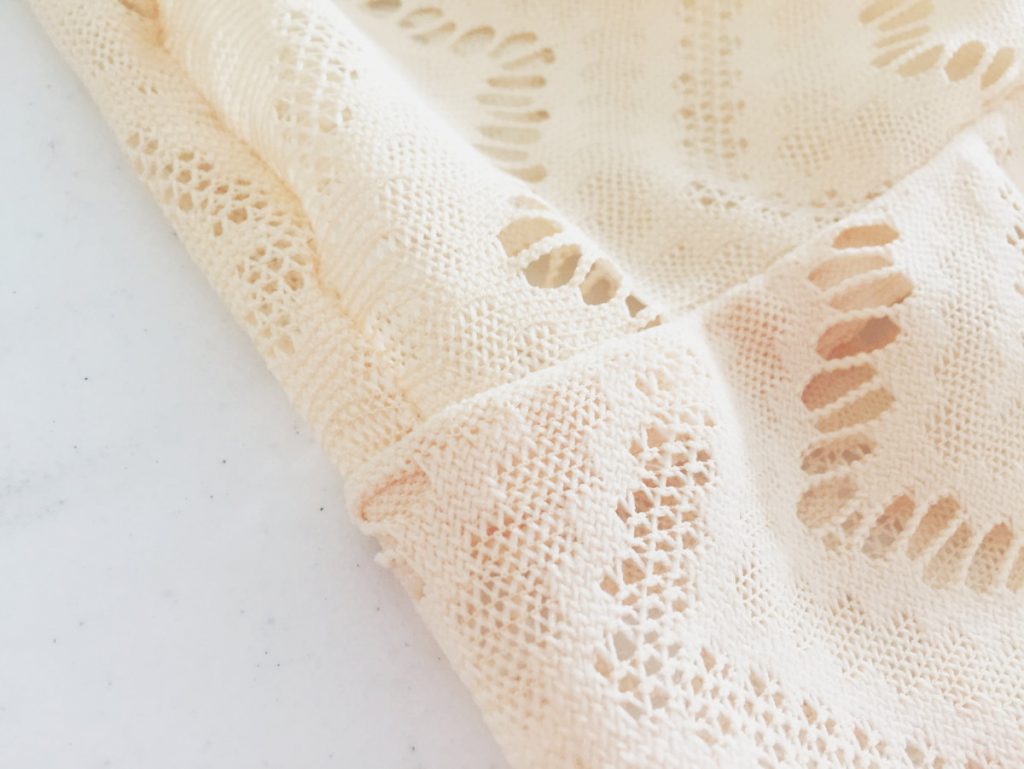
For the sleeves, I folded them up about 3 inches and ran a single fold hem. This wide hem gave the whole piece a more interesting look by adding subtle detail.
Finally, the neckline and front hem was run the same as the bottom edge hem; freehand at 1/2 inch and single fold. I started at the bottom edge of one side and rolled the hem the whole way up and around the neckline and down to the bottom edge on the other side of the front panels.
That’s it! That’s all you need to do to make yourself a summer-friendly, kimono style cardigan! This cardigan has lots of potential for customization and style. The whole look of the piece can be changed simply by choosing another type of fabric. The sleeves can be made more fitted, longer, or shorter. The neckline can be shaped in many different ways to give it a whole new look.
I already have plans to make a few more of these for my closet! Some suggestions I have are to use a flowy jersey knit fabric or a sheer, printed silk. I also think that adding a trim to the bottom edge or the sleeves could be really fun.
I’d love to see what you make using this tutorial! Feel free to share your work in the comments below, or tag me in a photo on Instagram @by.hand.with.love
I hope you enjoyed this quick tutorial!
Happy Sewing!
![]()
Action Shots