


Hey Makers,
I’m happy to announce that I’ve recently secured my place in my very first craft show! *cheering & applause*
I’m also happy to announce that I have no idea what I’m doing.
Why on Earth would that make me happy? Because that means I get to bring you guys along for the ride.
I’ve been having a hard time coming up with good things to blog about because I always want to teach something that I know how to do well. I know from past experience though that sometimes it can be helpful to others to just watch you do yer thang and learn from it.
So, here we are, in the middle of November, and I’m going to walk you guys through my thoughts on how I should prep for an upcoming craft market.
Big Giant Disclaimer:
This is a list of ideas and supplies that I have personally decided are important for preparing my booth. I’m a graphic designer by trade and have extensive marketing as well as visual merchandising experience, so I’m using that to find my way through this. This is not an extensive list and some of these things may or may not work for you personally.
Now that we have that out of the way, let’s talk shop!
Take Inventory
The very first thing you should do is make sure you have enough inventory, or materials to make your inventory. You should also make sure there is enough time between when you decide to vend a show and when the show actually is. If you have to make all of your inventory, don’t sign up for a show that is 2 weeks away – or worse, the coming weekend.
Deciding how much stuff you need to make can depend on a huge variety of factors. The main one being your budget. You need to figure out how much you can realistically spend on materials and what the value is of all the things you make from them. Evaluate your retail prices to make sure you are being paid for your materials, as well as your time.
Don’t sell yourself short.
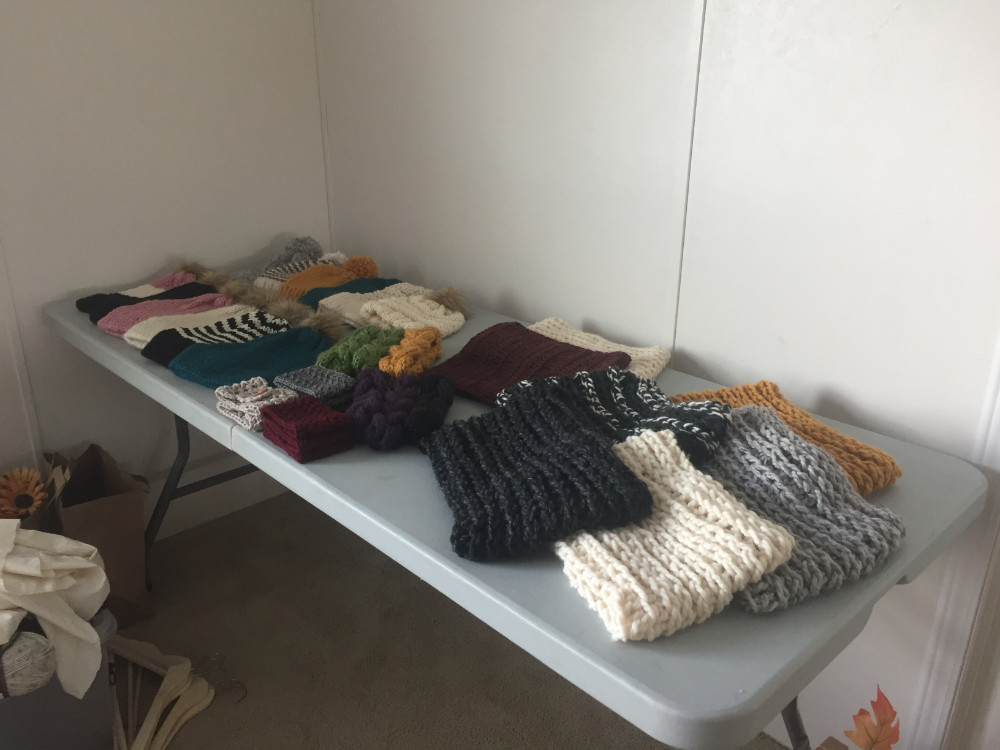
Another big factor in your inventory size is how big your booth is. If you only have a 6 ft table, don’t bring a huge pile of stuff! Likewise, don’t come in with 3 6 ft tables and not enough product to fill them. Both of these scenarios can make your booth look unprepared and could scare away potential shoppers.
I’m attending an indoor show this fall with a 10×10 foot booth area. Since it’s indoors, I’m opting to go sans-tent and work with one or two 6 ft folding tables. This gives me a pretty large table to merchandise, but it’s not overwhelming for my first show. I will also have a folding sign at the front of my booth area with my logo and website displayed. I’m also including my dress form for displaying items with an outfit, and in the future I think it would be cool to have a full clothing rack.
Brand Reinforcement
You should always be thinking of your booth at a market as a storefront of your business. If you ran a brick and mortar store, you’d want to make sure people knew what your business name was. You’d also want to make sure your brand looks professional and cohesive in every aspect and area. Your booth shouldn’t be viewed any differently. Before the show, take some time to establish your logo, as well as a general aesthetic for your brand.
This “aesthetic” depends on a few different factors, like the audience you’re trying to appeal to, as well as your own personal taste and style. Take into consideration the style of your products as well. If you make farmhouse decor, you don’t want to use a “high fashion” style of brand because your products will look out of place.
Pick your brand aesthetic early and start to pick out your display items to match. If you pick a rustic, “cabin in the woods” style, start looking at decor and display pieces that use branches, pine trees, and other elements that reinforce that rustic theme. Try to match your brand aesthetic in as many aspects of your business as possible and it will really take your brand appearance to the next level.
It’s All About Presentation
Once you have a bunch of matching, beautiful decorations and displays, you have to make sure you set them up in a way that will make your booth approachable and appealing to customers to shop in. The term “visual merchandising” is a big one that doesn’t get thrown around enough in the world of craft shows and markets. I see so many vendors who just lay everything out on a black table cloth and sit back. While this might work for some people on some occasions, it’s not a guarantee that your products will sell. If you really want to up your chance of pulling in more potential customers and making some sales, you need to put in some effort.
There are so many subtle cues to a good craft show display that seem so obvious that we tend to not realize they’re intentional merchandising moves. The number one suggestion I have, if you don’t do anything else for merchandising, is to ADD HEIGHT to your table. I’m not talking about making your table taller, obviously, I’m talking about tabletop shelves, boxes, pedestals, and racks. Adding these height points allows you to highlight certain items, present them in a more appealing manner, and also make your product fill out the table more.
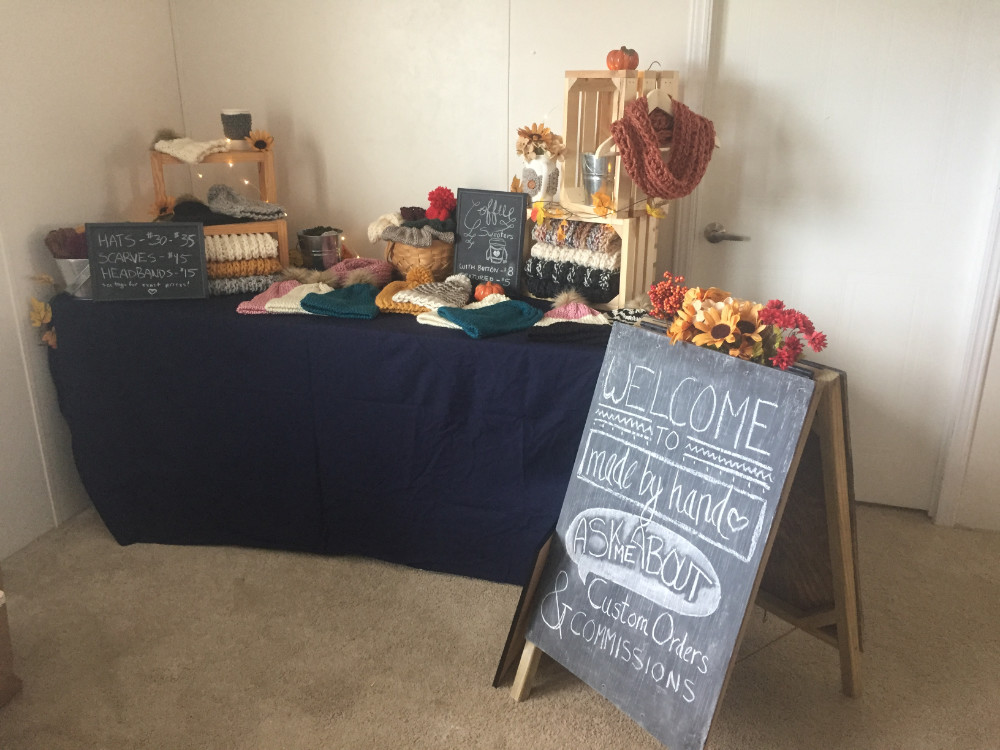
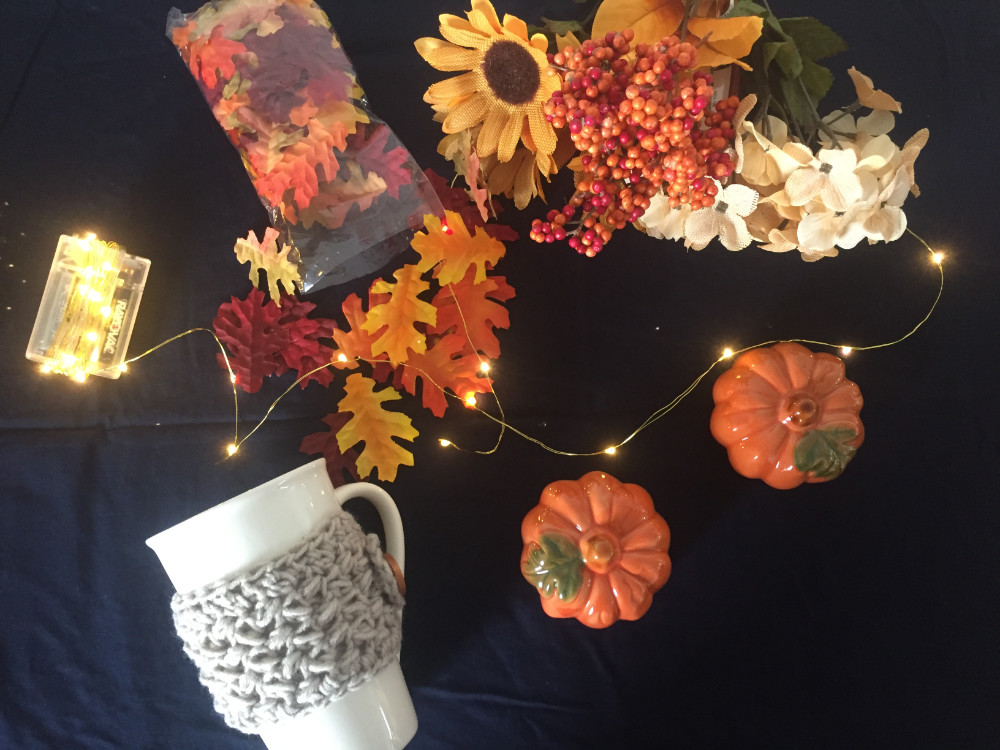
Don’t skimp on the final touches for your booth either. If you’re doing a seasonal show, head over to the craft store (or dollar store!) and grab some seasonal decorations to give your table some extra pizzazz. Sine my first show is Thanksgiving weekend, I went and got some fall leaves, pumpkins, and fall flowers to decorate my booth. These decorations set the mood of your booth and can be more appealing to customers and draw them over to your booth.
Checkout Line
So you’ve taken the time to create a cohesive brand, your booth looks full and inviting, and people love your products… Now they want to actually purchase them! Your attention to detail should carry the entire way through your customer’s experience, from initial sight to checking out. Make sure you have everything you need for packing up your customer’s treasures, as well as taking their money.
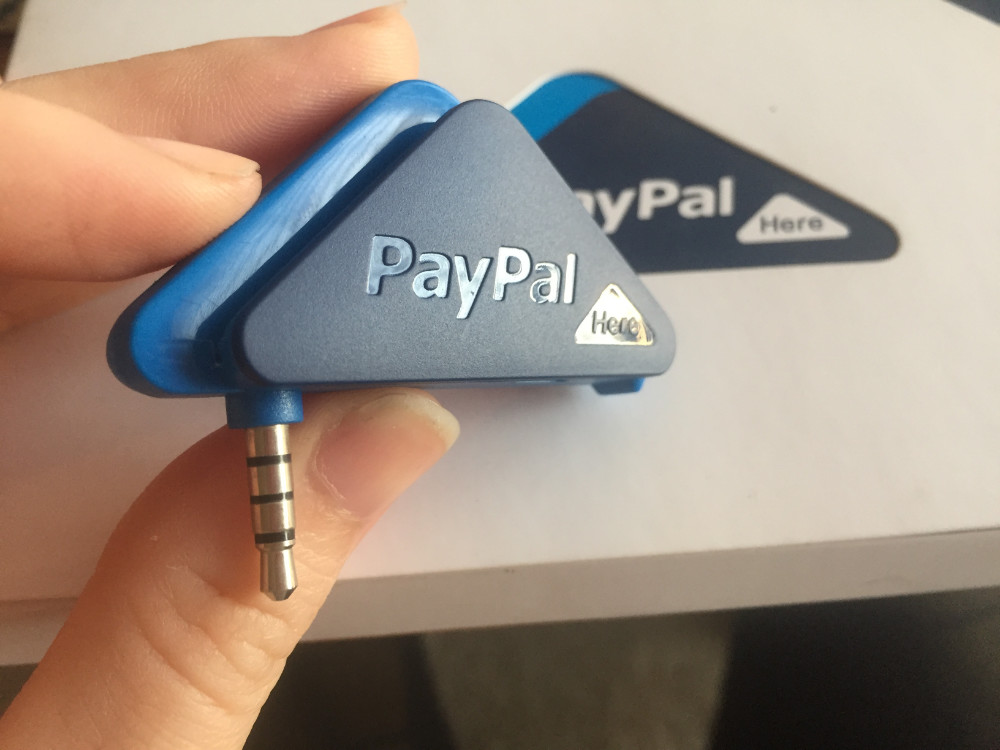
At the very least, make sure you can take both cash and cards. This will ensure you can sell to the majority of people who visit your booth. You will have to decide for yourself if you can and want to handle checks.
Keep a cash box with some change. Every place I ever worked to run a cash register kept $100 in change in the drawer and made sure to have every kind of bill and coin to provide the right kind of change. You will need to assess your own budget to make sure you can provide the right amount of change for the market. Keep in mind that you will start to get change as people make purchases with cash.
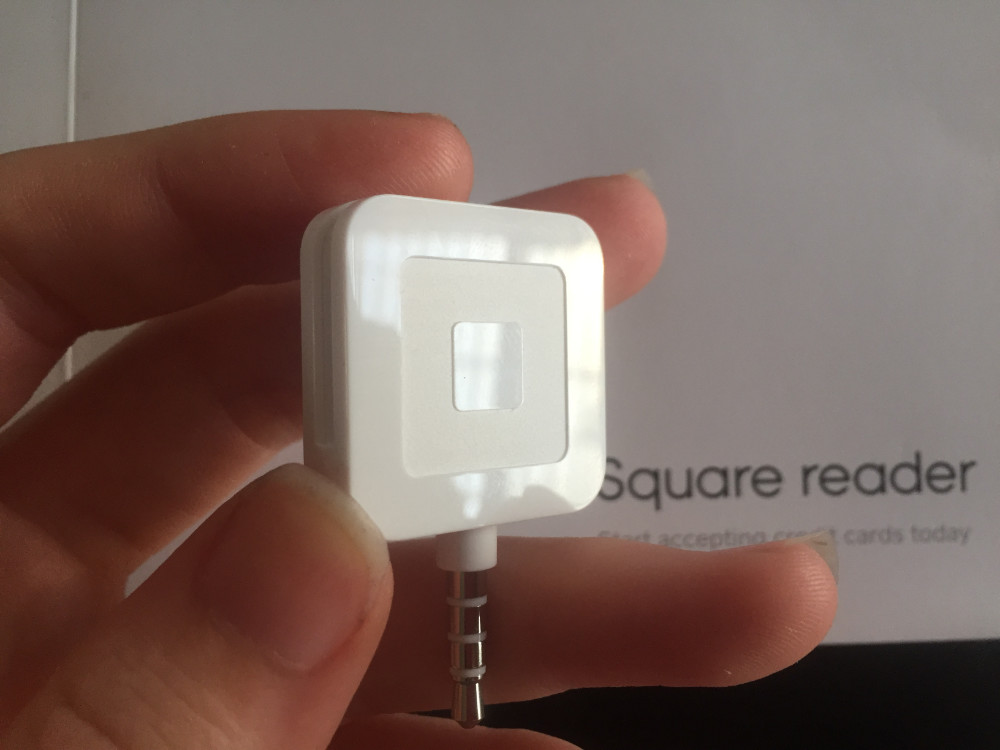
I use PayPal for accepting payment on my website, so it made sense for me to just use a PayPal Here reader. I got mine for free from PayPal’s website, but you can also pick one up in certain electronics stores. There is also Square card readers, and options for taking Apple Pay and other electronic payment methods.
You’ll also need to make sure your customer’s can take their purchases home safely. Consider if you want to use paper or plastic bags. Paper usually looks much nicer, but you might want to include a plastic wrapping to keep the product dry. If your products are fragile, stock up on tissue, Kraft, or newspaper to wrap and protect them from breaking in transit.
If you have a lot of different size items, have a variety of bag sizes to match. You don’t want to place a small bracelet in a huge 6×9 inch paper bag. Likewise, you don’t want to try and cram a super bulky infinity scarf into that size bag either!
Finally, make sure you have inserts for your bag to remind your customers of their shopping experience. You could do something as simple as slip a business card into each bag, or go to the next level and make a flyer specifically for the show. Include extras like coupon codes and handwritten notes that keep customers coming back and telling their friends and family about you!
Etiquette
If you’ve ever worked in retail, you probably know about the 5 foot rule. This is a rule I was taught as a sales associate that basically meant that anytime someone was within 5 feet of me, I had to engage with them by saying hello and asking if they need any help. This rule doesn’t so much apply at a craft show in the literal sense, but the core concept is solid. If someone approaches your booth, or even just glances over at it, be sure to smile and say hello! This simple gesture is great for making people feel comfortable and welcome at your booth.
Don’t sit around on your phone. Don’t sit around reading a book. Don’t spend the whole time chatting with your booth assistant. You want to look like you actually care and enjoy being at the show. Being ready to talk to customers at all times is important for looking professional and put together. DO consider working on your craft at your booth. Customers seeing you at work can lead to them appreciating your products more.
Dress nicely. You don’t have to be totally dolled up, but don’t look too casual. Being well-dressed can add to the statement that you are professional and serious about selling your work. If you’re selling apparel, be sure to dress in a way that compliments your clothing. If you can, wear a piece of your apparel! When I worked at Forever 21, I was required to have at least one F21 item in my outfit, every shift I worked. The idea behind this rule was that the sales associate should be standing behind (or in) the products that they’re selling. Apply this to your own handmade products and be your own mannequin!
Other Thoughts
Make sure you are being legal and prepared to sell at a market in your state. If you need to have your business registered, do that. If you need a resale tax number, get one. Don’t be caught the week before the show without the proper permits that could take over a week to process.
Use some creativity and come up with things that would make you have a better shopping experience. Consider a few finishing touches like setting up a mirror for customers to try on items. Have a lint roller handy for textile products. You never know when the stray speck of something or a pet hair will show itself. Also keep a repair kit handy for anything that gets snagged or falls off.
That’s pretty much all I’ve got for this! My show is coming up at the end of November, so I plan on writing a piece about the actual experience as a follow up. I know that this is an ever-changing process and there are so many good tips for making a craft market go smoothly. I’d love to hear your tips as well, so feel free to post a comment below and join the conversation!
