Way back in 2013(ish), when I was still just a crocheter, I was casually scrolling through Ravelry when I came across a sweater pattern that I fell head over heels for. It had complex lacework down the sleeves and a shaped body. It was gorgeous. It was at that moment I finally decided it was time to start learning how to knit. I had to learn to make sweaters.
A close friend and former college roommate of mine is a knitter and I always just thought it looked too complex to try. Two needles? Stitches that can be dropped? Knitting vs. purling? It all just sounded like a mess I wasn’t willing to get wrapped up in (pun intended). I was comfortable with crochet—it had become second nature to me. I had mastered crocheting without needing to look at my work, and branched out into complex stitch patterns that made my projects feel more intricate. Why would I ever want to stray from the craft I knew so well…?
Simply, because crochet just wasn’t able to create the garments I wanted to make or design.
I spent countless hours searching the internet for crochet patterns and stitches that would give me that seamless, beautiful fabric created by knitting. I tried Tunisian crochet, HDC in the back loop only, and anything else that promised to give me that knit look.
To this day I cannot find that exact sweater pattern I fell in love with on Ravelry, but my taste in knitwear (and fashion in general) has changed a lot since then. Over time I found that I prefer simple knits. Sweaters with subtle texture, interesting small details, and minimal color work. That’s where the Mellow V comes in: My dream sweater.
I count my official start date for learning how to knit December of 2015. Before that time, I could never really get the hang of knitting. I spent that Christmas curled up on my couch with the biggest knitting needles I could find to pair with some super bulky yarn and I conquered the skill. I could only make knit stitches, and they weren’t even at all, but I did it. After I made a successful and rather small knit cowl, I declared myself a master of knitting and decided I could learn how to make a sweater on the fly. I had the basics down, how hard could it really be?
Turns out, knitting is actually pretty hard. Especially when you don’t have anyone around to help and you’re teaching yourself via the University of Google. I picked up a free copy of the Mellow V sweater from Anna & Heidi Pickles when they first released it, and I was sure it was going to be my first completed sweater. At that time I knew nothing of increases or raglans, but I wanted to learn it all through a real project. The short version of this epic journey is that I had to attempt this sweater a grand total of 4 times before finally understanding what the hell I was supposed to be doing. It took me 3 years to get the final sweater complete, and that’s why there’s long version of the story I’m going to tell you:
Mellow V: The Pattern

Photo © Anna & Heidi Pickles
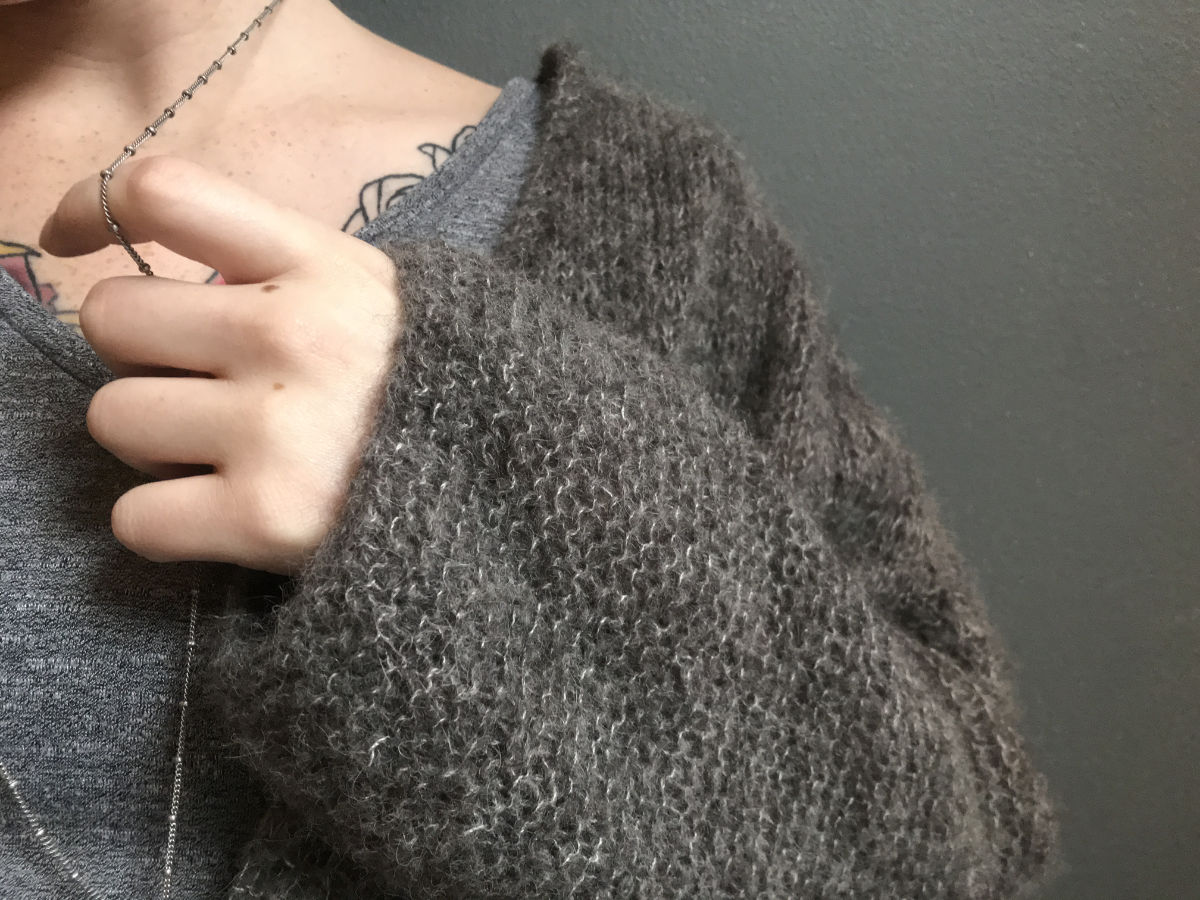
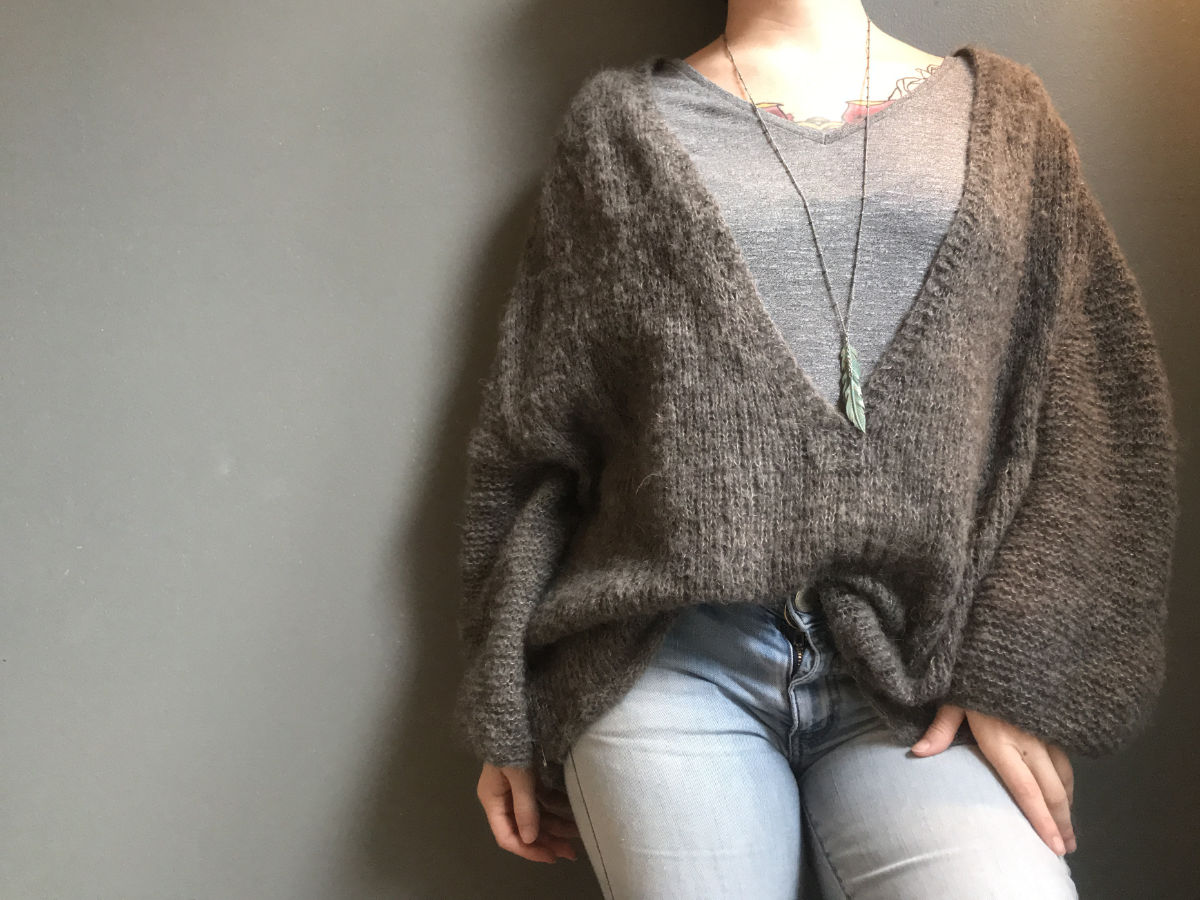
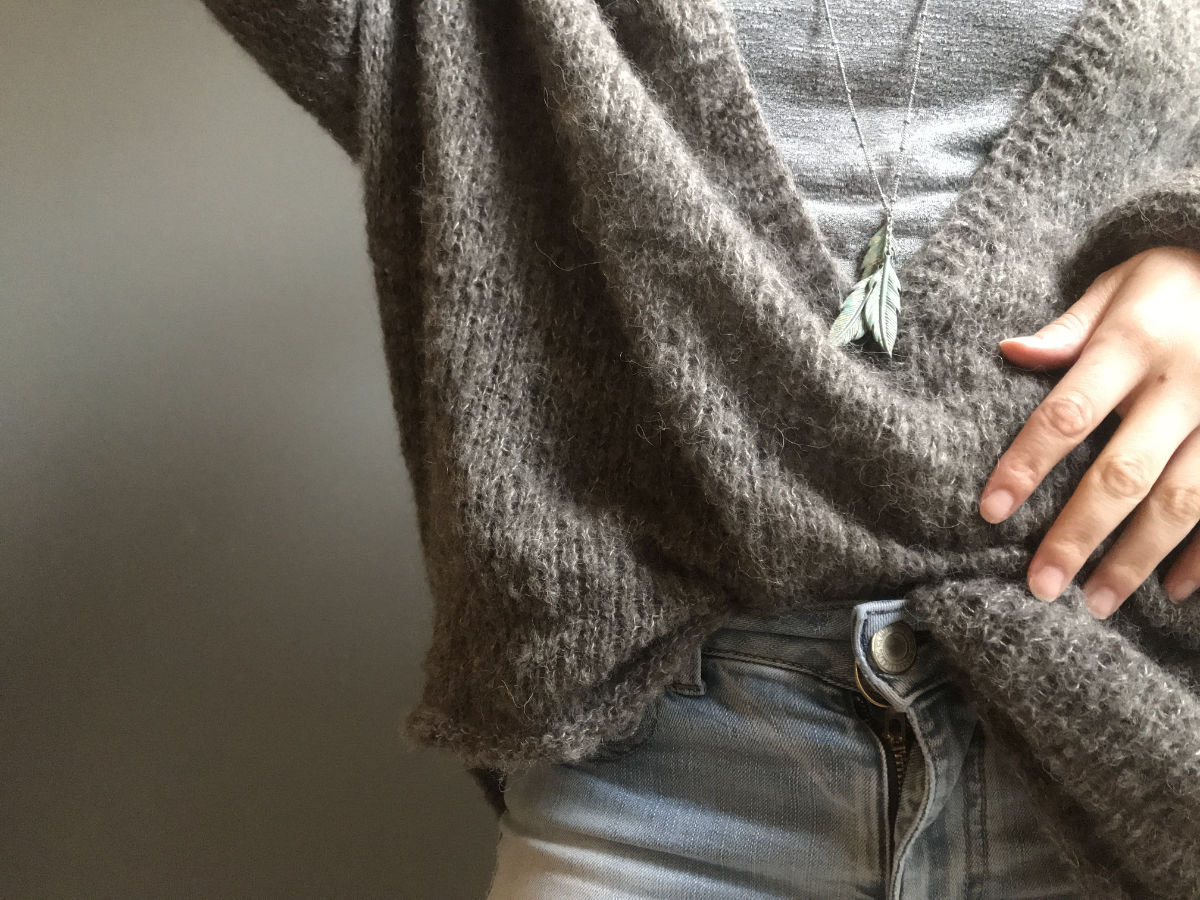
The Mellow V sweater is a cozily oversized, deep v-neck jumper with subtle texture details and copious amounts of squish. This pattern was available for free (in size S/M) when I found it, but it’s since been listed as a paid pattern on the Pickles website. I grabbed the free version and went out to buy the yarn required for making what I was now declaring my “dream sweater”. It called for a mohair blend so it would have a delicate fuzziness and soft texture. The fuzzy texture also downplays the garter stitch details so they become subtle accents that blend with the rest of the sweater very nicely. The deep v-neck gives this sweater a cardigan-like look and allows for cozy fall layering. From face value, this really was my dream sweater.
The issues I ran into with the pattern were mostly my own fault. I was a novice knitter looking into what I would consider an advanced knitting pattern. I tend to get really overconfident when it comes to fiber arts, and it usually humbles me very quickly. I didn’t fully understand the construction of a raglan sweater and how it all worked, and I was attempting to learn that technique with lace weight, super fuzzy yarn.
Pro tip: Don’t teach yourself how to shape a raglan with fuzzy, lace weight yarn. It’s a terrible idea.
The only other issue I had was some of the instructions seemed a bit… odd. I realized during my third attempt of the sweater that the designers of this pattern were actually from Norway. I posted a small section of the pattern to the knitting subreddit and a lot of people agreed that the pattern seemed to be written in a kind of strange way, and it was probably because the original pattern was translated into English. With the help of some internet strangers, I was able to decipher what the pattern was asking and move forward with my “dream sweater” project.
Tiny Needles
The first time I tried to start this sweater actually resulted in me casting on, and then almost instantly giving up. I don’t really consider it an official “attempt”, but it was definitely part of the learning process. I bought a few skeins of Patons Lace in a cute dusty pink color, along with the tiny US size 6 circular needles the pattern called for. I was not prepared for what happened next.
I cast on the initial neckline stitches and wasn’t able to go any further with the pattern. I only knew how to do a short tail cast on at this point, and I was a very tight knitter. The small needles combined with my horrible tension made it almost impossible to knit the next row because the stitches were so tight and the bamboo needles felt like they were going to break in half. I think I completed just 3 knit stitches into the row before angrily extracting the needles from the yarn and taking it all back to Joann’s with a receipt.
For the time being, I was accepting defeat.
Official Attempt #1
A few months after my initial “attempt” to create the Mellow V, I decided that I had learned enough about knitting to revisit the pattern with a fresh (and very humble) perspective. It was still in my Ravelry queue calling my name, so I did some research on the perfect yarn for the job. After reviewing a bunch of other projects for the pattern on Ravelry, I settled on DROPS Brushed Alpaca Silk in a soft medium grey.
Casting on the initial neckline stitches went super smooth and quick. I used a long tail cast on this time and made sure to leave a bit of slack in each new stitch so I could easily work the first row. Knitting the first row turned out to be much easier with my added experience, and I figured it was smooth sailing from there.
During this first official attempt is when I really learned how important it is to read the whole way through a pattern before you start a big project. I did not understand where all of the increases were being placed, and I definitely did not understand the row repeats. I worked through all of the first type of increases before I realized that I was doing it completely wrong!
Attempt #1 was a failure, and I resorted to frogging all of my hard work.
Yep, Raglans are Hard: Round #2
After frogging, I decided to study the pattern a bit and do some research. I watched multiple videos on how to shape a raglan and learned everything I could about increases and how they should be applied to get a certain look. With my newly found knowledge, I dove right into round #2 within a week or two of frogging.
This time I made it through the first type of increase rows and got cocky. I thought the second type of increases in the pattern would be worked the same way, so I barreled through the first two repeats of them…
I remember looking down at the pattern in the middle of a row and having the realization hit me that I was not following the pattern correctly. The sinking feeling hit my stomach as I finally understood what the pattern was asking for and how it was definitely not what I was doing. I was faced with a choice at this point:
- Figure out how to pick up stitches in a raglan worked in mohair and rip back to the end of the first increase type.
- Frog the whole damn thing and try a third time.
With my level of experience, the first option sounded like it would take a lot more time than starting over, so I proceeded to rip out my work once again.
If you’ve ever had to frog a project more than once, you probably understand how I was feeling at this point. I was defeated, frustrated, and ready to completely give up the idea that I could manage to learn this technique. I shelved my mohair yarn and size 6 needles for months before ever thinking of trying again.
Third Time is a charm
I picked up my needles for this sweater one last time in September of 2017. I came back with a plan and my now #1 recommendation for working on raglans: Make a checklist for your increase rows.
I used a spreadsheet and made a row for each row of the raglan increase… Yes, every. Single. Row. And I’ll do it again, every time I work on a raglan. It saved me SO MUCH trouble and made the whole process a breeze. I felt confident stopping after every row and could put it aside if I wanted without fear of forgetting where I left off. It took about an hour to finalize the spreadsheet, but that hour was worth more than the time and heartache it would have taken me to frog that damn sweater again.
The spreadsheet had the number for each row, a checkbox I could tick when I finished each one, and a field with notes about the increases. In the notes I pointed out if it should be the right or wrong side of the fabric, and I also indicated which type of increase I needed to do, per the pattern.
With my fancy checklist ready to go, I knocked the raglan out of the park within a few days. I also placed lifelines after I completed each type of increase so that I could rip back if I needed. I only had to utilize a lifeline once, but I was so happy with how much time and hassle it saved me.
Once the raglan was complete, I was able to place the sleeve stitches on holding yarn–which, can I just say that no one prepared me for the fact that putting live stitches on scrap yarn would be so anxiety-inducing? (You mean, I just LEAVE these here?!). I thought I was going to lose all of my hard work! But once the sleeve stitches were safely on the holders, I felt a little better. I kept a close eye on them every time I picked up the project, just in case. Now it was a matter of focusing on the body of the sweater.
Since the sweater features a super deep v-neck, I had to continue to work neckline increases with the body open like a cardigan. This went on a few inches past the armpits, then the pattern had a really fancy way of knitting the bands together to create a really nice overlap at the tip of the V. I’m going to be honest, I don’t really remember how it was done or how I even managed to do it. I’m just glad it turned out ok!
After the neckline is joined, the pattern called for carrying the garter stitch band down the front of the sweater a bit. I wasn’t a huge fan of that look, so I opted to stop my garter stitch band after only about an inch.
Now it was just me vs. miles of stockinette stitch in the round. I was so relieved to have the shaping done and ready to be able to calmly work on this sweater in my spare time. It took me a long time to finish the body because there was just so much of it. But I didn’t hit any speed bumps along the way and was able to bind off and move on to the sleeves.
I didn’t have any trouble with the sleeves either. By this time I had been knitting for a few years and working on other projects, so I felt more confident about each step. The sleeves were worked in the round, but it was garter stitch, so I had to pay attention to whether I was on a knit or purl row.


my Final thoughts
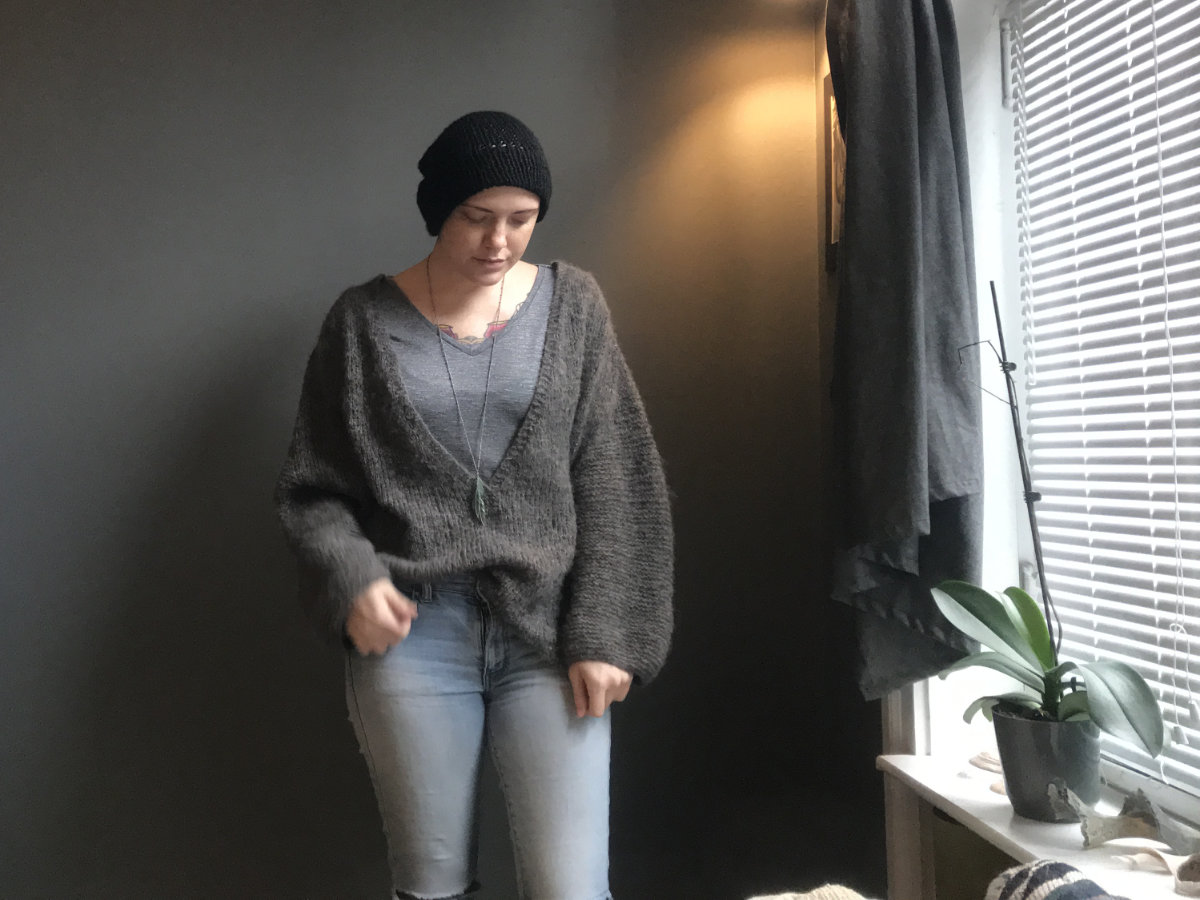
The Mellow V was a great pattern that would have produced a really pretty sweater, had I attempted it with more experience. It’s a classic, simple look that can be integrated into any wardrobe. The possibilities for customization are awesome too. Can you imagine it with stripes? Adding pockets to the front? You could even keep the front completely open as a cardigan. Despite my issues with learning to knit sweaters on this pattern, I will 100% be revisiting this in the future to make my official Dream Sweater.
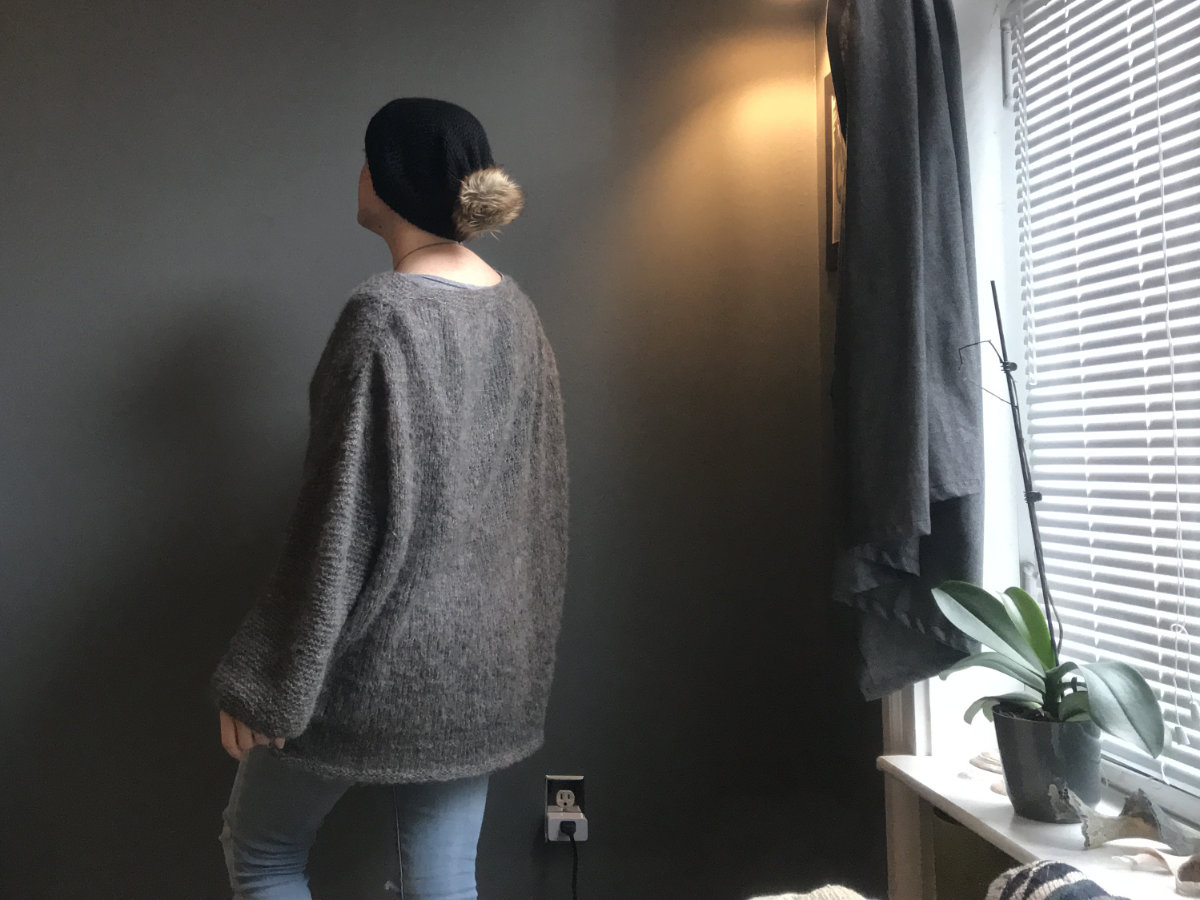
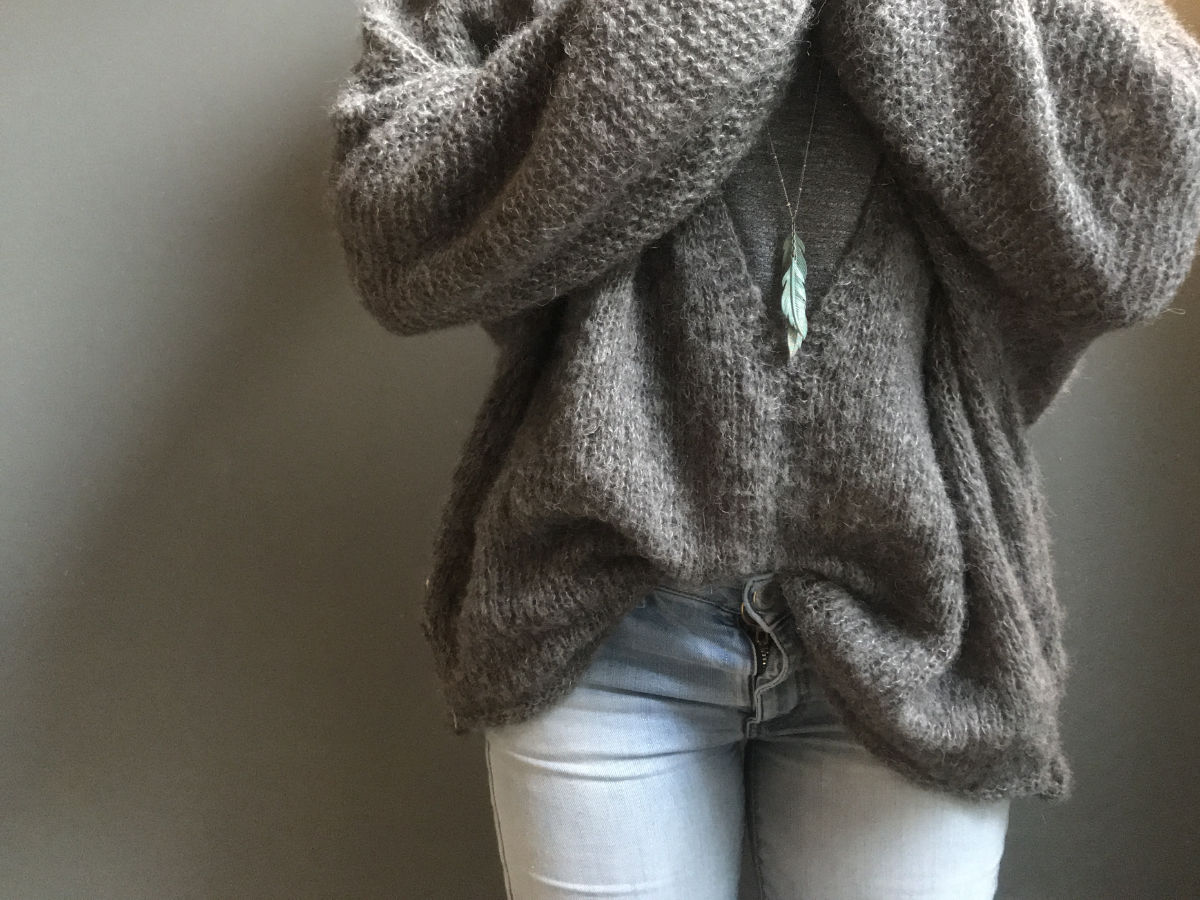
My final sweater is just way too big and full of mistakes. I know that from face value the mistakes aren’t noticeable, but they bother me because I know I could have avoided them. In the raglan increases, I occasionally switched M1L and M1R stitches and that resulted in some weird holes in the shoulders. I didn’t know how to do a stretchy bind off when I made this, so the bottom edge has no elasticity. Same goes for the sleeve cuffs. I also have this habit of making sleeves too short… I honestly don’t know how it happens.
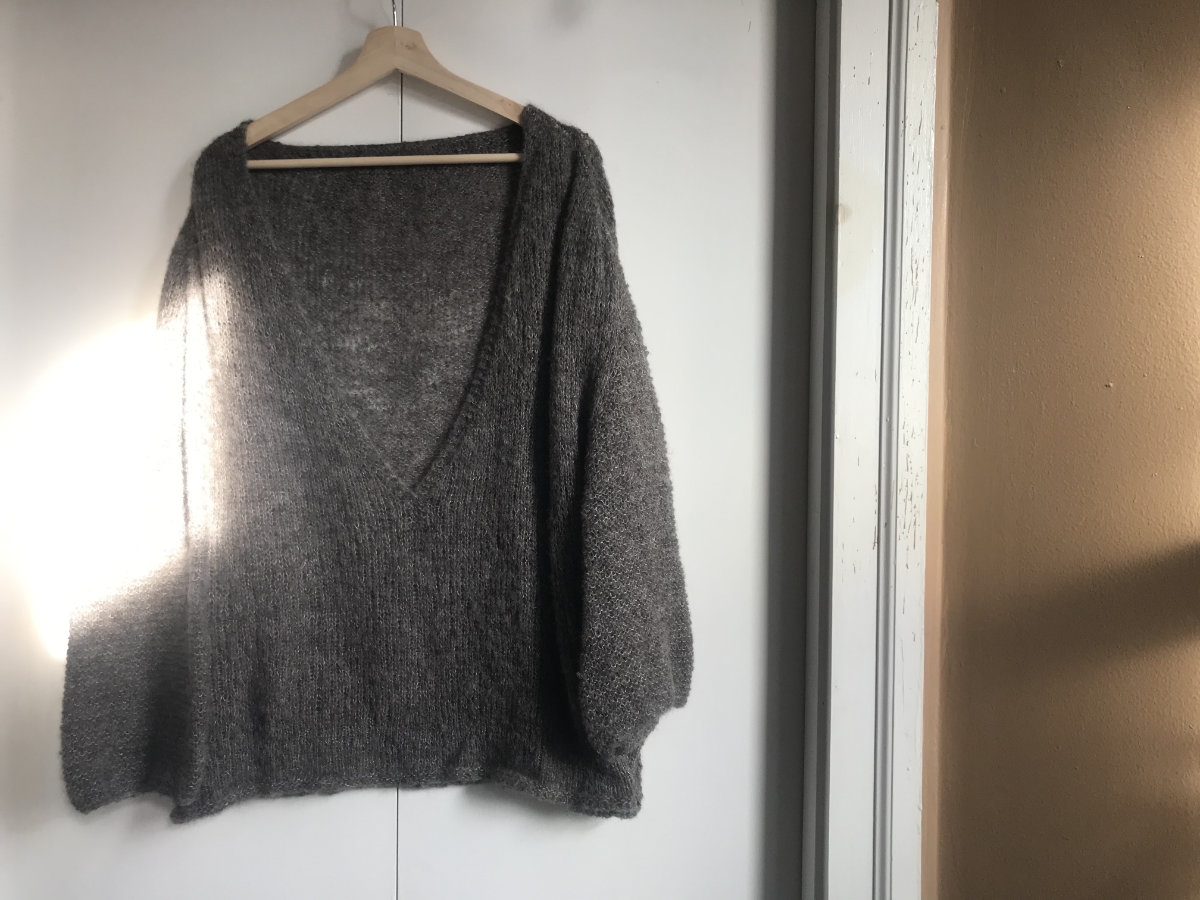
I have tried to wear my Mellow V a few times since completing it. It’s just way too bog for me. I tried safety pinning the sides of the body to taper it a little bit, but now it doesn’t lay right. I really love this yarn and I’d hate to see it go to waste as an unworn garment, so I’ve decided to salvage it from my dream sweater. A huge part of this DIY/slow fashion movement is reducing waste and learning to let go of things. I could hang this thing in my closet and look at it every now and then, but what good is it like that?
This yarn deserves a practical purpose, and this pattern definitely deserves a 4th try. ♥