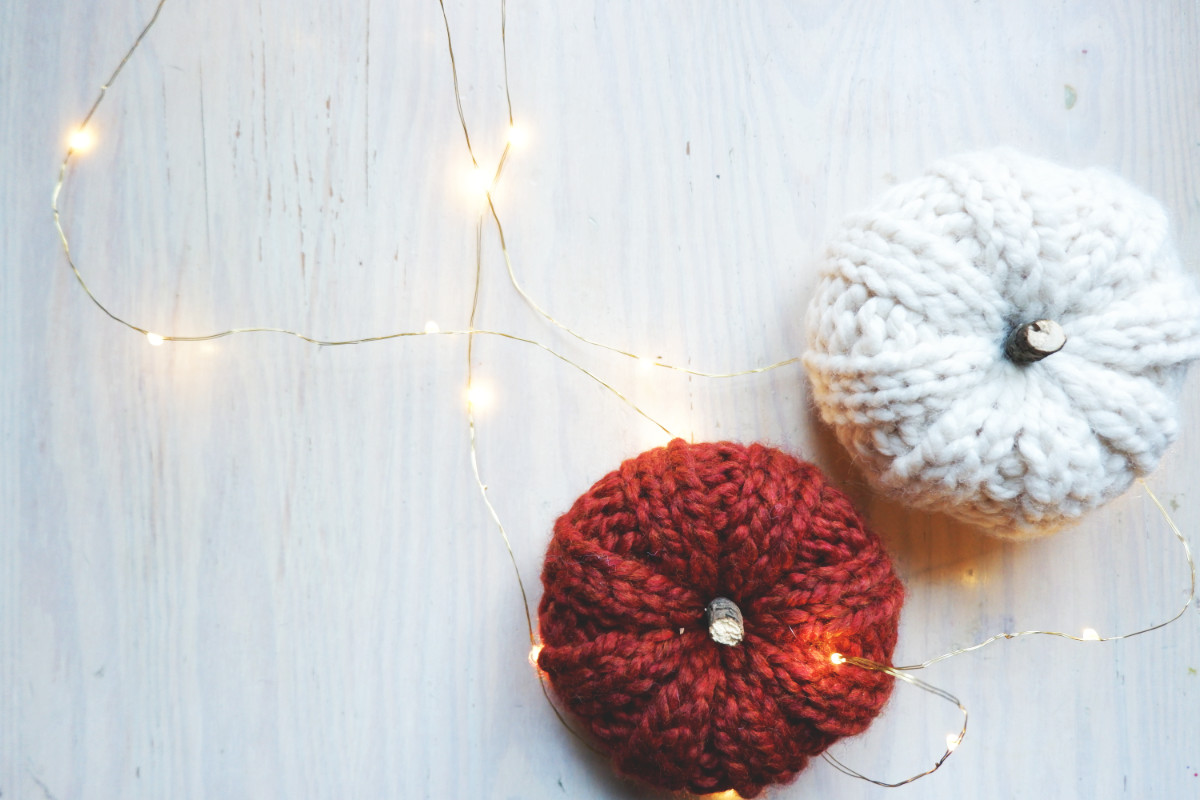
The start of fall marks the official start of knitting season—and what better way to celebrate than knitting a super cute pumpkin to decorate your home for the season! These pumpkins have been super popular in the maker community over the past few years, and I decided this year I would explore making my own. There are two main methods to making knit pumpkins:
- Knitting and purling to create the bumpy texture of the gourd.
- Knitting a solid ball and creating creases by tying yarn tightly around it.
This tutorial will go over the latter, since it seems to work out a bit more consistently. We’re going to knit a small pumpkin that measures about 4.5 inches wide by 3 inches tall. It’s very easy to adjust this pattern to make your pumpkin bigger or smaller, or taller!
Ready to get started? Use the written pattern below or scroll further for a quick video to better explain the steps.
Quick Knit Pumpkin Pattern
Materials:
- 1 skein super bulky yarn (I used Lion Brand Thick & Quick)
- US size 15 knitting needles
- Polyfill or some kind of stuffing
- Tapestry needle or small crochet hook
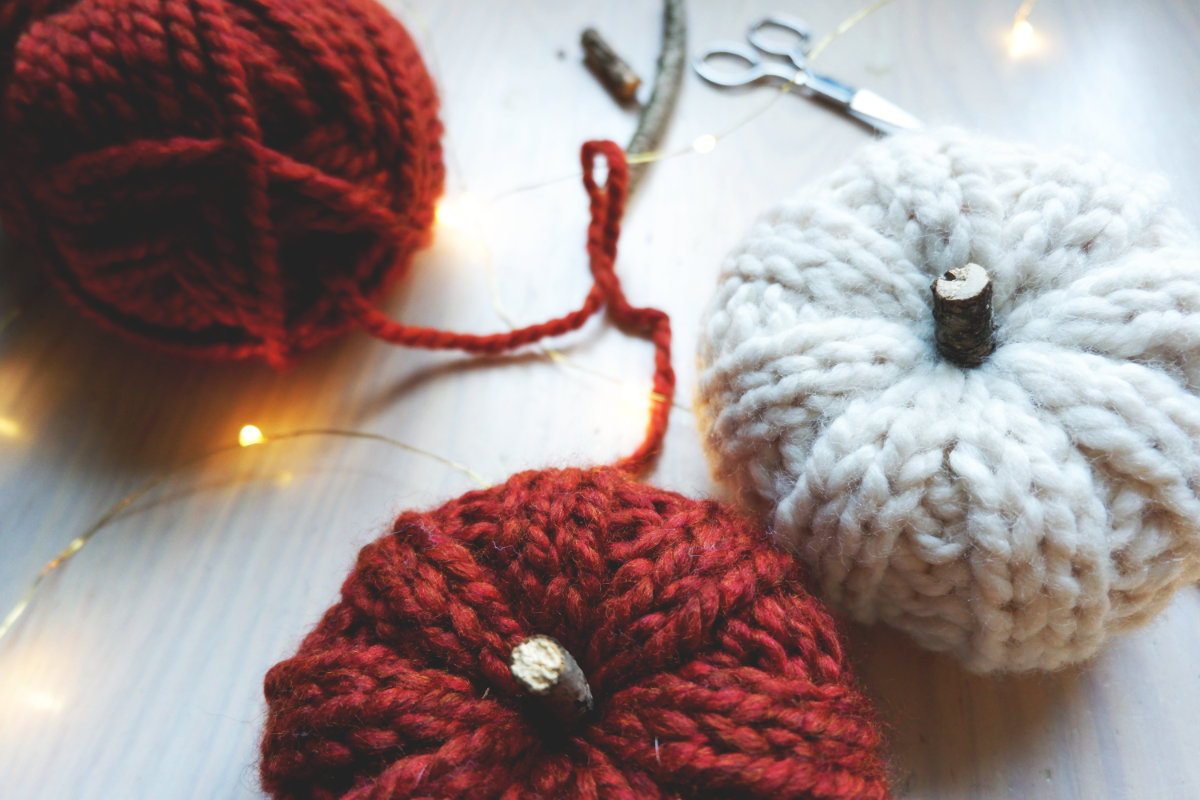
- Scissors
- Wine cork, twig, cinnamon stick, or whatever you want to use for a stem
Directions:
CO 33 stitches
Pass the first CO stitch onto the left needle, then k2tog to join in the round. You now have 32 stitches.
k2, p2 for entire round. You should end on a p2.
Repeat the k2, p2 pattern for as many rounds as you wish. This determines the height and shape of your pumpkin.
For a taller pumpkin, knit more rounds. For a squatty pumpkin, knit less rounds.
I knit until mine was about 4 inches tall.
Leave a long tail and cut.
Using a tapestry needle or small crochet hook, weave the long tail through all of the live stitches from the last row, then pull to cinch close.
Flip your pumpkin so the cinched end is at the bottom. Pull the tail through the cinched hole so it’s inside the pumpkin. Fill the pumpkin with stuffing, but make sure the tail comes through the middle of the stuffing.
Use the tail to cinch the open end of the pumpkin closed by weaving it through the CO stitches.
Tie the tails together and trim. Weave in any ends.
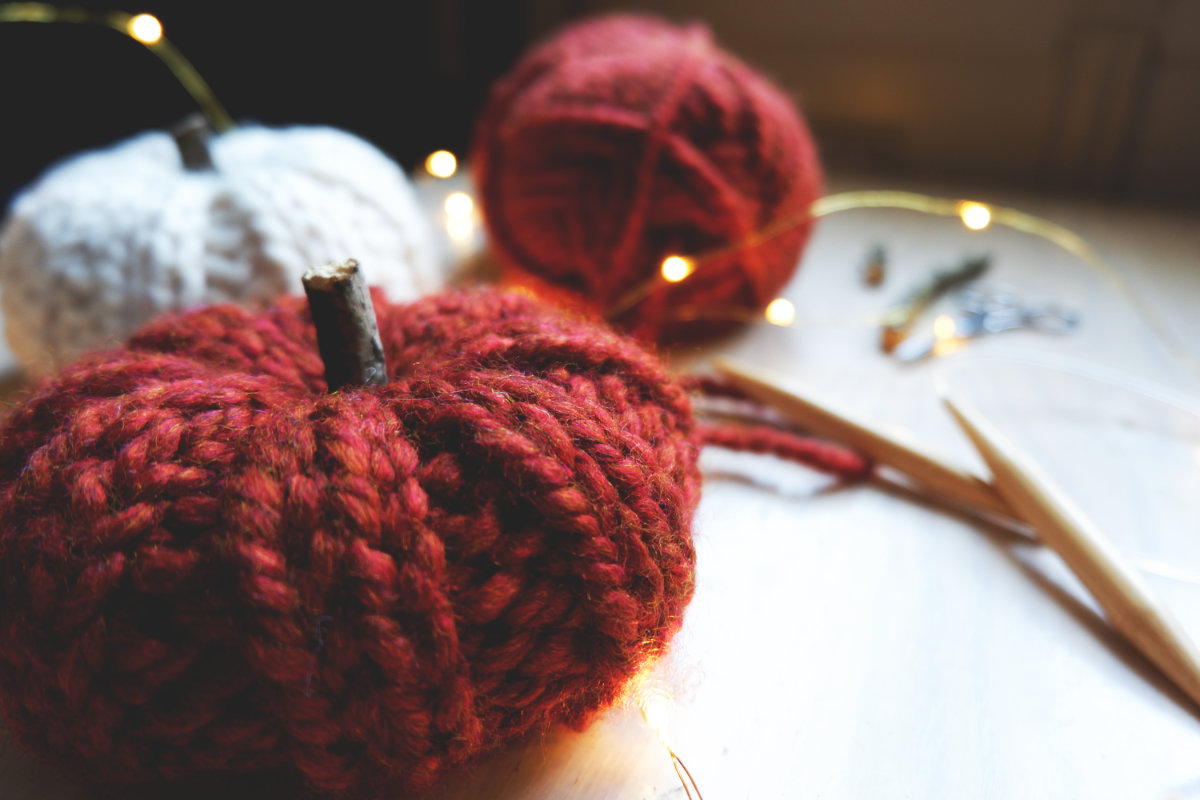
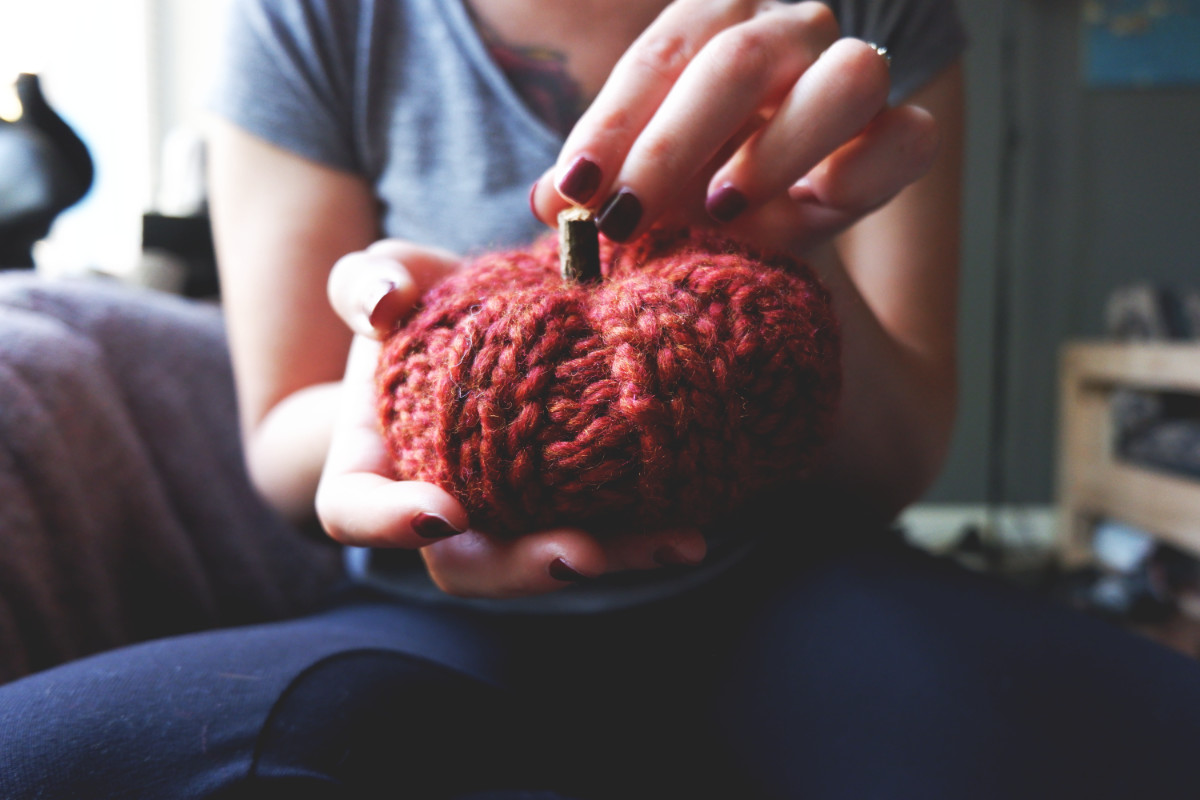
Using hot glue, attach your stem to the top.
Decorate further with felt, ribbon, and more!
Happy Fall, Everyone!
Quick Tips
- As you add stuffing to your pumpkin, you’ll see that the sides stretch out. If you want a taller, skinnier pumpkin, make your tube taller, and don’t fill the ball out as far.
- If you don’t feel like hot gluing, you can just stick your stem piece into the hole of the top of the pumpkin!
- Add more stitched to your initial round in multiples of 4+1 to make your pumpkin a larger diameter.
- This can be scaled down with smaller needles and thinner yarn, although the bumpy texture of the pumpkin will not be as pronounced.
- Use DPNs to make a tiny chunky pumpkin! As always, just use multiples of 4+1 in your initial stitch count.
- Burlap is super cute and screams “FALL”. Use burlap accents to take your pumpkin to the next level of autumn-ness.