


Hello fellow makers!
Today I’m going to share my secret knitting weapon with you… Meet The Tubular Cast On.
The tubular cast on is a knitting cast on method that creates a seriously stretchy edge for your knitted pieces. This cast on method is widely practiced and adapted to patterns for every skill level. It definitely has a learning curve, but it’s one of the most beneficial techniques I’ve personally encountered in my knitting journey. Ready to change the way you knit?
The Basics
The tubular cast on method, by nature, is used for knit ribbing – primarily 1×1 ribbing. It works by sort of “interlocking” your foundational stitches in a tube (hence the name), so it makes sense that ribbing would be more secure with its alternating stitches. You can create 1×1 and 2×2 ribbing with this method (maybe others?), so it’s super versatile and useful.
This cast on requires a good bit of coordination and focus. It starts off slow, but the time taken to build up this cast on edge makes for a more polished and sturdy finished piece. With a little bit of practice, you can start incorporating this sturdy edge into most of your future knitting projects.
**I’m a continental knitter. If you knit English style, please keep this in mind when looking through my tutorials.**
Choose Your Method
There are a variety of methods for obtaining the tubular cast on, and each has its merits. For this tutorial series, I’m going to go over the 3 that I feel are the easiest to learn and simplistic to adapt to most patterns. I will only be showing how to create 1×1 ribbing in each method.
Please note that all of these examples are worked flat, and in 1×1 ribbing. While the tubular cast on is possible in the round, I felt that in the round methods deserved their own post at a later time. In my experience, learning to do this flat was much easier than coordinating in the round. I feel it helped me to understand the logistics of the technique better and thus made adapting it to working in the round much easier.
You can use these links to navigate to any of the methods quickly:
- Waste Yarn Method
Italian Tubular Cast On(TUTORIAL COMING SOON!)Long Tail Tubular Cast On(TUTORIAL COMING SOON!)
Method #1: The Waste Yarn Method
The first method I’m going to show you is the one I think is the easiest. This method requires you to use a piece of scrap yarn to start your work, then you switch to your project yarn to complete the cast on.
Benefits:
- Uses the standard cast on of your choice to begin
- Only have to cast on half the amount of stitches you actually need
- Easier to manage your yarn
Let’s Get Started:
You can cast on short or long tail for these foundation stitches, whichever you’re more comfortable with:
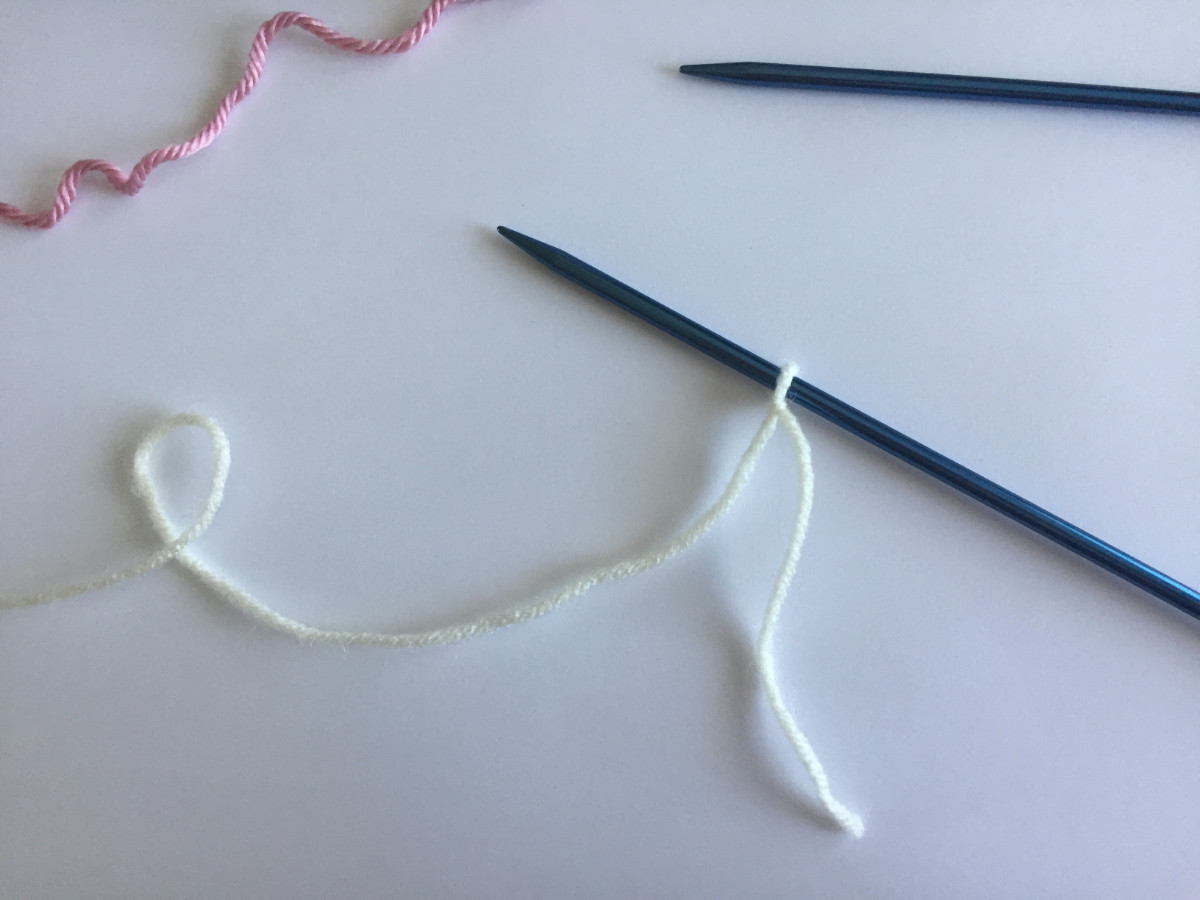
Grab some “waste” yarn. This waste yarn should be the same or very similar in gauge to your project yarn. Pick something relatively smooth and not too fuzzy so that it doesn’t leave little fluffs behind on your project yarn. I find that cotton or smooth acrylic yarns work well for waste yarn.
Cast on half the number of stitches you need for your project + 1 additional stitch. You need the additional stitch to make your stitch count odd.
I typically use the short tail cast on with a slip knot at the beginning. I count the slip knot loop as the +1 stitch, then just do half of my total number of stitches for the pattern.
*If you need an odd number of stitches for your pattern, just subtract 1 from the total (so it’s even) and follow the above instructions normally.
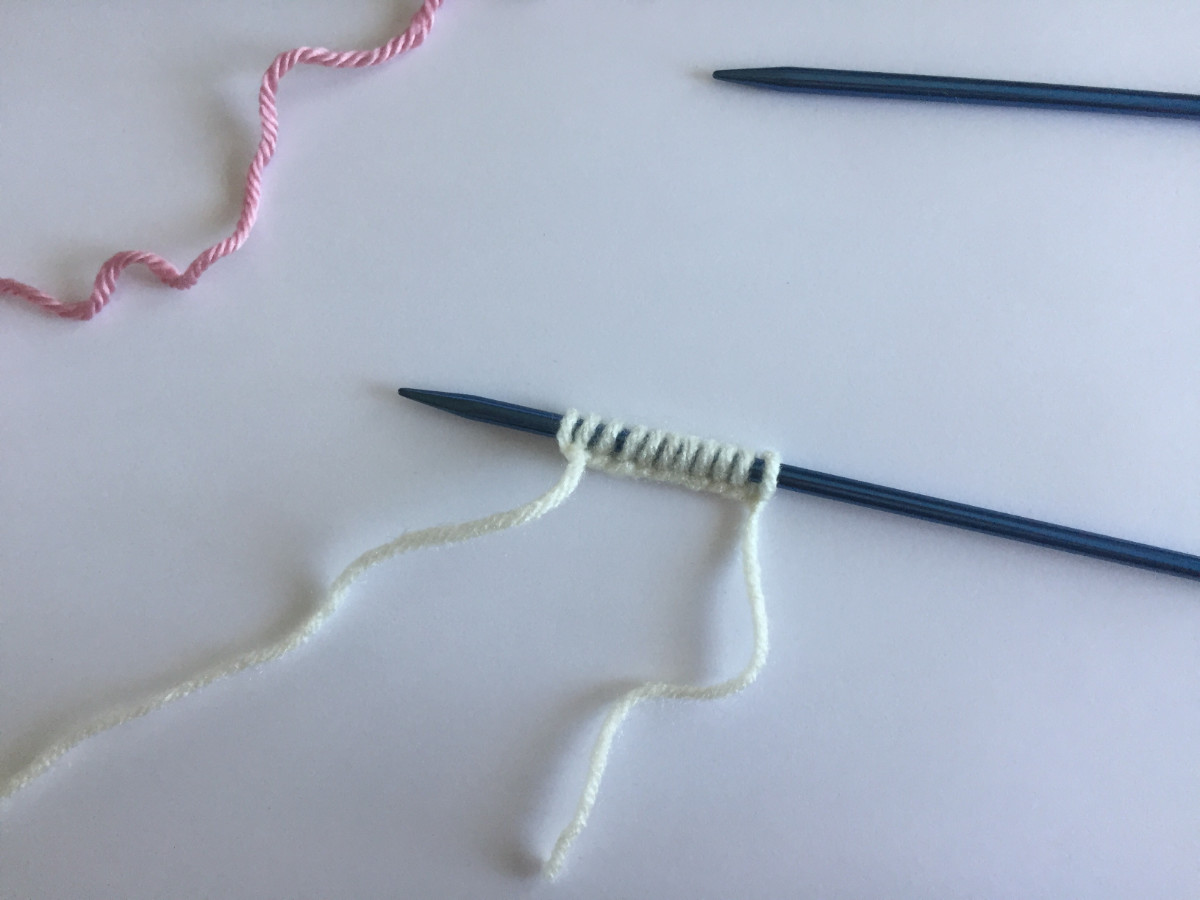
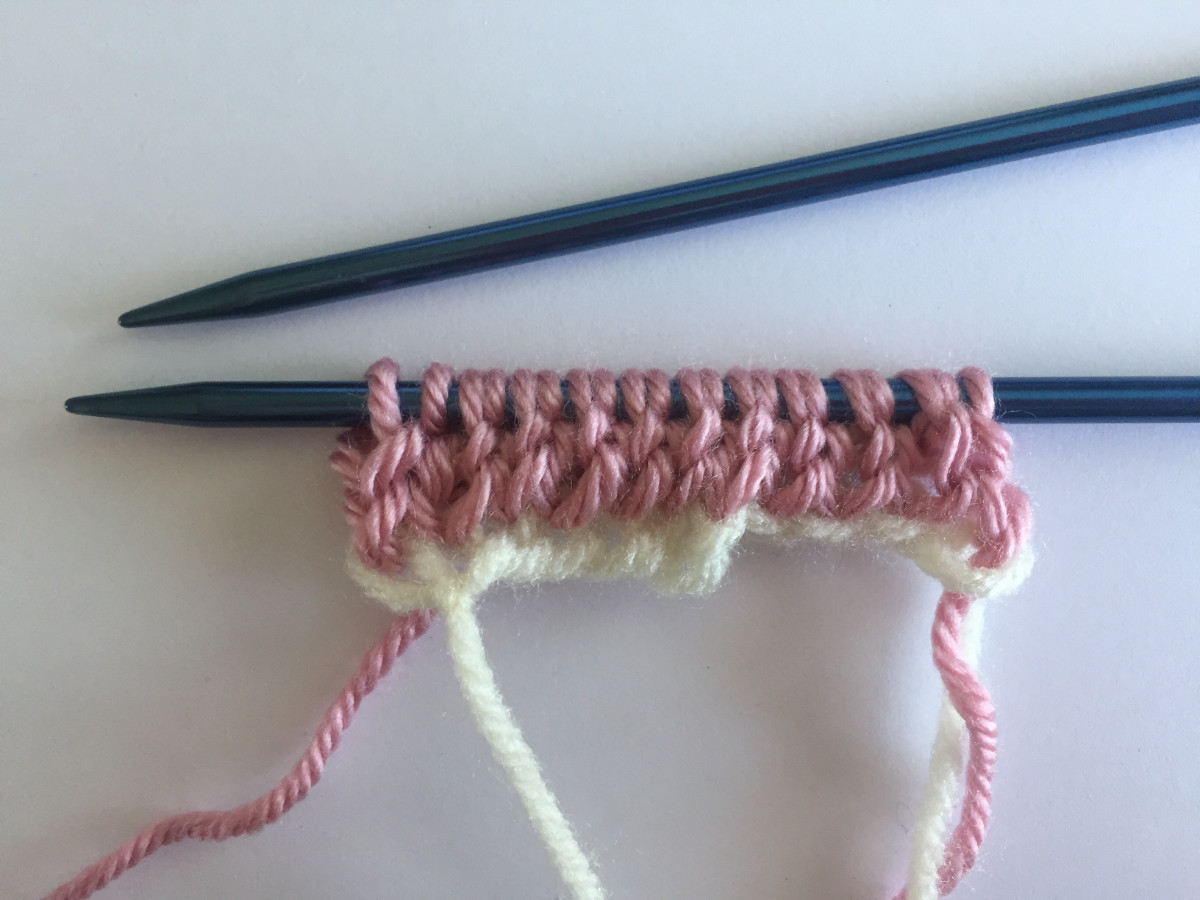
For this tutorial, I wanted to create a swatch of 20 stitches, so I did a short tail cast on of 11 stitches (10 + 1 extra):
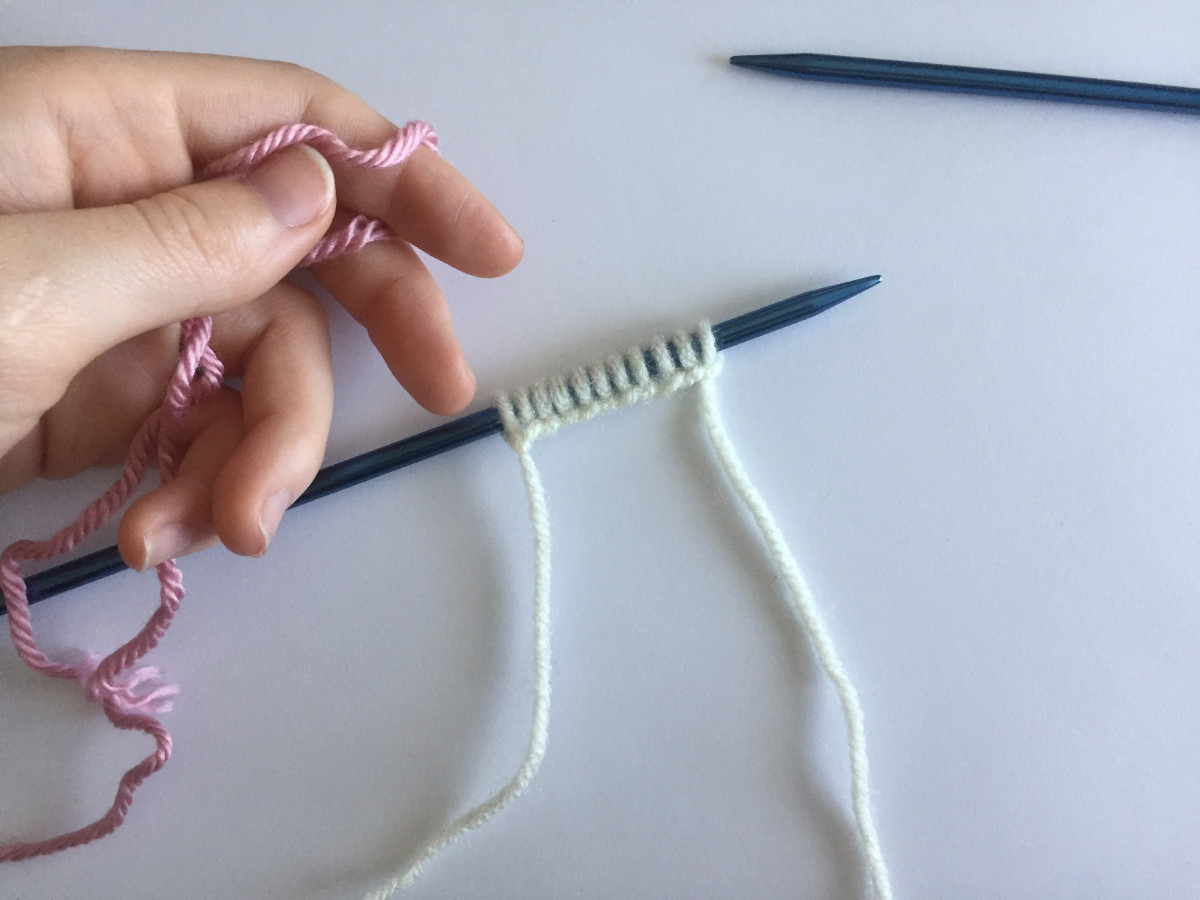
Switch to your project yarn.
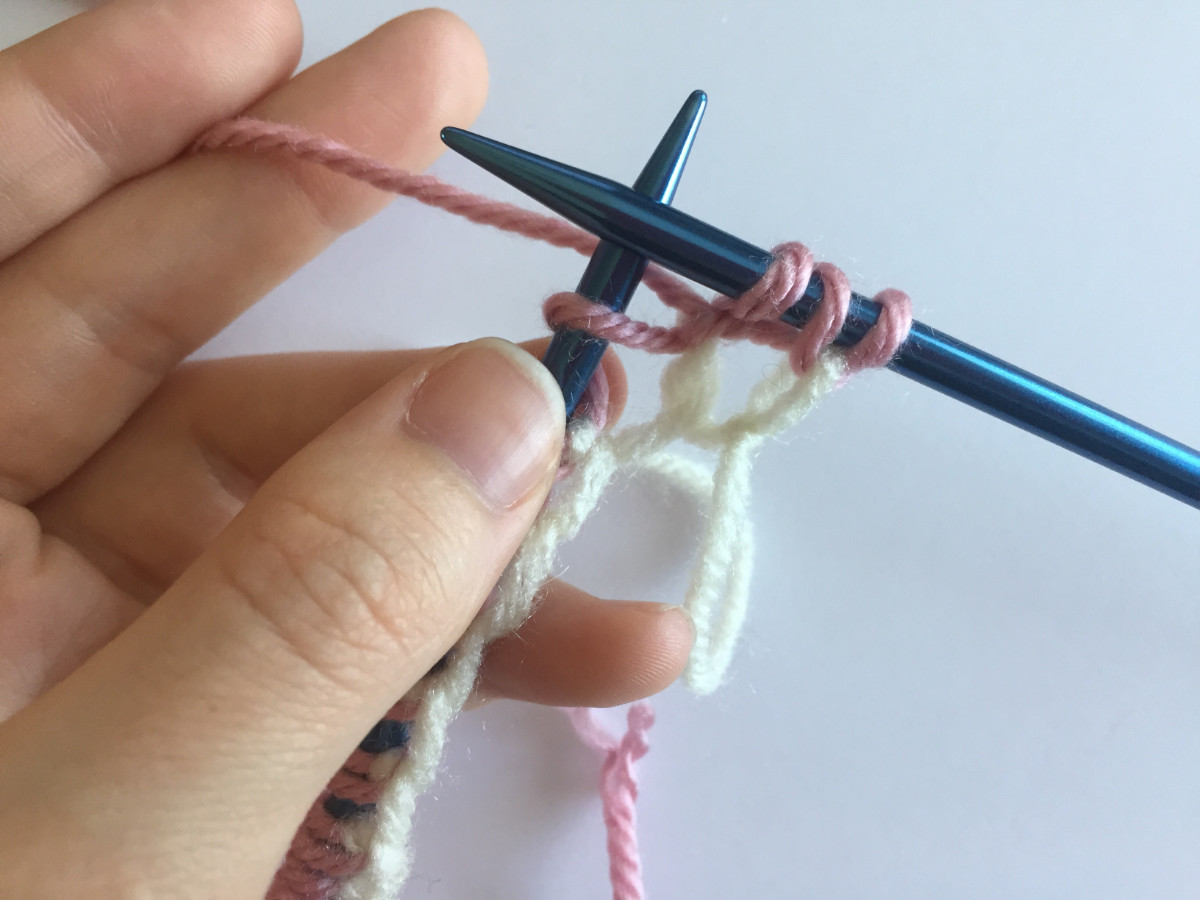
This first row is going to build up the correct amount of stitches for your pattern. You’re going to be alternating between knitting a stitch and yarning over to create a new stitch.
Row 1: *Knit 1, YO, repeat from * until the end of the row.
You should be knitting the last stitch.
I’ve included a photo of how I hold my project yarn to make sure it stays out of the way while I’m working:
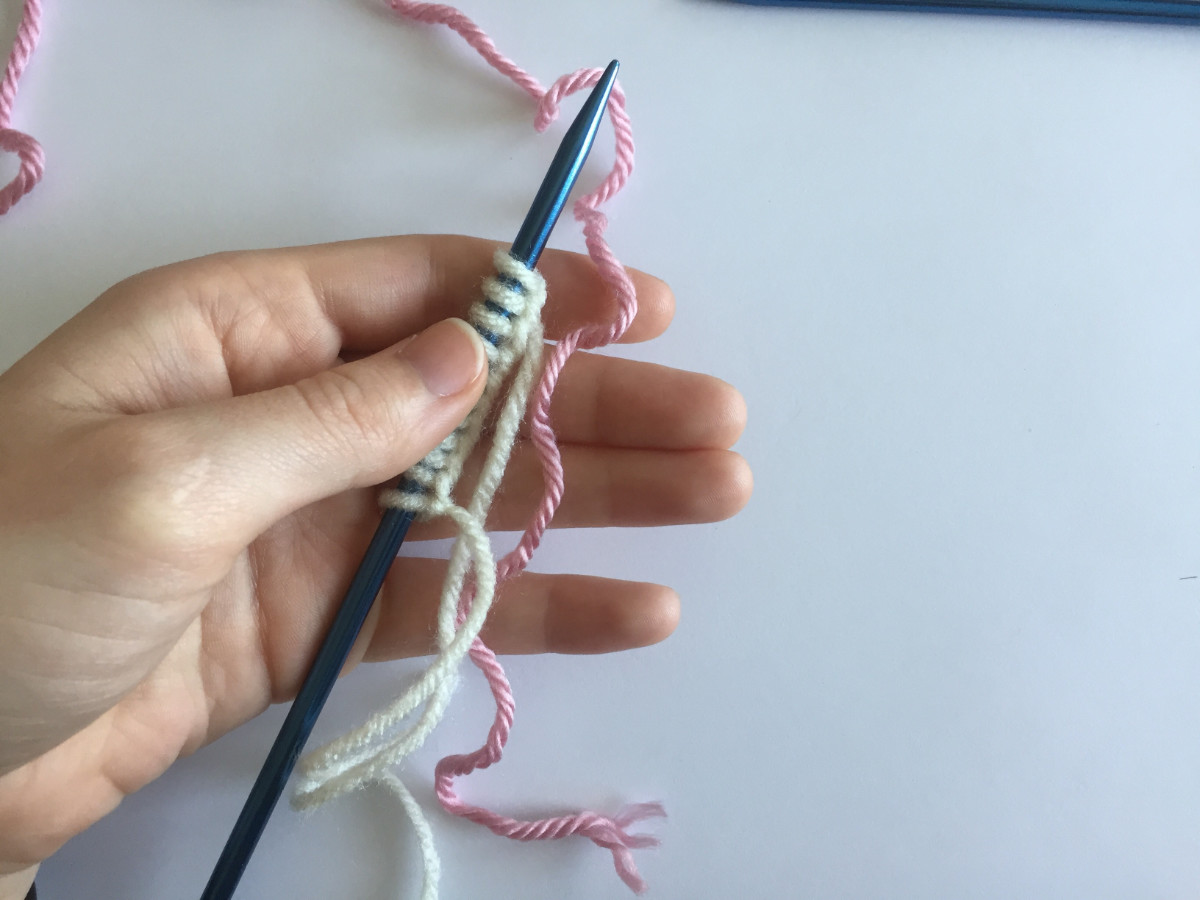
This is what the first Knit 1, YO will look like:
Repeat this the whole way across the row and it should look something like this:
Turn your work.
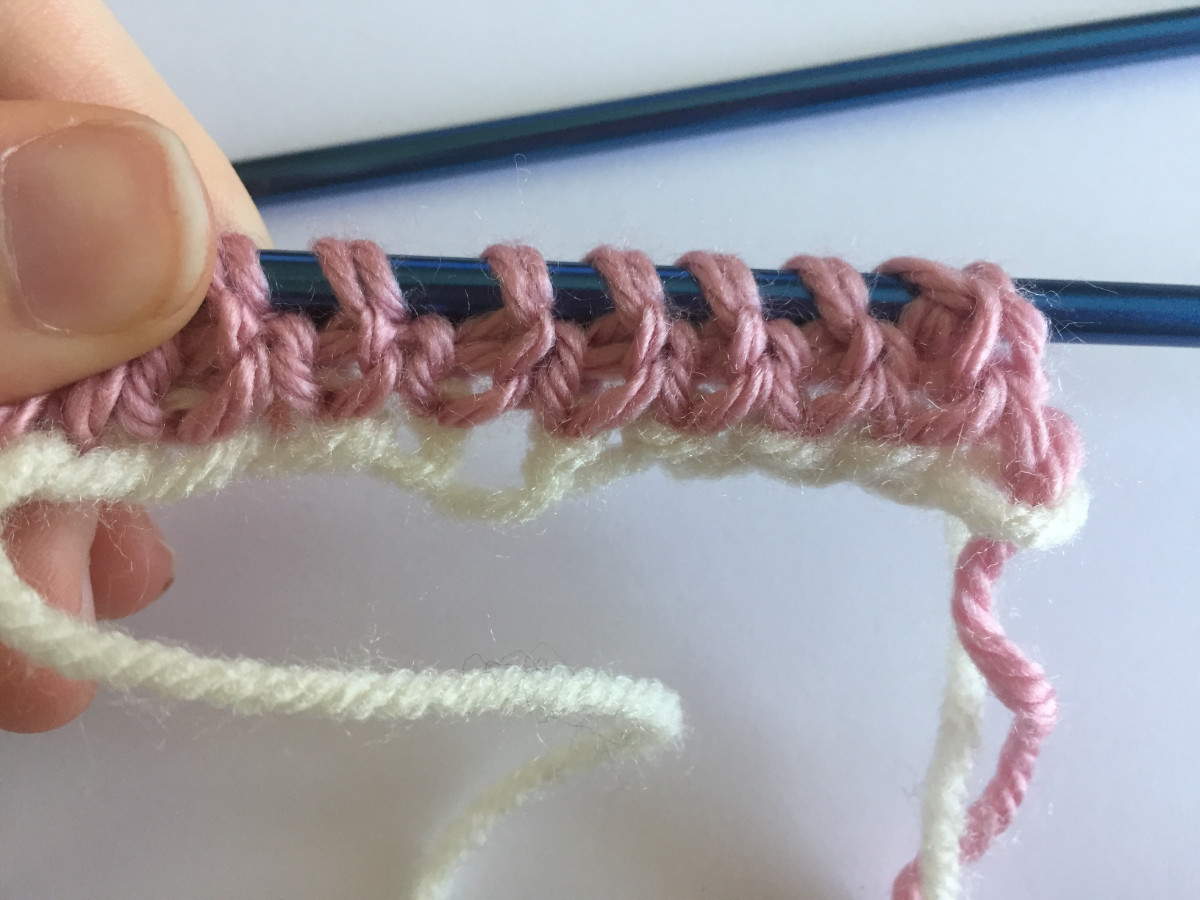
This next row, and the few rows after it, are going to establish the interlocked stitch pattern I mentioned before. This interlocked “tube” will hold everything in place as well as provide the super stretchy edge that we’re going for.
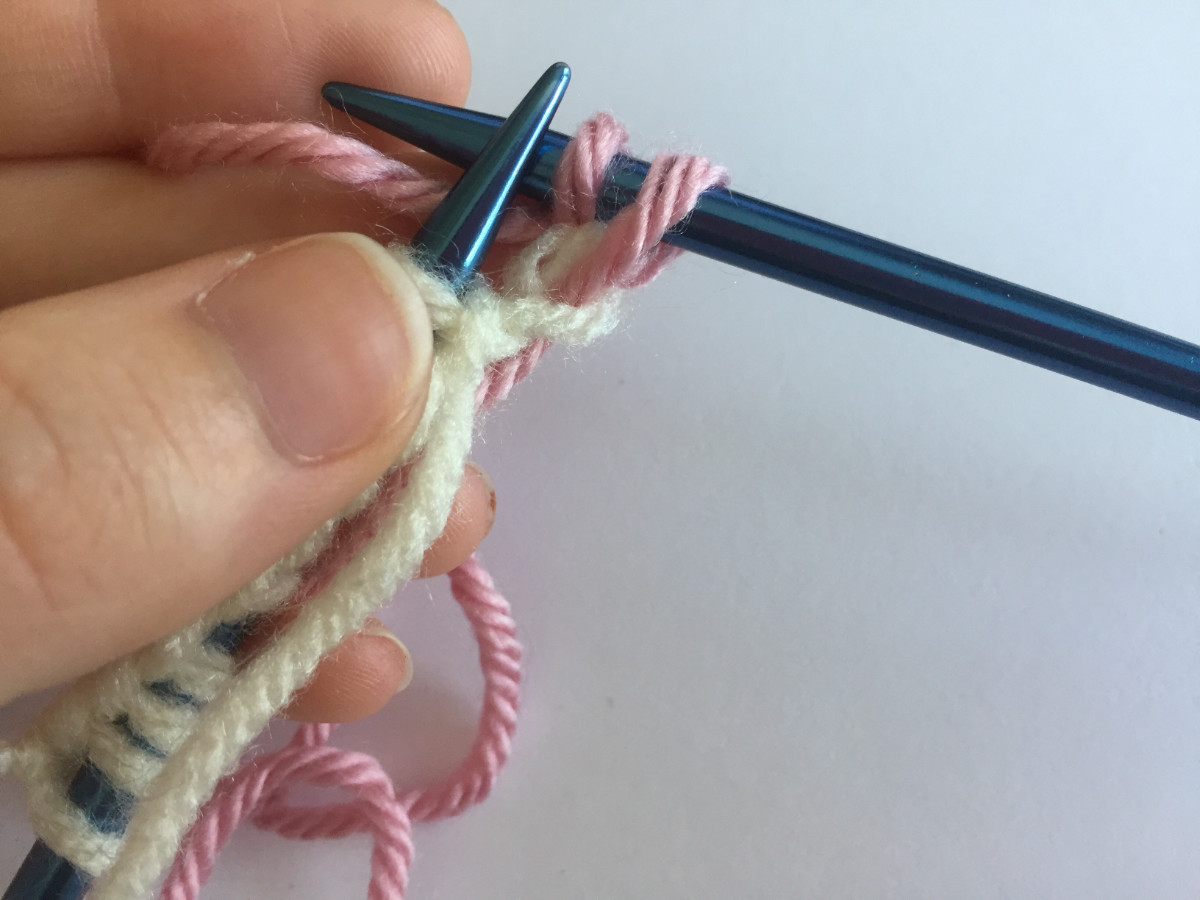
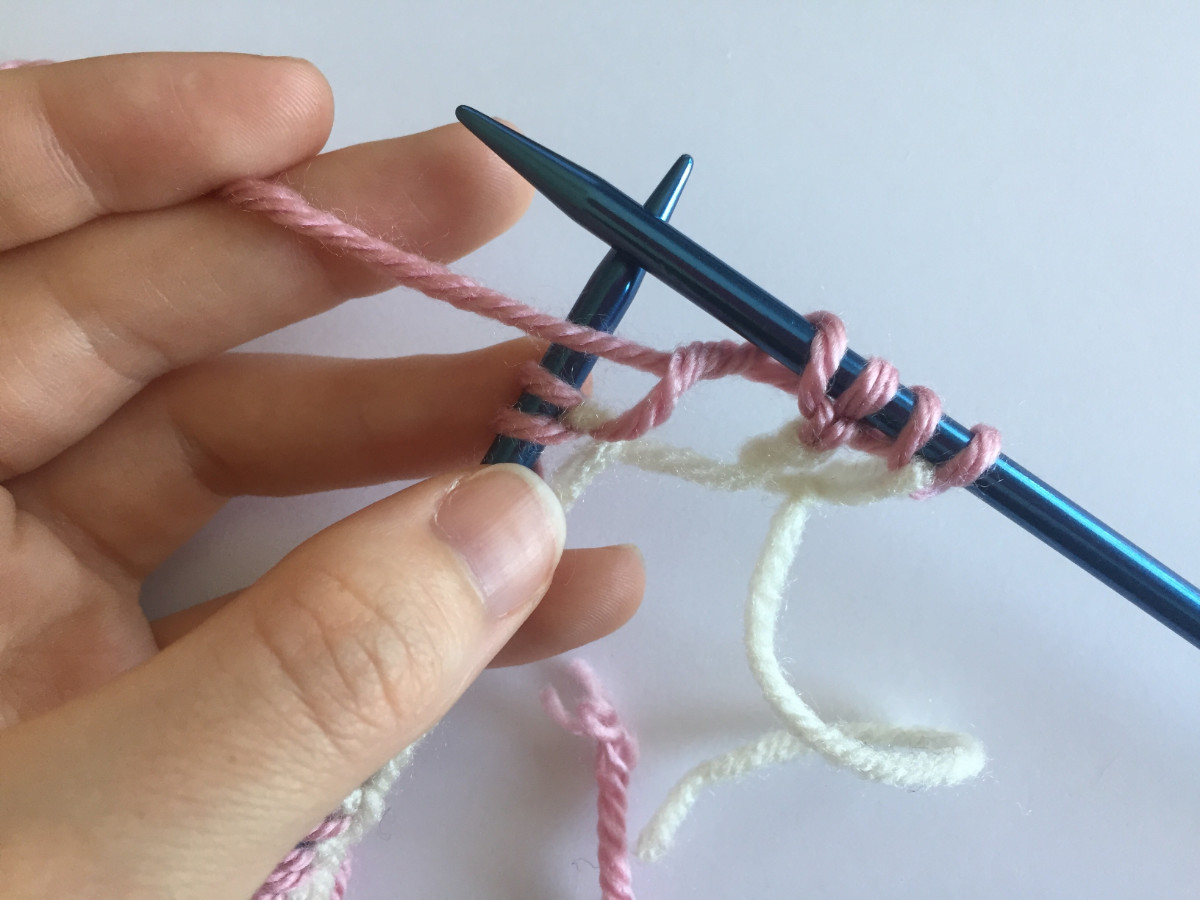
Row 2: *Put your yarn to the front of your work (towards you) and slip the first stitch purl-wise. Move the yarn to the back of your work (away from you) and knit the next stitch.
Repeat from * until the end of the row.
You should be slipping the last stitch purl-wise.
This is what it looks like when you’re ready to knit the next stitch (You’ll note that the stitches you’re knitting are the yarn overs from the previous row):
This is what it looks like when you’re ready to slip the next stitch purl-wise:
Here is the finished second row:
Turn your work.
The 3rd row is going to be the opposite of the second row. This will continue the interlocked stitch pattern that’s securing everything.
Row 3: *Knit the first stitch with your yarn in the back (away from you), move your yarn to the front (towards you) and slip the next stitch purl-wise.
Repeat from * until the end of the row.
You should be knitting the last stitch of the row.
Row 4: Repeat Row 2, which is the opposite of Row 3
This continues the interlocking stitch pattern to further lock in your foundation stitches.
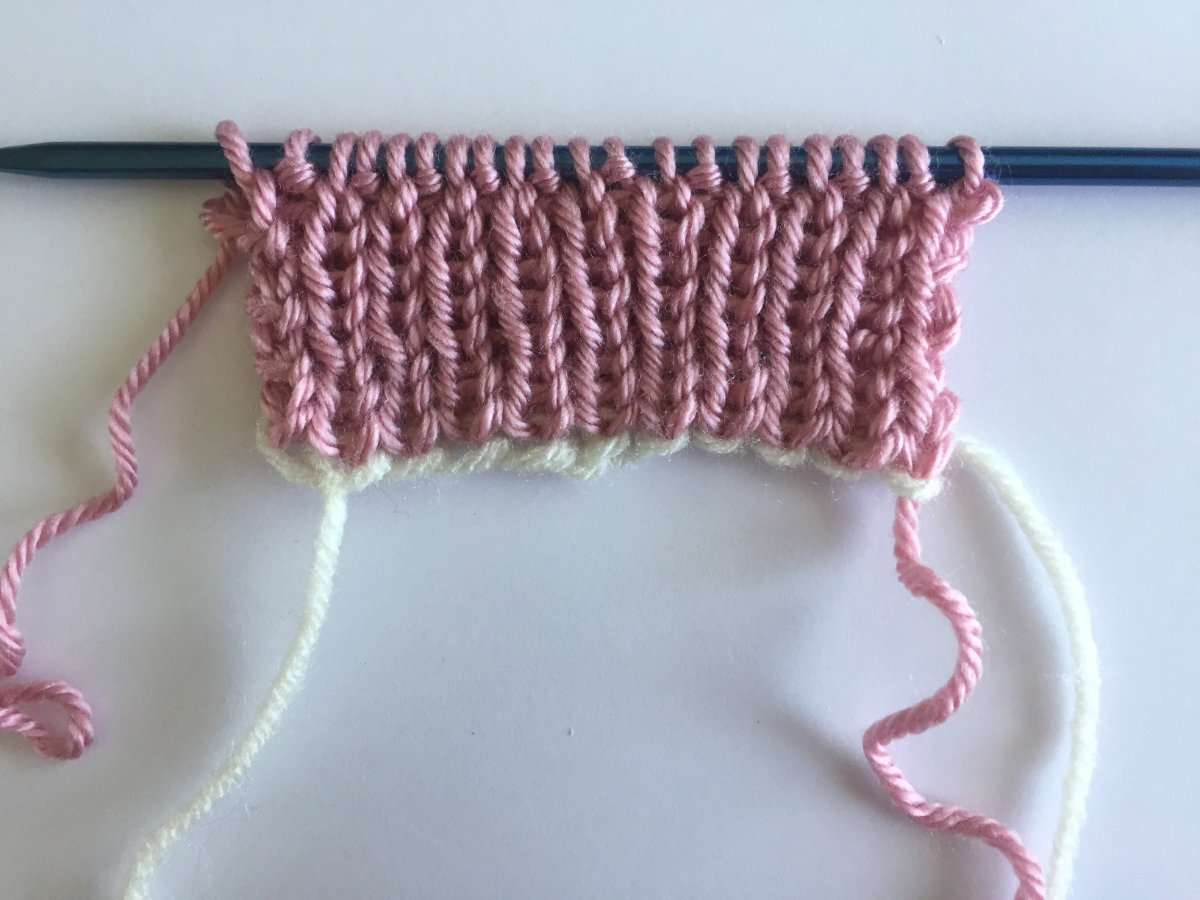
Row 5: Repeat Row 3
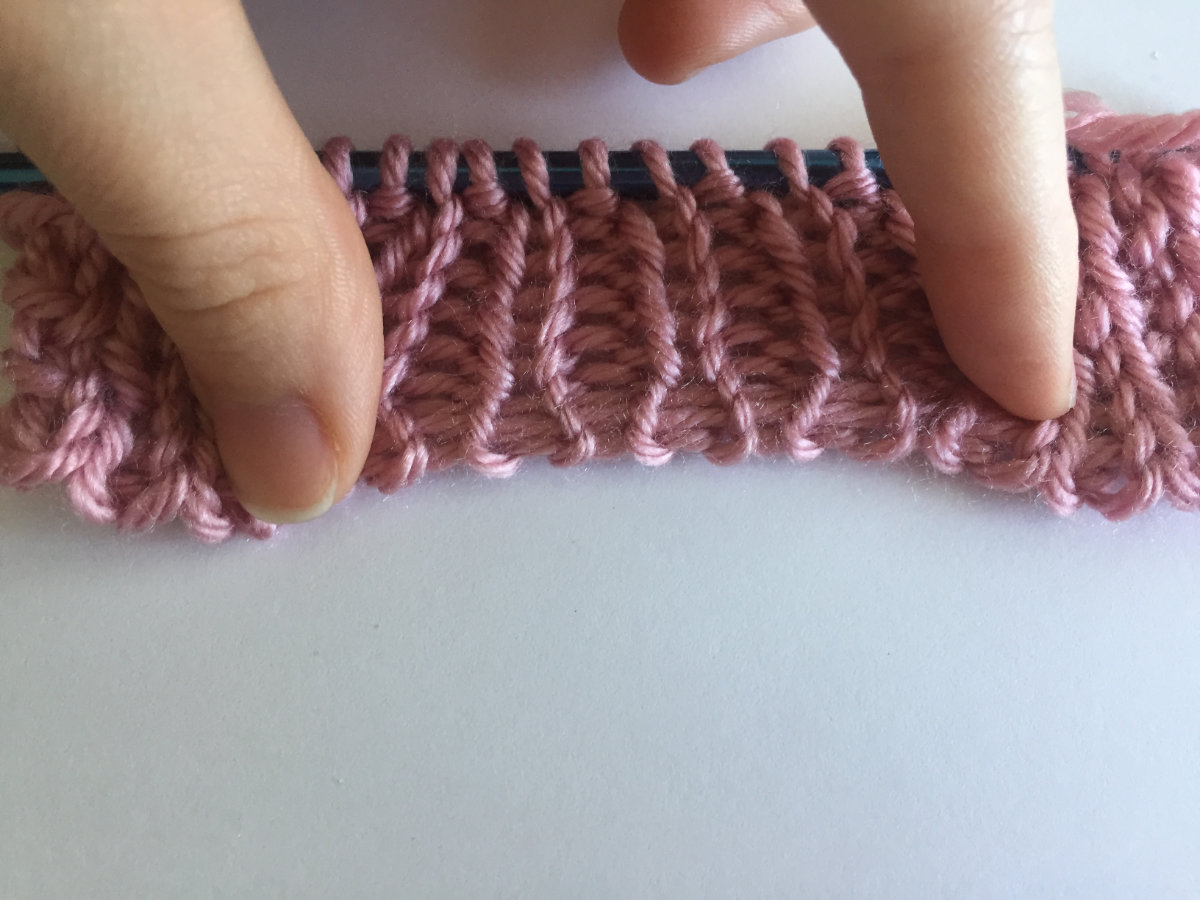
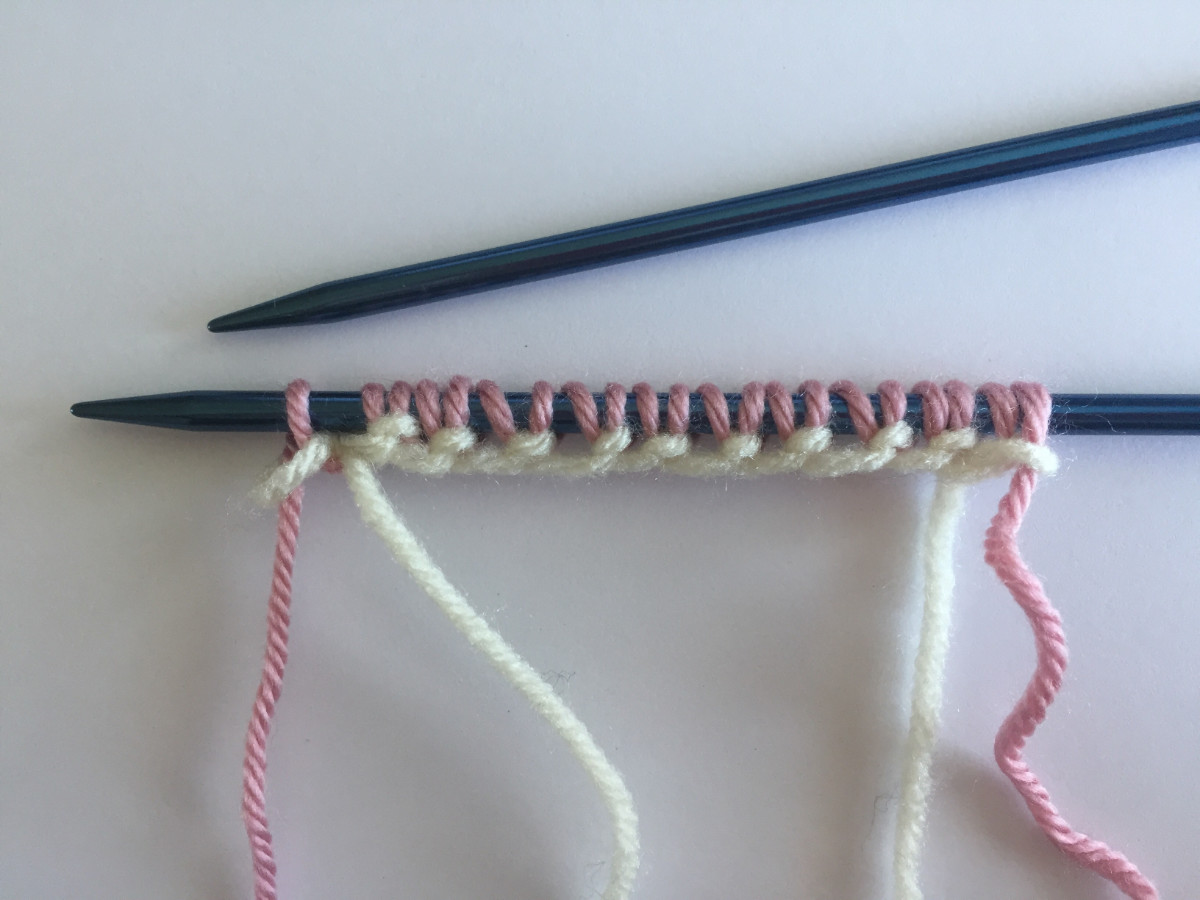
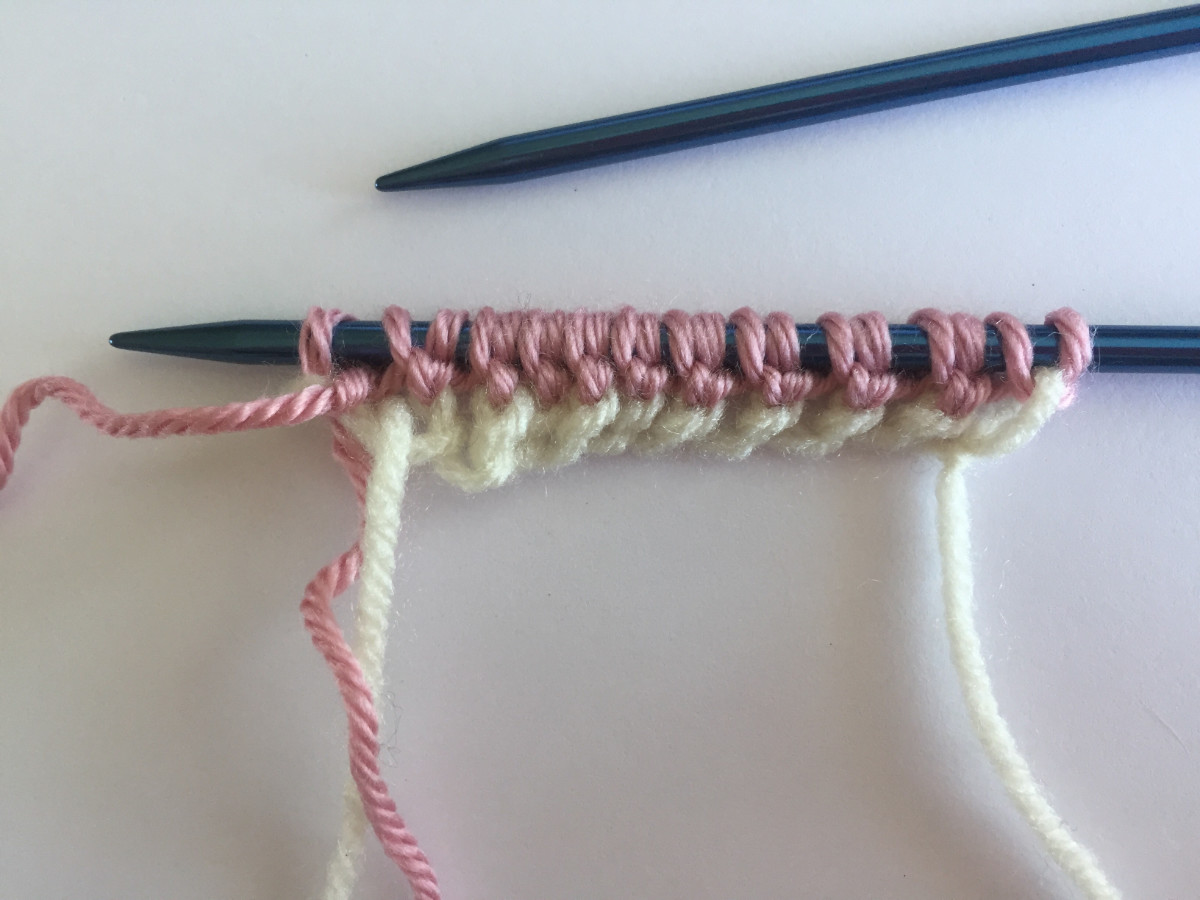
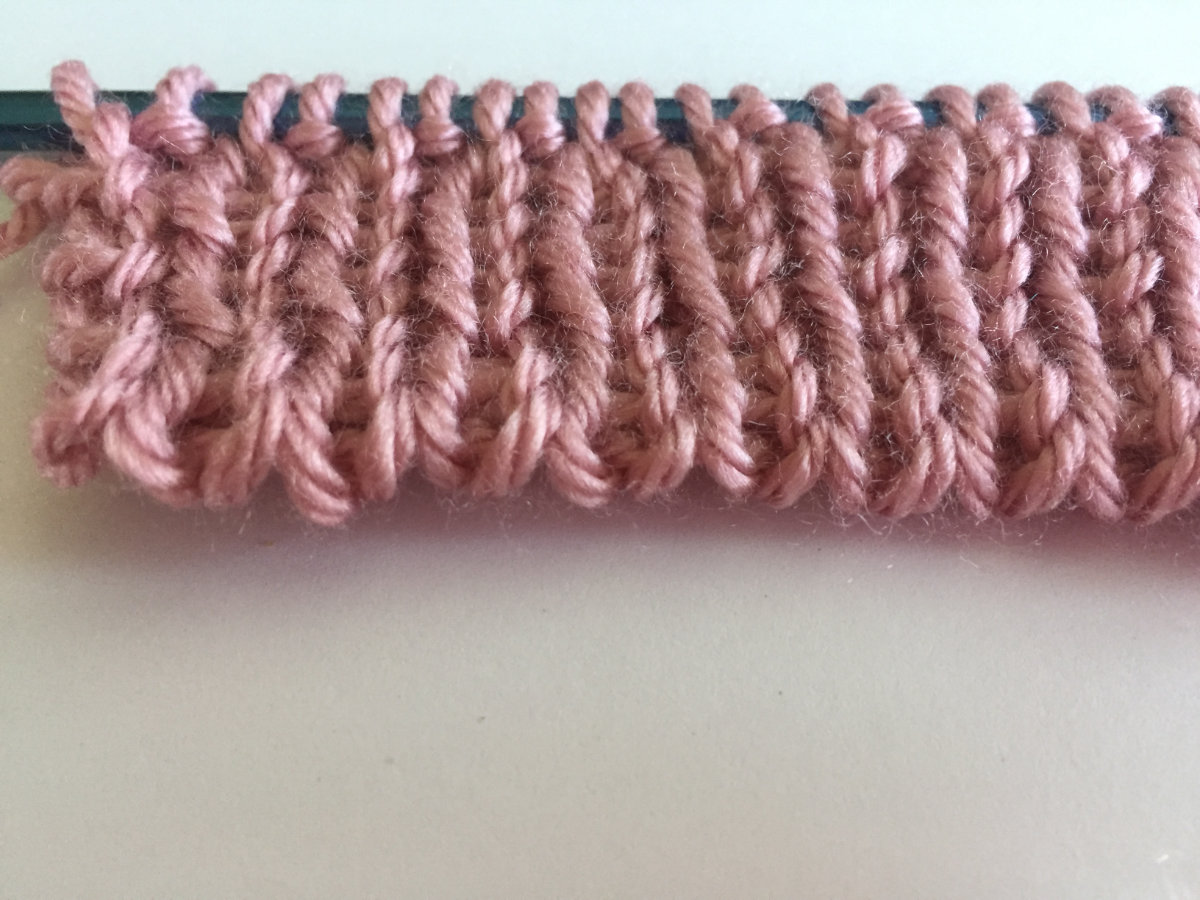
After you complete the 5th row, it should look a little something like this:
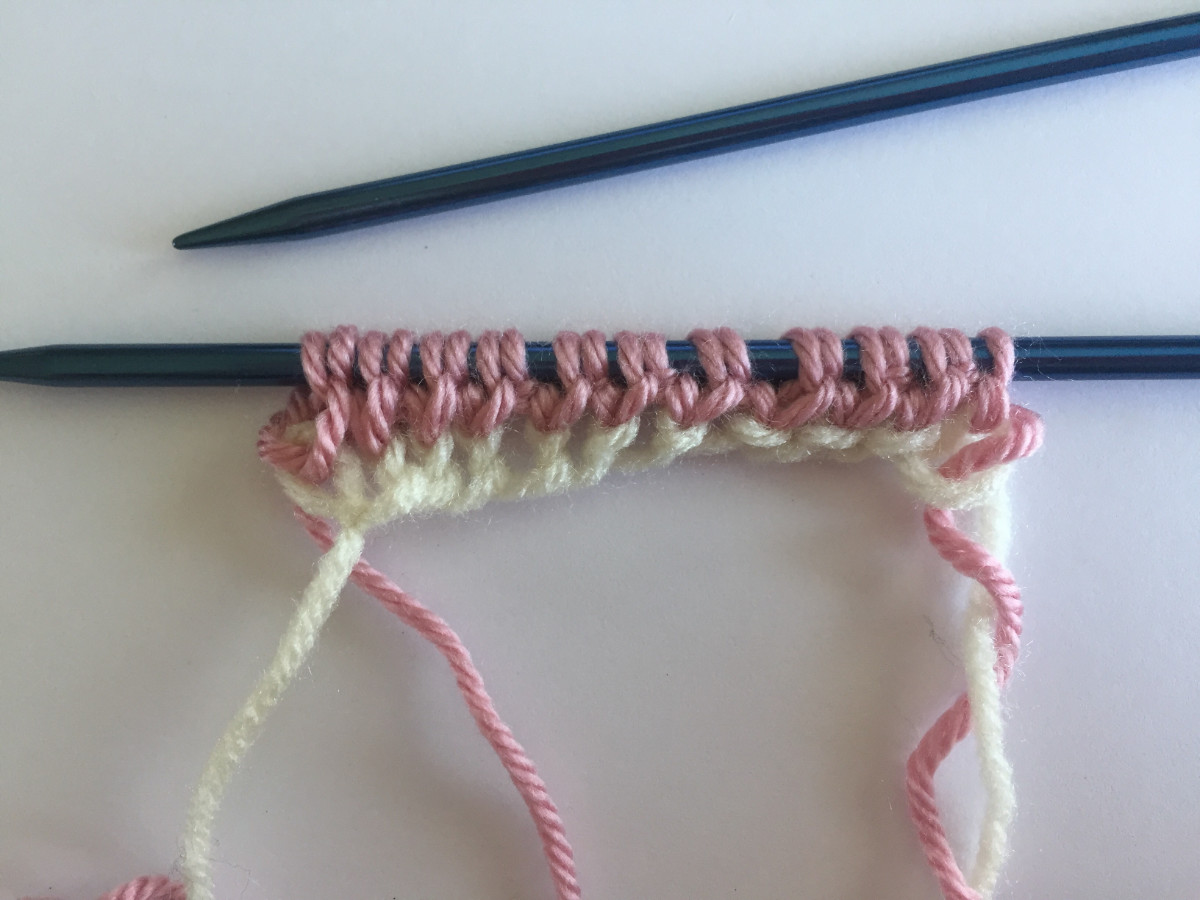
If you stretch out the ribbing at this point, it should look something like this:
At this point, your foundational rows are complete! You can now complete your 1×1 ribbing normally.
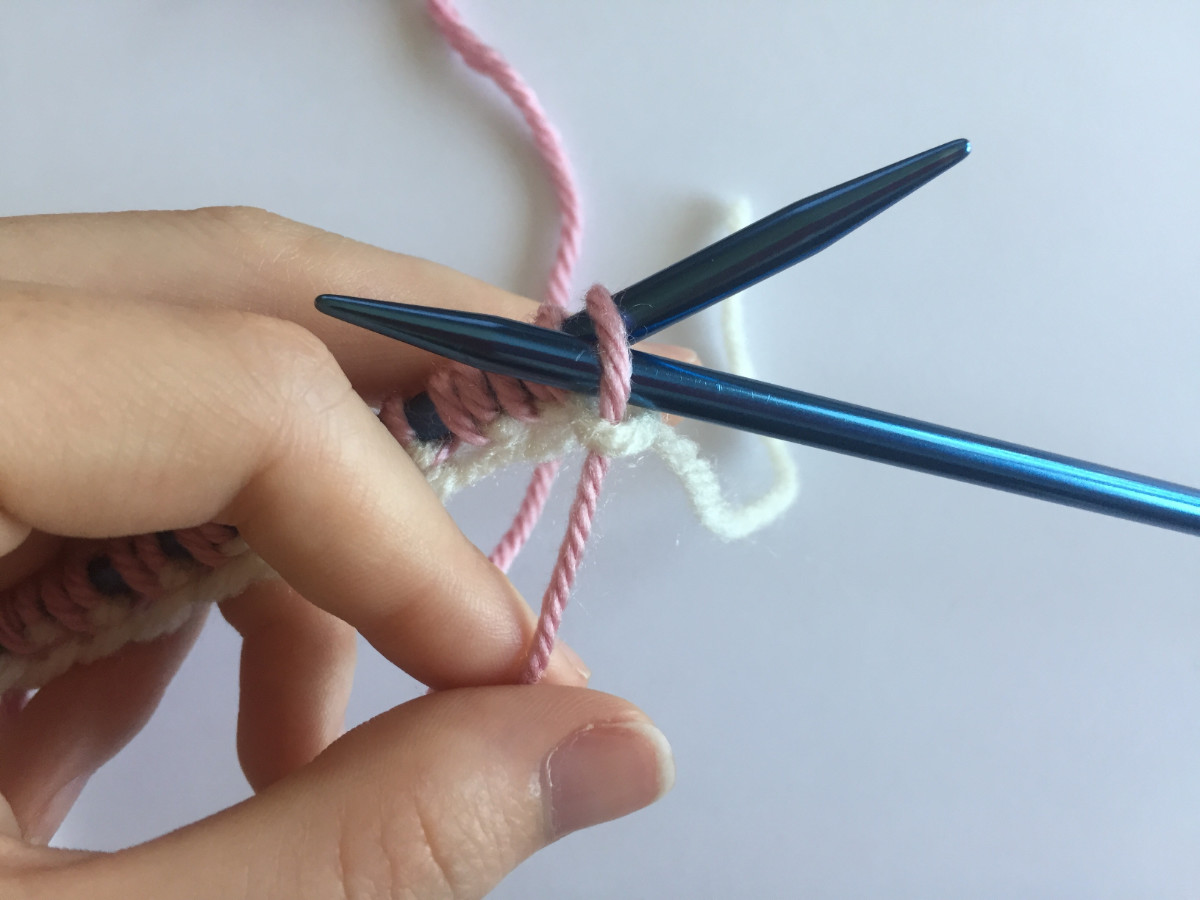
Keep in mind that there is an extra stitch in your work. You can either decrease this stitch with a simple k2tog, or keep it around for creating a selvage edge if you need to seam your project. This additional stitch also makes it so you have to alternate how you start your ribbed rows. For example, Row 5 of the cast on had you knitting the first stitch, so your first row of normal rib stitch should start with a purl stitch.
After a few rows of your normal ribbing it will be safe to remove your waste yarn. The easiest way to do this is to just snip the loops of the waste yarn along the length of your project, then pull out the strands.
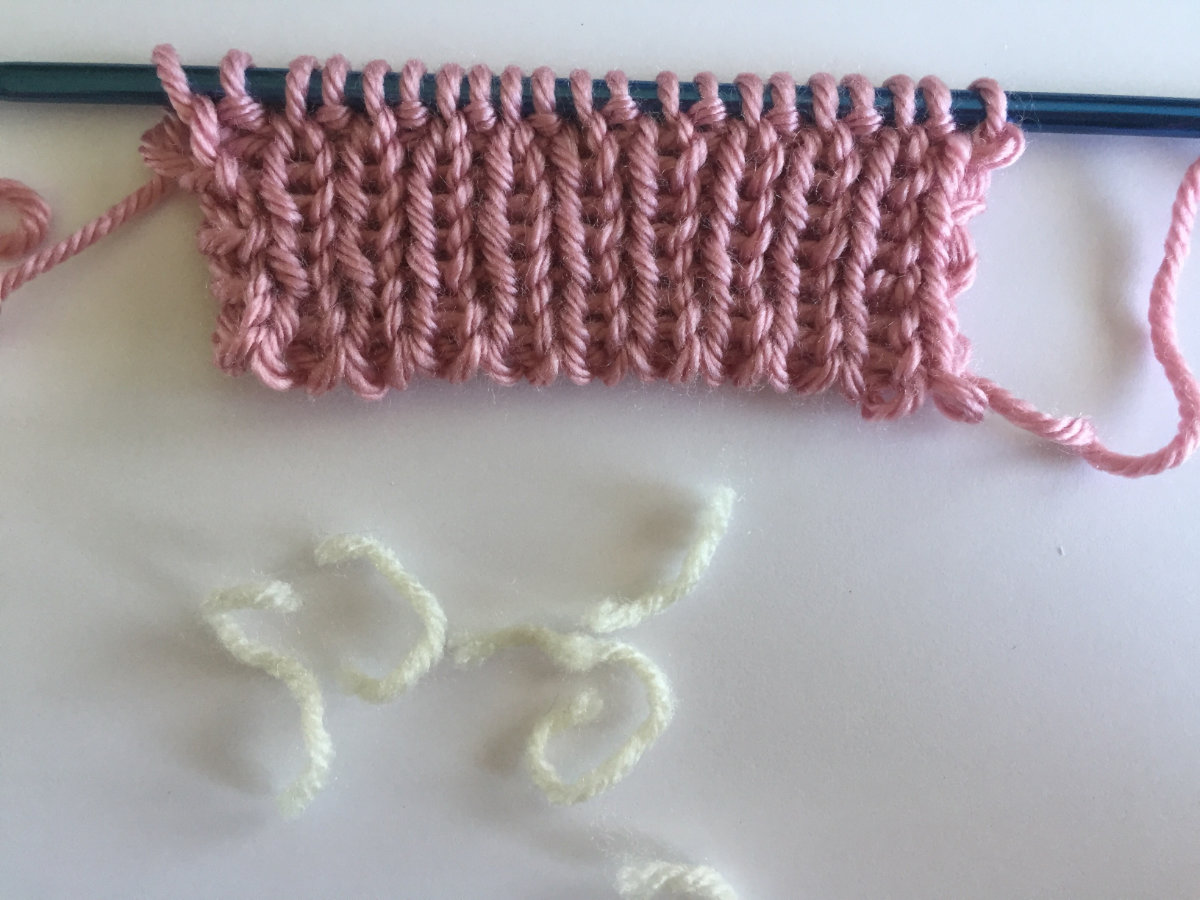
Here is a look at the completed tubular cats on with the waste yarn method. You can see that the edge is super stretchy, while looking seamless and pretty:
I hope this guide was helpful!
I use the tubular cast on as often as I can for knitting projects that start with ribbed edges. This provides the most stretch and seriously just looks amazing! This waste yarn method is a great introduction to the tubular cast on because it doesn’t require a lot of coordination, and I think that only having to cast on half the total number of stitches is a huge perk!
I’m going to be working up the tutorials for the other tubular cast on method over the next few weeks, so stay tuned!
Happy Knitting!
